
Remix.run Tutorial
Introduction to Remix.run
Remix.run is a modern full-stack web framework designed to help developers build fast, resilient, and dynamic web applications with a focus on user experience. It provides tools to manage data, routing, and server-side rendering seamlessly, enabling better performance and developer productivity.
What is Remix?
Remix focuses on delivering a great user experience by optimizing for the web's fundamental principles:
- Progressive Enhancement: Ensures your app works for everyone, even without JavaScript.
- Native Web Standards: Uses browser capabilities to their fullest, minimizing the need for additional client-side JavaScript.
- Data Loading: Leverages server-side rendering to prefetch data efficiently.
Remix simplifies many common challenges, such as routing, data handling, and error management, while remaining adaptable to modern frontend ecosystems like React.
Key Features
1. Nested Routing
Remix introduces a unique nested routing system that maps your components directly to your URL structure. Each route can have its own data loading and error handling, making it easy to build complex applications.
2. Data Fetching
With Remix, you fetch data at the route level using loader functions, enabling server-side rendering (SSR) and better performance. It minimizes API calls and reduces JavaScript bundles.
3. Server and Client Integration
Remix runs on both the server and the client, giving you flexibility in deciding where to handle rendering, data fetching, and interactivity.
4. Error Boundaries
Every route in Remix can have its own error boundary. This makes error management straightforward, as you can isolate and gracefully handle failures at the route level.
5. Built-in Form Handling
Remix provides seamless form submissions using the action function. Forms work without needing client-side JavaScript, ensuring progressive enhancement.
How Does Remix Compare to Other Frameworks?
| Feature | Remix | Next.js | Create React App |
|---|---|---|---|
| Server-Side Rendering | ✅ | ✅ | ❌ |
| Nested Routing | ✅ | ❌ | ❌ |
| Progressive Enhancement | ✅ | ❌ | ❌ |
| Optimized for Web Standards | ✅ | ❌ | ❌ |
Remix stands out by prioritizing progressive enhancement and web standards, while other frameworks often rely heavily on JavaScript for interactivity and routing.
What we are going to make in this tutorial?
In this tutorial we are going to build a simple application for event management. We will be able to create, read, update and delete events. This will all be with authentication ofcourse.
Some of the files are going to be given to you because they don't have to do with Remix. For example the CSS file, and the data file.
We will also be using the tutorial from the Remix documentation as a base. We will of course be adding our own features and changes to it.
Installation
To get started with Remix, you can install it using npm or yarn.
npx create-remix@latest --template remix-run/remix/templates/remix-tutorialWithin this installation you will get some prompts.
- Ok to proceed?: Just type
yand press enter. - Where should we create your new project?: You can just press enter or type a name you want for the project.
- Initialize a new git repository: You may choose if you want to initialize a git repository.
- Install dependencies with npm: Here you say
yes
After this you can navigate to the project folder and start the project with
npm run devThis will start the project on http://localhost:5173.
You should be able to see a non styled remix contacts page like this: 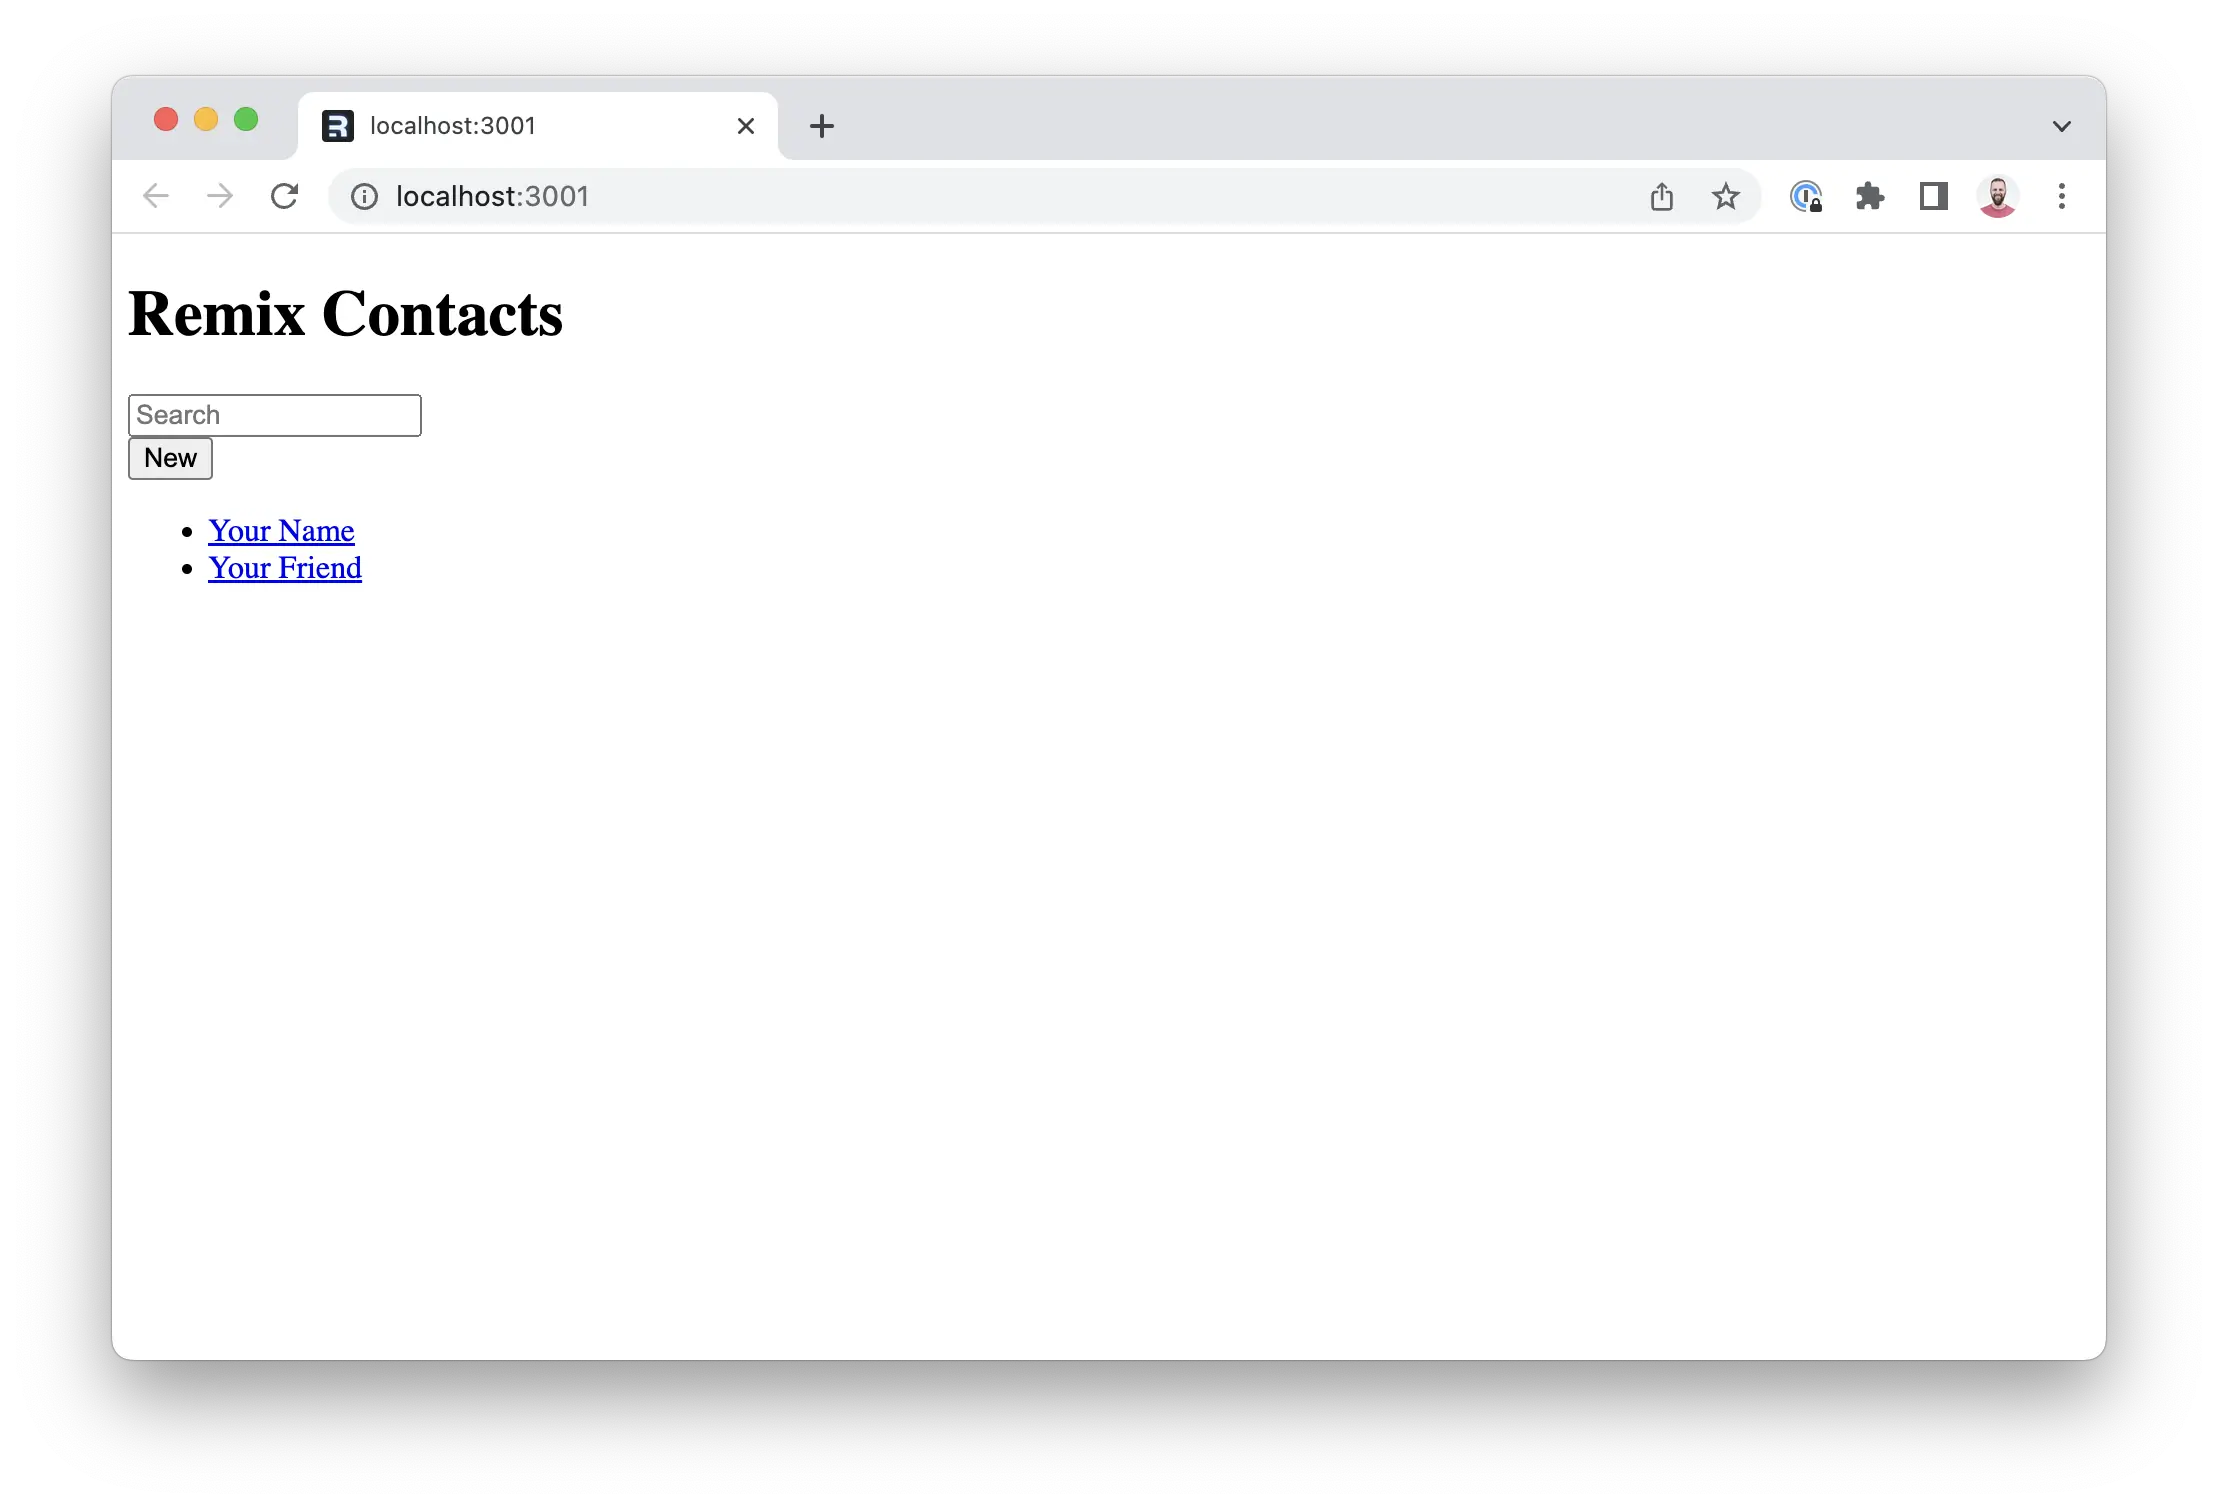
Styling
First of all we are going to get the styling out of the way. The css file should be located in the app folder. It is called app.css.
The root.tsx file is where we are going to import the css file. This file is located in the app folder.
import type { LinksFunction } from "@remix-run/node";
// existing imports

import appStylesHref from "./app.css?url";

export const links: LinksFunction = () => [
  { rel: "stylesheet", href: appStylesHref },
];The LinksFunction is a Remix function that allows you to add links to the head of the document. We are using it to add the css file to the head of the document.
The application should look something like this now: 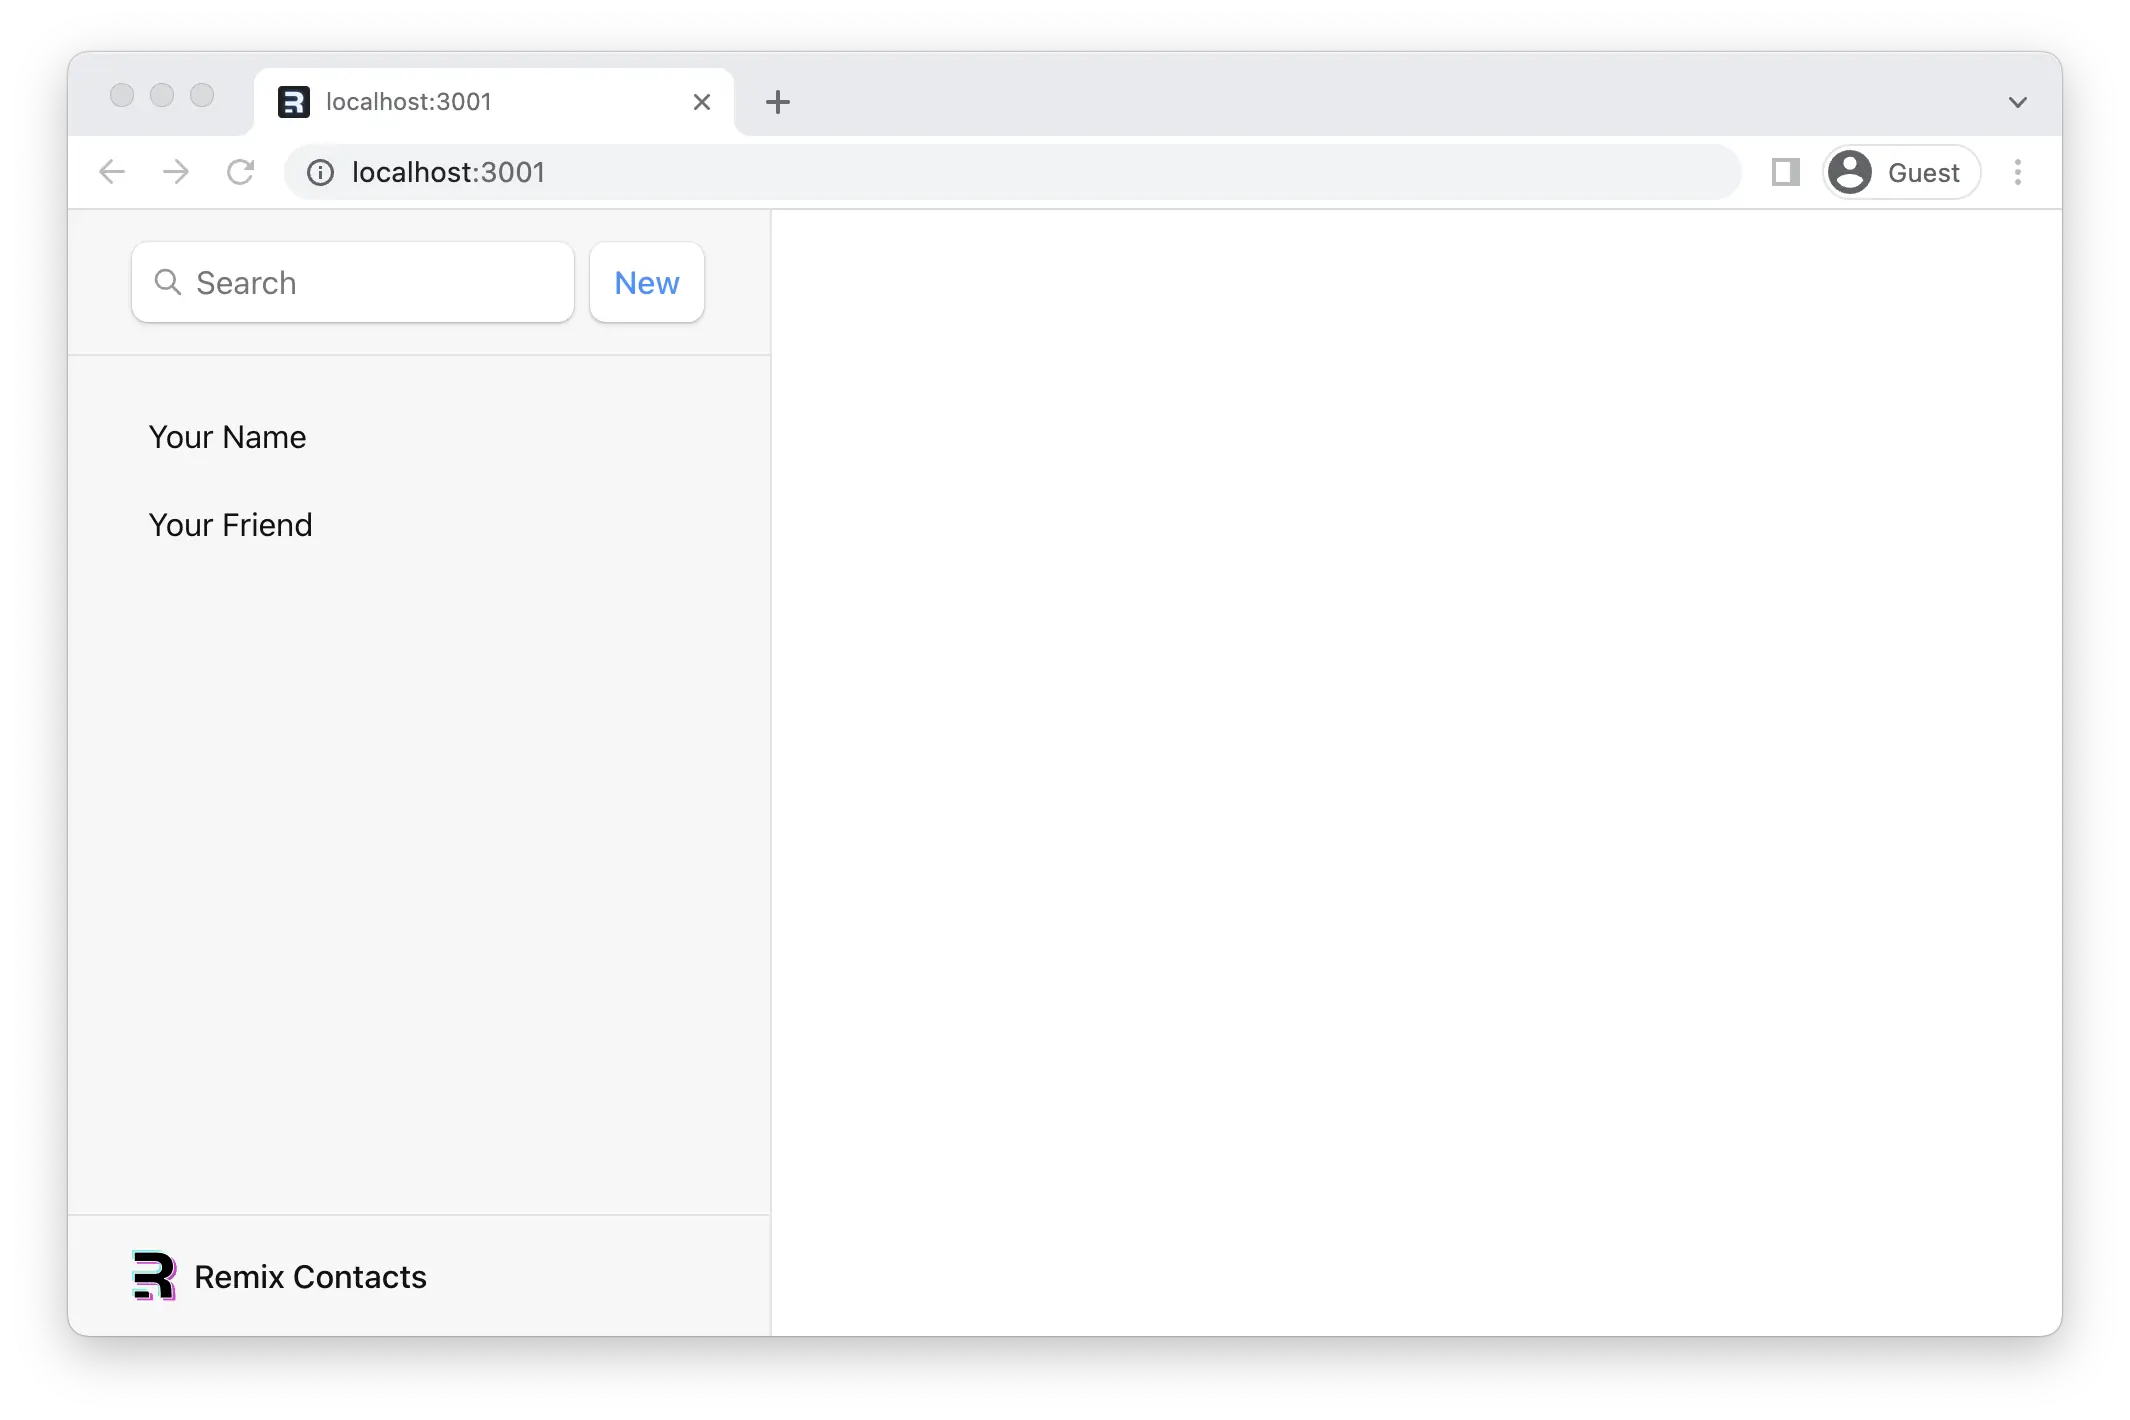
Changing files
data.ts
The data.ts file is where we are going to store the data for the events. In this file there are already a ton of functions to fetch and manipulate the data. But of course this is all based on the contacts example. We are going to change this to events.
We are not going to go in detail about all the functions in this file. They do not have to do with Remix. We are just going to change the types, names and the fake data to correspond with events.
First of all we are going to change the Contact types to Event types. This is located at the top of the file.
type EventMutation = {
  id?: string;
  title?: string;
  description?: string;
  date?: string;
  location?: string;
  organizer?: string;
  favorite?: boolean;
};

export type EventRecord = EventMutation & {
  id: string;
  createdAt: string;
};Next is the part for the fake DB table.
const fakeEvents = {
  records: {} as Record<string, EventRecord>,

  async getAll(): Promise<EventRecord[]> {
    return Object.keys(fakeEvents.records)
      .map((key) => fakeEvents.records[key])
      .sort(sortBy("-date", "title"));
  },

  async get(id: string): Promise<EventRecord | null> {
    return fakeEvents.records[id] || null;
  },

  async create(values: EventMutation): Promise<EventRecord> {
    const id = values.id || Math.random().toString(36).substring(2, 9);
    const createdAt = new Date().toISOString();
    const newEvent = { id, createdAt, ...values };
    fakeEvents.records[id] = newEvent;
    return newEvent;
  },

  async set(id: string, values: EventMutation): Promise<EventRecord> {
    const event = await fakeEvents.get(id);
    invariant(event, `Event with id ${id} not found`);
    const updatedEvent = { ...event, ...values };
    fakeEvents.records[id] = updatedEvent;
    return updatedEvent;
  },

  destroy(id: string): null {
    delete fakeEvents.records[id];
    return null;
  },
};Now come the helper functions.
export async function getEvents(query?: string | null) {
  await new Promise((resolve) => setTimeout(resolve, 500)); // Simulating async operation
  let events = await fakeEvents.getAll();
  if (query) {
    events = matchSorter(events, query, {
      keys: ["title", "description", "location", "organizer"],
    });
  }
  return events.sort(sortBy("-date", "title"));
}

export async function createEmptyEvent() {
  const event = await fakeEvents.create({});
  return event;
}

export async function getEvent(id: string) {
  return fakeEvents.get(id);
}

export async function updateEvent(id: string, updates: EventMutation) {
  const event = await fakeEvents.get(id);
  if (!event) {
    throw new Error(`No event found for ${id}`);
  }
  await fakeEvents.set(id, { ...event, ...updates });
  return event;
}

export async function deleteEvent(id: string) {
  fakeEvents.destroy(id);
}And lastly is the fake data for the events. Here you may add your own events. But I will give just some random events to begin with.
[
  {
    title: "React Conference 2024",
    description: "A conference for React enthusiasts and professionals.",
    date: "2024-12-01",
    location: "San Francisco, CA",
    organizer: "React Team",
  },
  {
    title: "JavaScript World Summit",
    description: "Global summit for all things JavaScript.",
    date: "2024-11-15",
    location: "Berlin, Germany",
    organizer: "JS Foundation",
  },
  {
    title: "WebDev Conference",
    description: "Web development trends and innovations.",
    date: "2024-10-22",
    location: "New York, NY",
    organizer: "WebDev Inc.",
    participants: [
      { first: "Charlie", last: "Johnson", email: "charlie@example.com" },
      { first: "Dana", last: "White", email: "dana@example.com" },
    ],
  },
  {
    title: "CSS Design Awards",
    description: "Celebrating the best in CSS design.",
    date: "2024-09-10",
    location: "London, UK",
    organizer: "CSS Awards",
  },
  {
    title: "Node.js Interactive",
    description: "Interactive sessions and workshops on Node.js.",
    date: "2024-08-05",
    location: "Austin, TX",
    organizer: "Node.js Foundation",
  },
  {
    title: "Vue.js Summit",
    description: "Summit for Vue.js developers and enthusiasts.",
    date: "2024-07-20",
    location: "Paris, France",
    organizer: "Vue.js Community",
  },
  {
    title: "Angular Connect",
    description: "Connecting Angular developers worldwide.",
    date: "2024-06-15",
    location: "Amsterdam, Netherlands",
    organizer: "Angular Team",
  },
  {
    title: "Tech Leadership Conference",
    description: "Conference for tech leaders and managers.",
    date: "2024-05-10",
    location: "Toronto, Canada",
    organizer: "Tech Leaders",
  },
  {
    title: "AI & Machine Learning Summit",
    description: "Summit on AI and machine learning advancements.",
    date: "2024-04-25",
    location: "Tokyo, Japan",
    organizer: "AI Society",
  },
  {
    title: "Blockchain Expo",
    description: "Expo showcasing blockchain technology.",
    date: "2024-03-30",
    location: "Dubai, UAE",
    organizer: "Blockchain Association",
  },
].forEach((event) => {
  fakeEvents.create({
    ...event,
    id: `${event.title.toLowerCase().replace(/\s+/g, "-")}`,
  });
});Root.tsx
The root.tsx file is the main file for the project. We will need to tweak this a little bit so we can get started with the events.
First of all the Title says "Remix Contacts" we are going to change this to "Remix Events".
<h1>Remix Events</h1>Next is the search form where we need to change the aria-label to "Search Events".
<form id="search-form" role="search">
  <input
    id="q"
    aria-label="Search Events"
    placeholder="Search"
    type="search"
    name="q"
  />
  <div id="search-spinner" aria-hidden hidden="{true}" />
</form>And lastly we need to change the links in the navigation to go to the events detail pages.
<nav>
    <ul>
        <li>
        <a href={`/events/1`}>Your Name</a>
        </li>
        <li>
        <a href={`/events/2`}>Your Friend</a>
        </li>
    </ul>
</nav>Routes
When clicking on the links in the navigation you will see that the URL changes but the content does not. This is because we have not created the routes for the events yet.
Firstly we will create a folder routes in the app folder. In this folder we will create a file events.$eventId.tsx.
This is the naming convention for Remix routes. The . will create a / in the url and the $ makes a segment dynamic. The $eventId is a parameter that we can use to get the event id from the URL.
This means that the following routes will exist:
/events/123/events/abc
In the events.$eventId.tsx file we will add the following code:
import { Form } from "@remix-run/react";

export default function Event() {
  const event = {
    title: "Your Event",
    description: "A description of your event.",
    date: "2024-12-01",
    location: "San Francisco, CA",
    organizer: "Your Organization",
  };

  return (
    <div id="event">
      <div>
        <h1>{event.title ? <>{event.title}</> : <i>No Name</i>} </h1>

        {event.description ? <p>{event.description}</p> : null}
        {event.date ? <p>Date: {event.date}</p> : null}
        {event.location ? <p>Location: {event.location}</p> : null}
        {event.organizer ? <p>Organizer: {event.organizer}</p> : null}
        <div>
          <Form action="edit">
            <button type="submit">Edit</button>
          </Form>

          <Form
            action="destroy"
            method="post"
            onSubmit={(event) => {
              const response = confirm(
                "Please confirm you want to delete this record."
              );
              if (!response) {
                event.preventDefault();
              }
            }}
          >
            <button type="submit">Delete</button>
          </Form>
        </div>
      </div>
    </div>
  );
}If we try clicking on a item in the sidebar again we see that we do not get a 404 page anymore. But we do not see the event details either. This is because we need to render an outlet in the root.tsx file. This is because Remix is built on top of React Router.
import {
  Form,
  Links,
  Meta,
  Outlet,
  Scripts,
  ScrollRestoration,
} from "@remix-run/react";

export default function App() {
  return (
    <html lang="en">
      {/* other elements */}
      <body>
        <div id="sidebar">{/* other elements */}</div>
        <div id="detail">
          <Outlet />
        </div>
        {/* other elements */}
      </body>
    </html>
  );
}Now you should be able to see something like this: 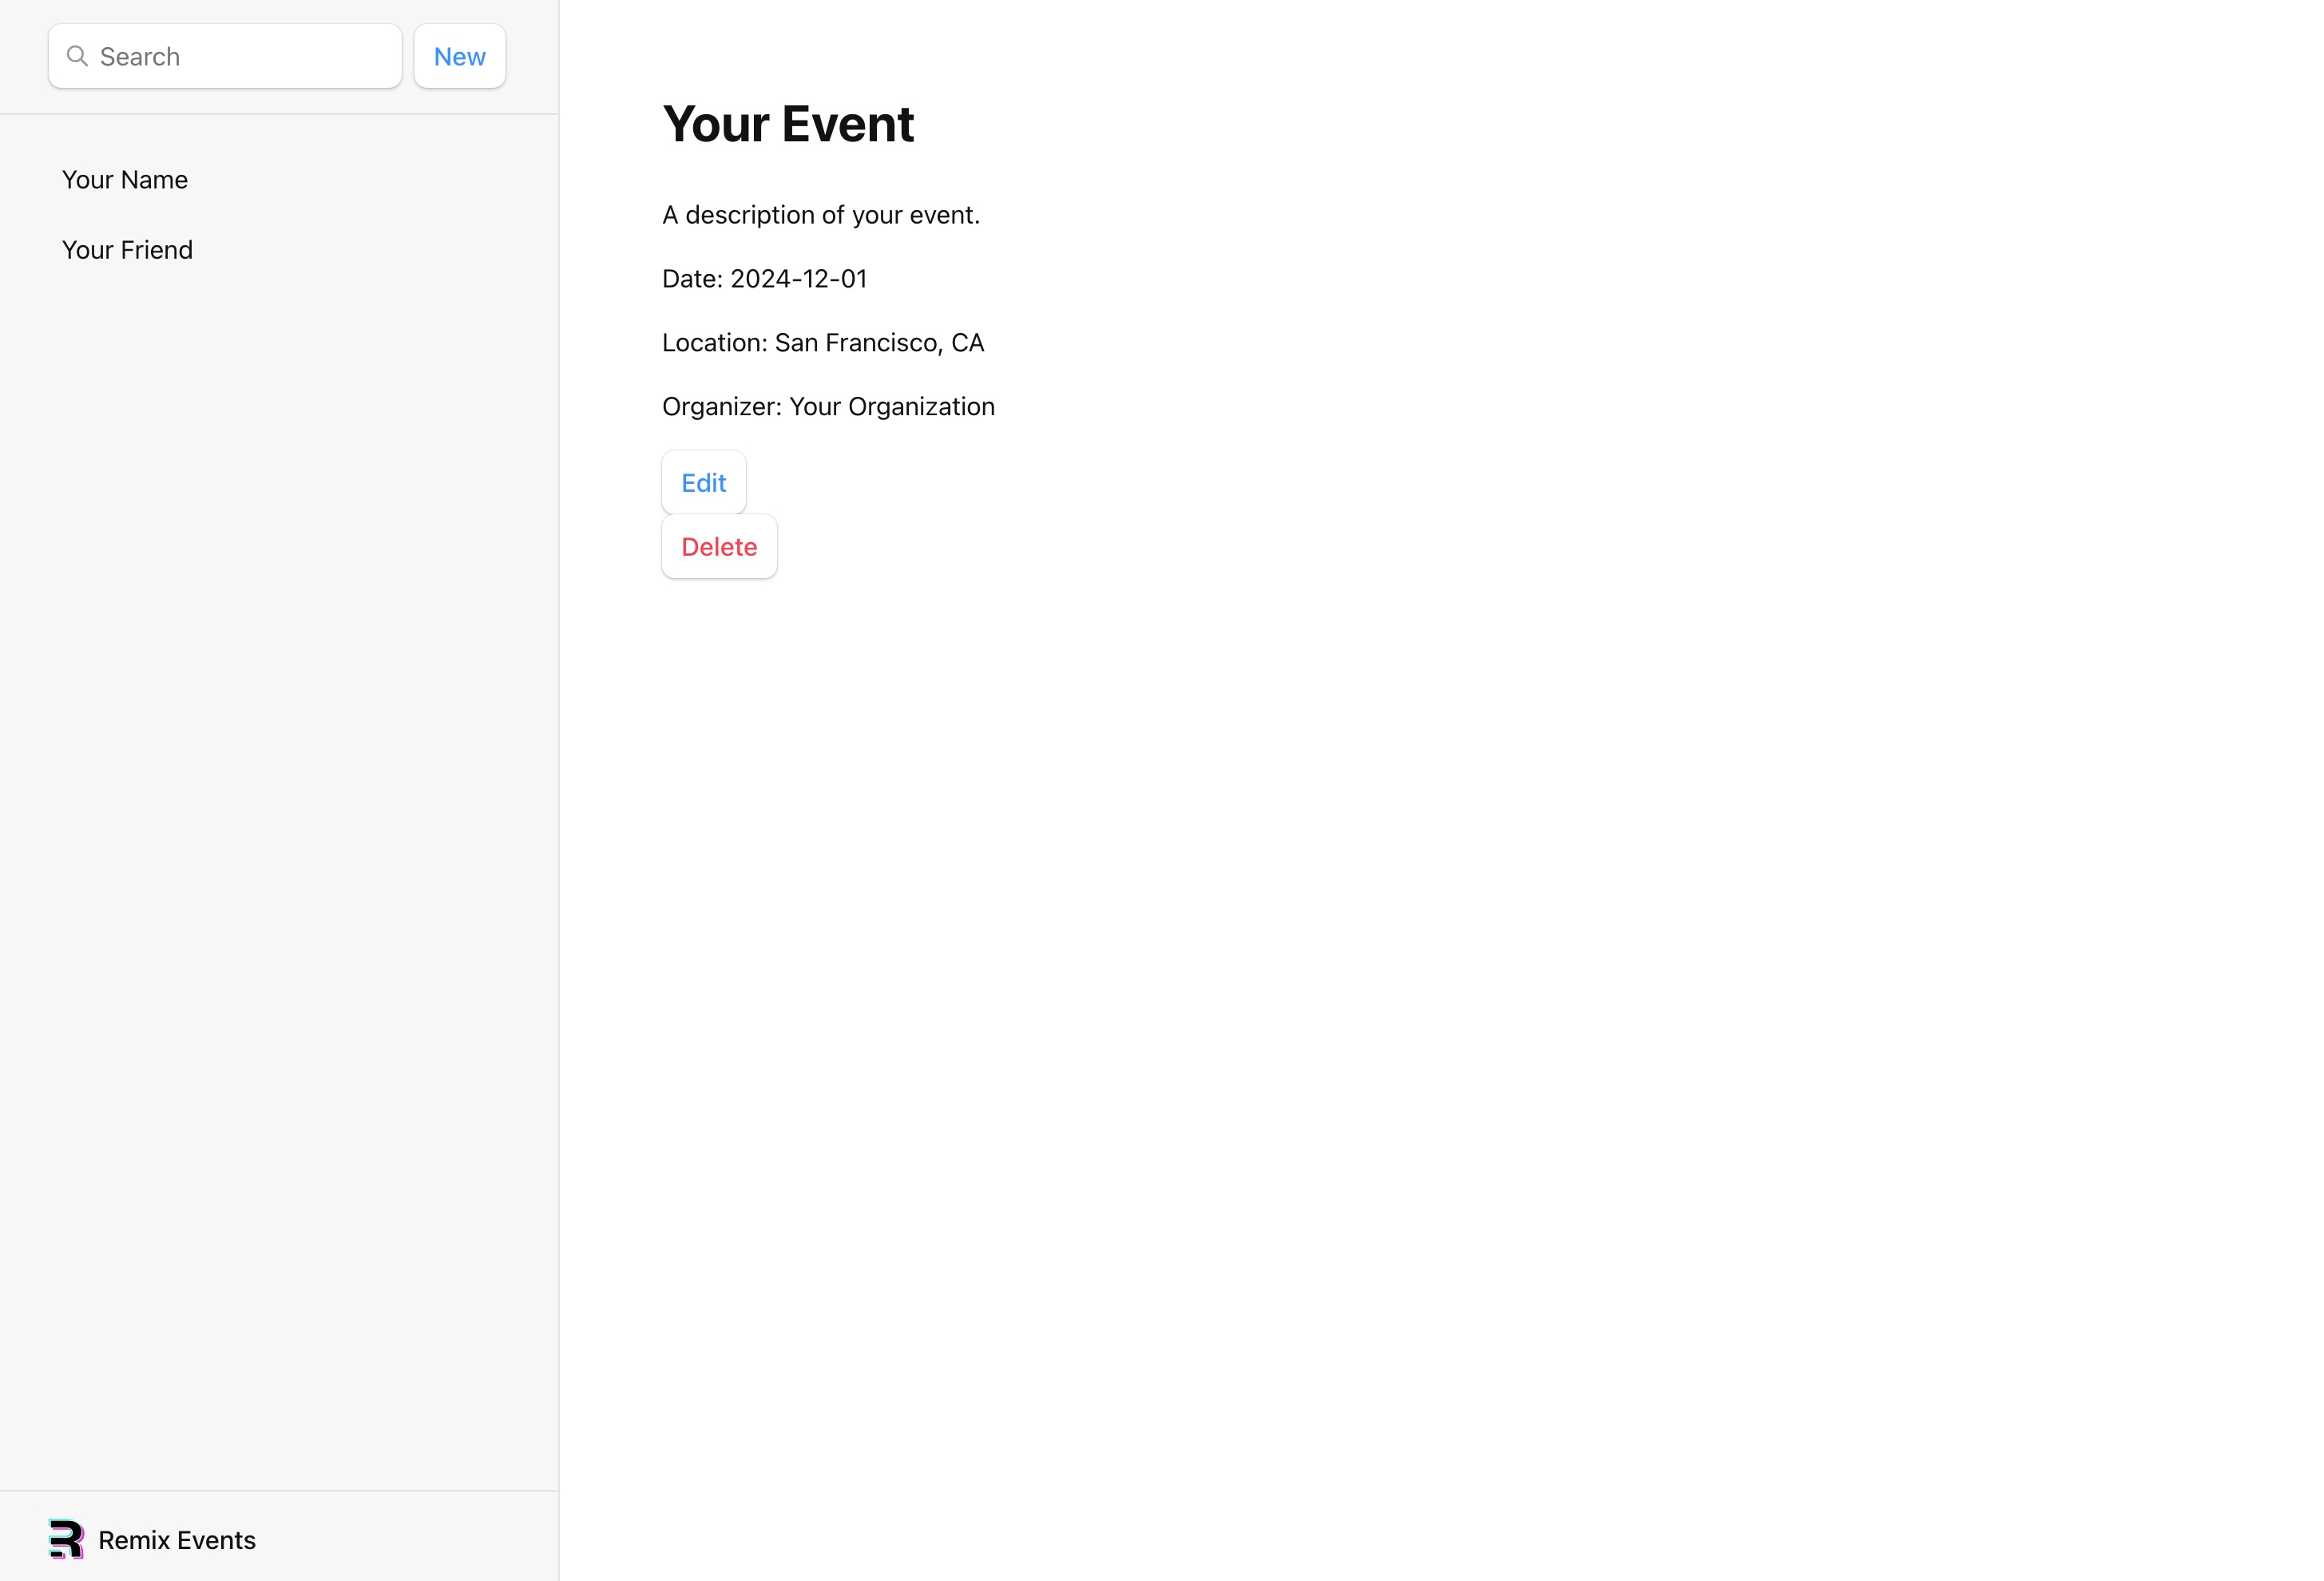
Client side routing
For the purpose of better user experience we are going to add client side routing. This means that when we click on a link the page will not refresh but the content will change. This is done by adding a Link component from Remix.
First we need to import the Link component from Remix.
// existing imports
import {
  Form,
  Link,
  Links,
  Meta,
  Outlet,
  Scripts,
  ScrollRestoration,
} from "@remix-run/react";Next we need to change the links in the navigation to use the Link component.
<nav>
  <ul>
    <li>
      <Link to={`/events/1`}>Your Name</Link>
    </li>
    <li>
      <Link to={`/events/2`}>Your Friend</Link>
    </li>
  </ul>
</nav>Now when you click on a link you will see that the content changes without the page refreshing.
Using the data
Now we are finally going to be using the data we have created in the data.ts file. We are going to fetch the data and display it in the sidebar.
This will be achieved using the loader and useLoaderData hook from Remix.
This will be how the root.tsx file will look like:
import {
  Form,
  Link,
  Links,
  Meta,
  Outlet,
  Scripts,
  ScrollRestoration,
  useLoaderData,
} from "@remix-run/react";
import { json } from "@remix-run/node";
import { getEvents } from "./data";

// existing exports
export const loader = async () => {
  const events = await getEvents();
  return json({ events });
};

export default function App() {
  const { events } = useLoaderData<typeof loader>();

  return (
    <html lang="en">
      {/* other elements */}
      <body>
        <div id="sidebar">
          {/* other elements */}
          <nav>
            {events.length ? (
              <ul>
                {events.map((event) => (
                  <li key={event.id}>
                    <Link to={`events/${event.id}`}>
                      {event.title ? <>{event.title}</> : <i>No Title</i>}
                    </Link>
                  </li>
                ))}
              </ul>
            ) : (
              <p>
                <i>No events</i>
              </p>
            )}
          </nav>
        </div>
        {/* other elements */}
      </body>
    </html>
  );
}The sidebar should look something like this now: 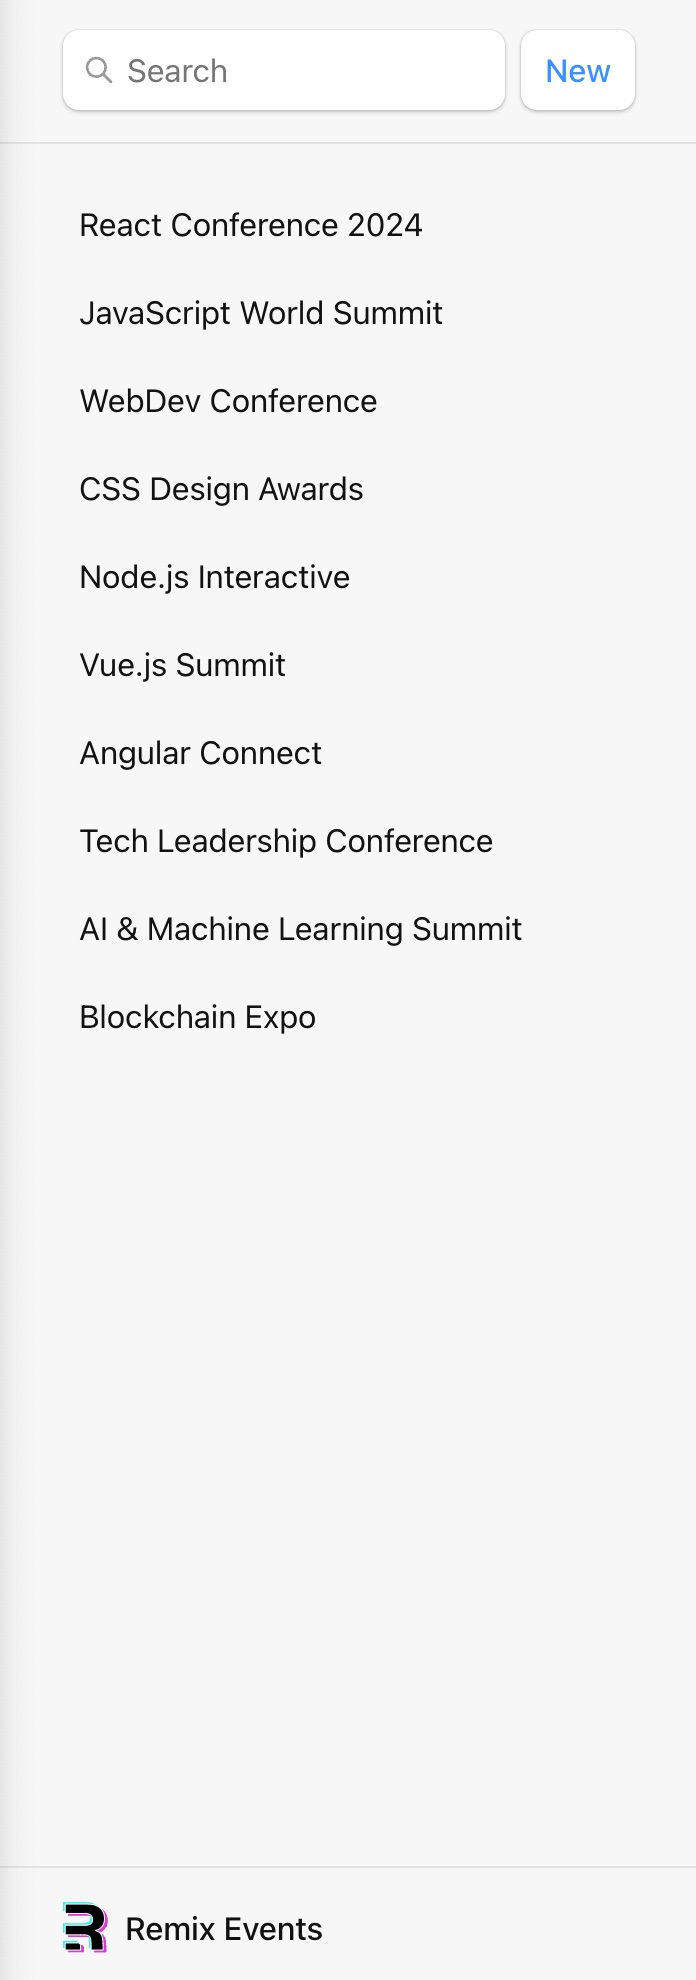
Url Parameters
We are now going to load the data using the url params and loader. This is done by adding a params object to the loader function.
This will be done inside the events.$eventId.tsx file.
import { json } from "@remix-run/node";
import { Form, useLoaderData } from "@remix-run/react";
// existing imports

import { getEvent } from "../data";

export const loader = async ({ params }) => {
  const event = await getEvent(params.eventId);
  return json({ event });
};

export default function Contact() {
  const { event } = useLoaderData<typeof loader>();

  // existing code
}

// existing codeThis is what you should see now: 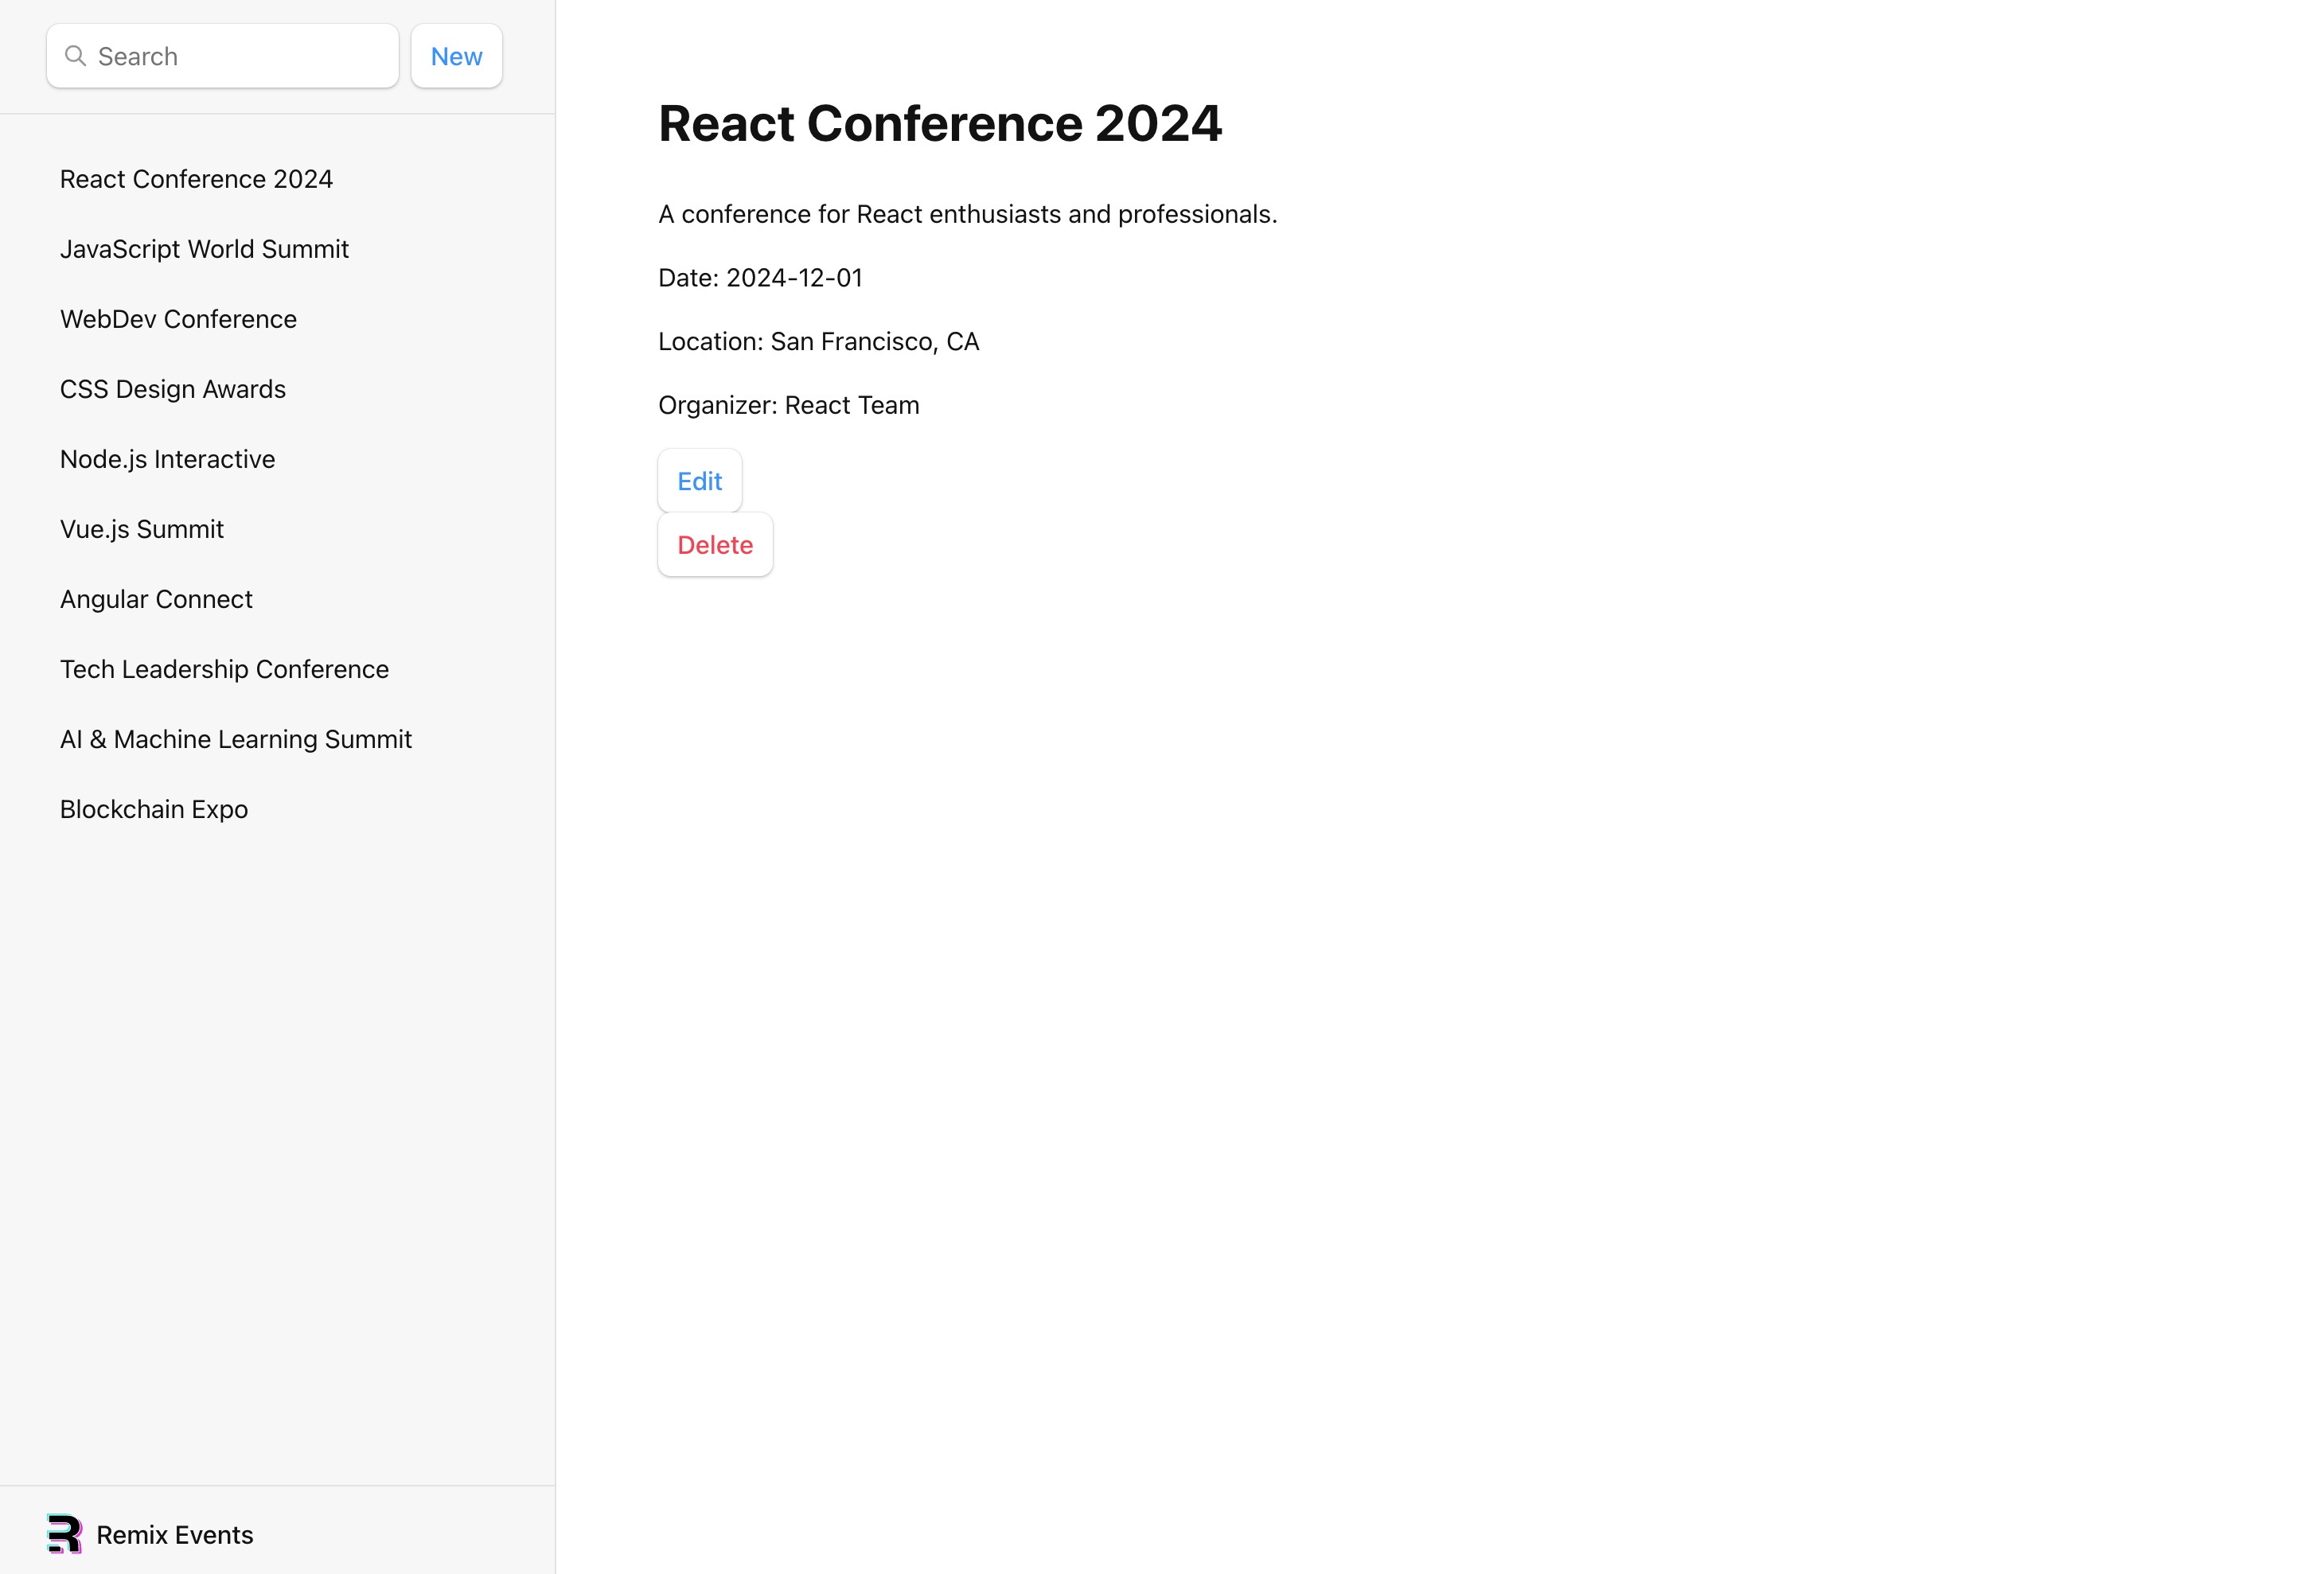
In this code are errors but we are now going to address them.
We need to validate the params and trow responses if the event is not found.
// existing imports
import type { LoaderFunctionArgs } from "@remix-run/node";
import invariant from "tiny-invariant";

export const loader = async ({ params }: LoaderFunctionArgs) => {
  invariant(params.eventId, "Missing eventId param");
  const event = await getEvent(params.eventId);
  if (!event) {
    throw new Response("Not Found", { status: 404 });
  }
  return json({ event });
};Using the invariant function from tiny-invariant we can check if the eventId is present in the params. If it is not we will throw an error. This error may occur when the user types in the url manually or the file name has been changed.
The useLoaderData<typeof loader>() hook will now return the event object if it exists. This is why we add the if (!event) statement to check if the event exists. If it does not we will now be redirected to the 404 error page.
Creating a new event
We will now be creating an event using the action function from Remix.
we will export an action in the root.tsx file.
// existing imports

import { createEmptyEvent, getEvents } from "./data";

export const action = async () => {
  const event = await createEmptyEvent();
  return json({ event });
};Now press the "new" button and it should create an empty event. 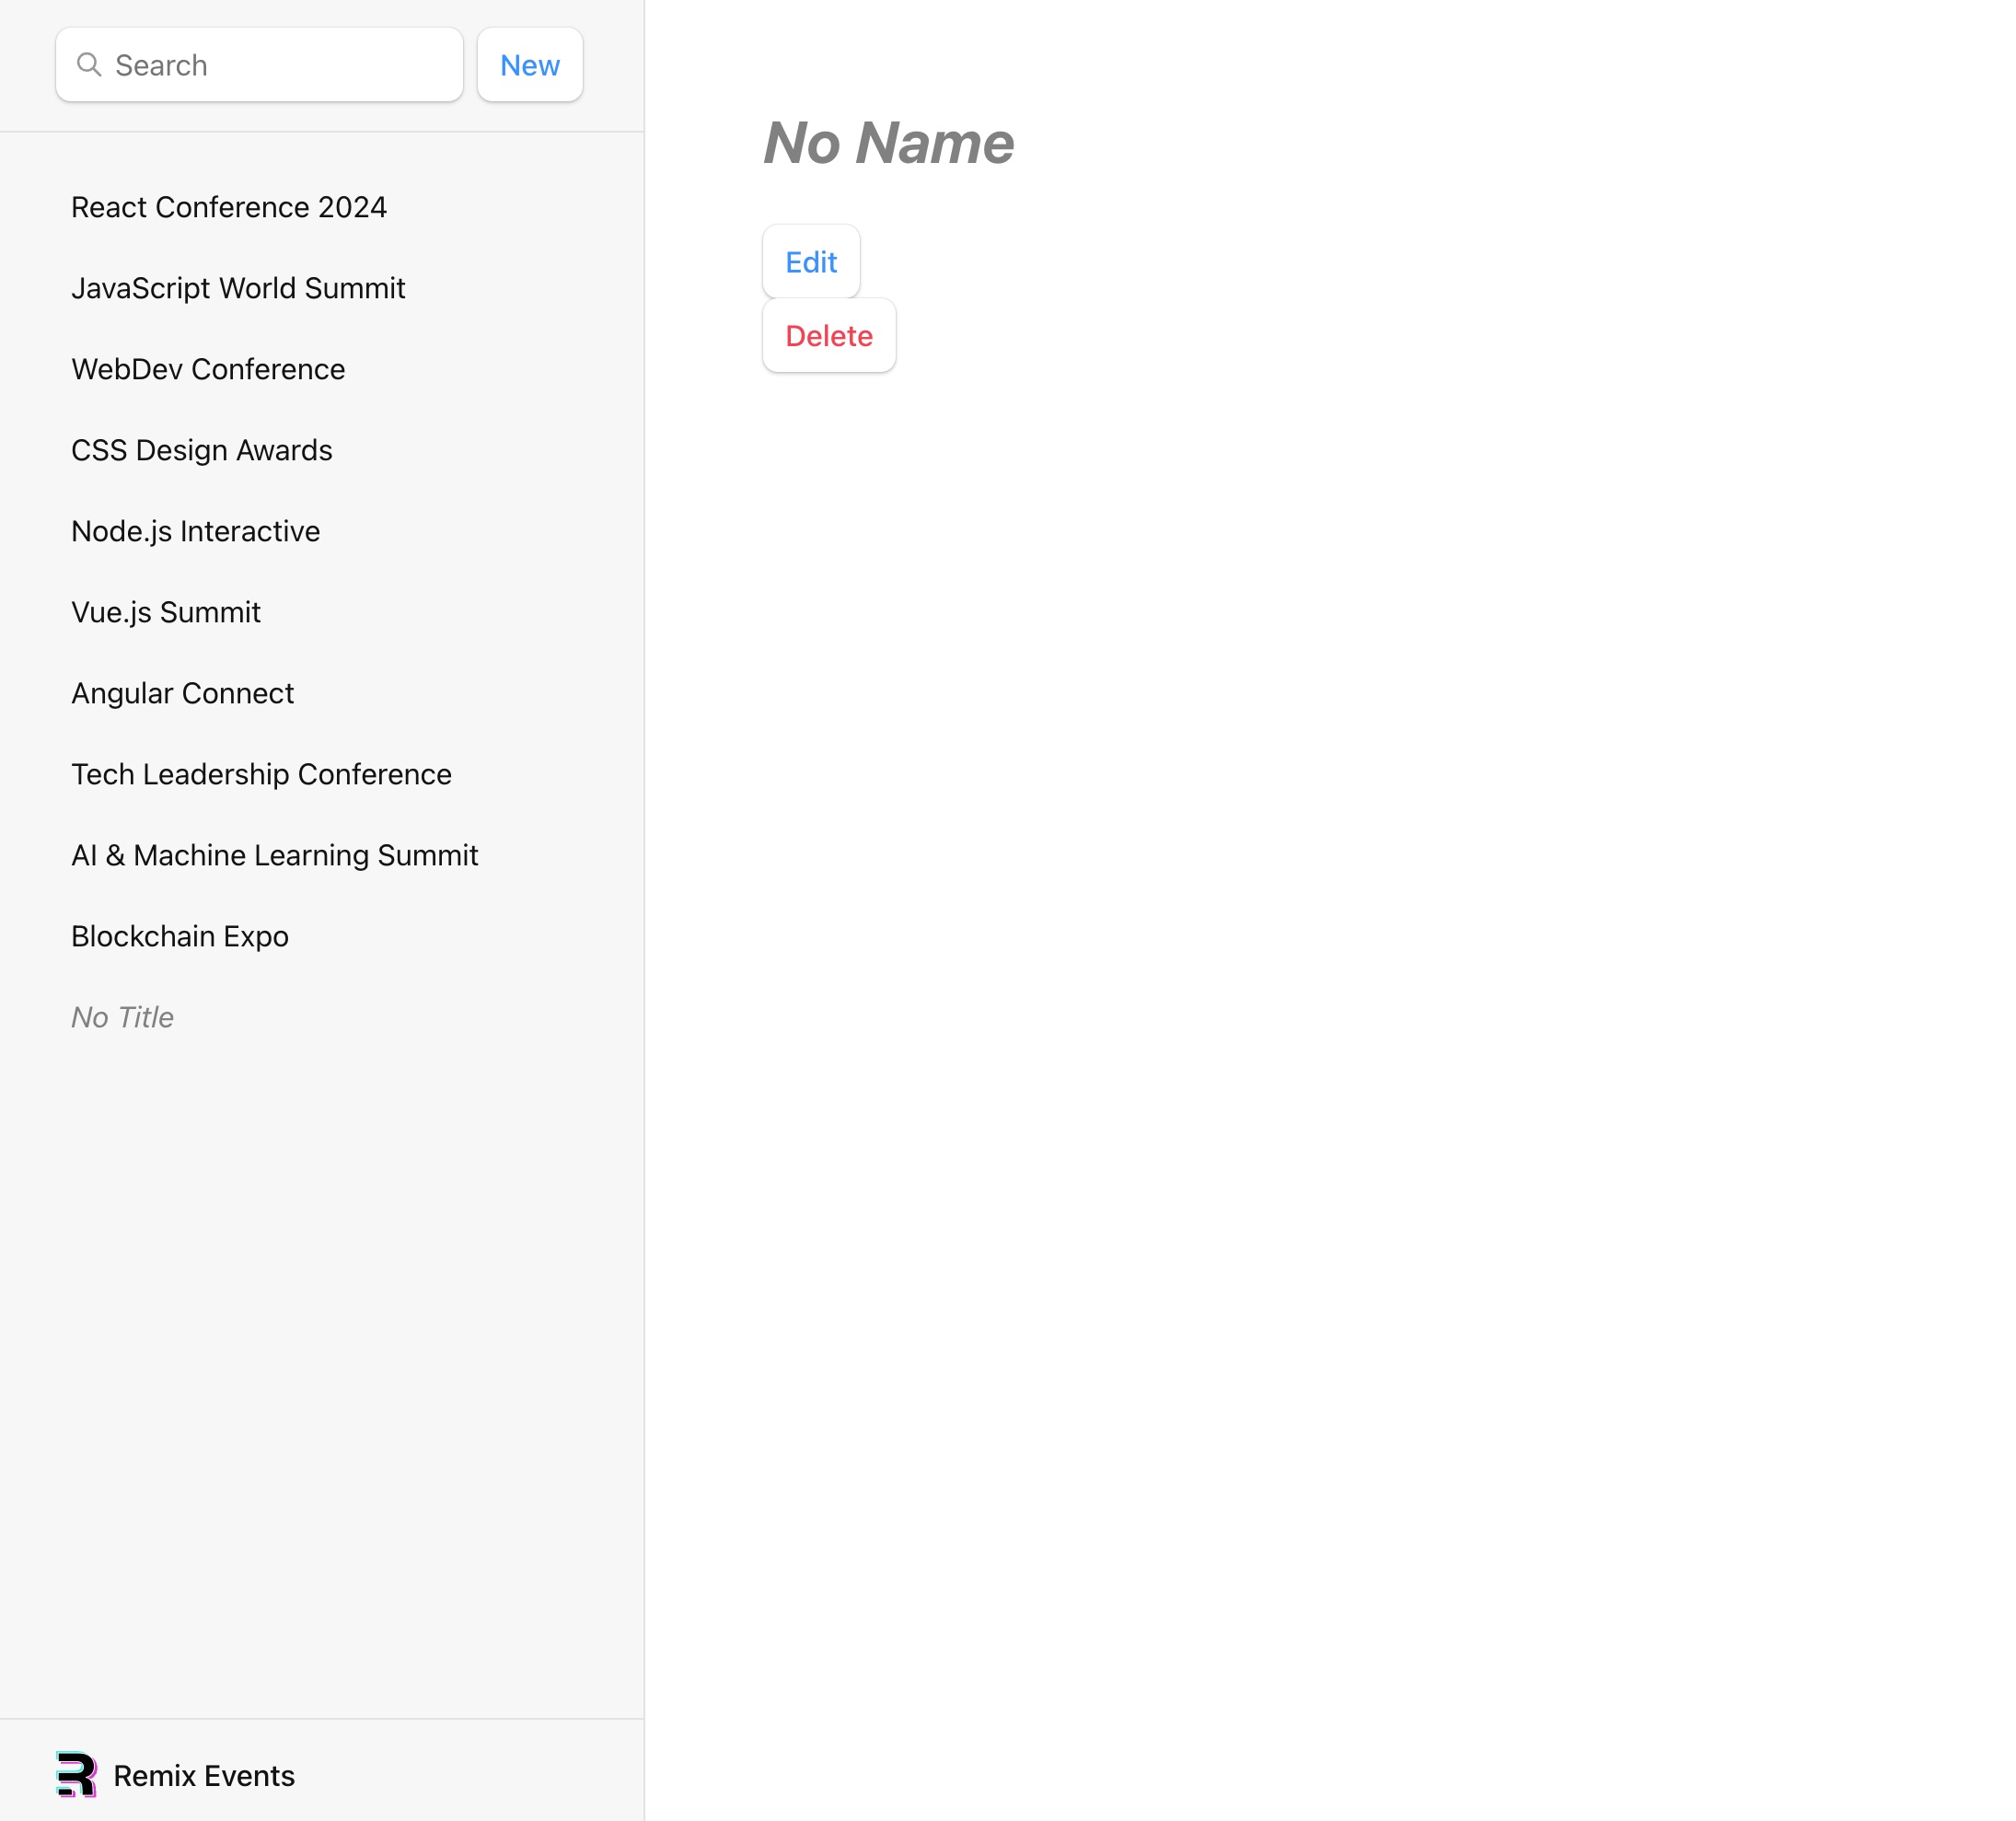
You might have noticed that the sidebar updated automatically. Remix uses the POST method as a hint to revalidate the data automatically after an action finishes.
Remix uses "old school web" principles. The <Form> component prevents the browser from sending the request to the server and jsut sends it to your route's action function with a fetch.
Editing an event
Let's edit the new empty event we just created.
We will firstly be making a new route for the edit page. This will be done by creating a new file in the routes folder called events.$eventId_.edit.tsx.
Note the _ in the file name. This is to tell Remix that this is a nested route. Meaning that this route is a child of the events.$eventId.tsx route.
In this file we will add the following code:
import type { LoaderFunctionArgs } from "@remix-run/node";
import { json } from "@remix-run/node";
import { Form, useLoaderData } from "@remix-run/react";
import invariant from "tiny-invariant";

import { getEvent } from "../data";

export const loader = async ({ params }: LoaderFunctionArgs) => {
  invariant(params.eventId, "Missing eventId param");
  const event = await getEvent(params.eventId);
  if (!event) {
    throw new Response("Not Found", { status: 404 });
  }
  return json({ event });
};

export default function EditEvent() {
  const { event } = useLoaderData<typeof loader>();

  return (
    <Form key={event.id} id="event-form" method="post">
      <p>
        <span>Title</span>
        <input
          aria-label="Title"
          defaultValue={event.title}
          name="title"
          placeholder="Title"
          type="text"
        />
      </p>
      <label>
        <span>description</span>
        <input
          aria-label="Description"
          defaultValue={event.description}
          name="description"
          placeholder="Description"
          type="text"
        />
      </label>

      <label>
        <span>Date</span>
        <input
          aria-label="Date"
          defaultValue={event.date}
          name="date"
          placeholder="Date"
          type="date"
        />
      </label>
      <label>
        <span>Location</span>
        <input
          aria-label="Location"
          defaultValue={event.location}
          name="location"
          placeholder="Location"
          type="text"
        />
      </label>
      <label>
        <span>Organizer</span>
        <input
          aria-label="Organizer"
          defaultValue={event.organizer}
          name="organizer"
          placeholder="Organizer"
          type="text"
        />
      </label>
      <p>
        <button type="submit">Save</button>
        <button type="button" onClick={}>
          Cancel
        </button>
      </p>
    </Form>
  );
}Now when you click on the "Edit" button you will be redirected to the edit page. Here you can edit the event and save it.
It should look something like this: 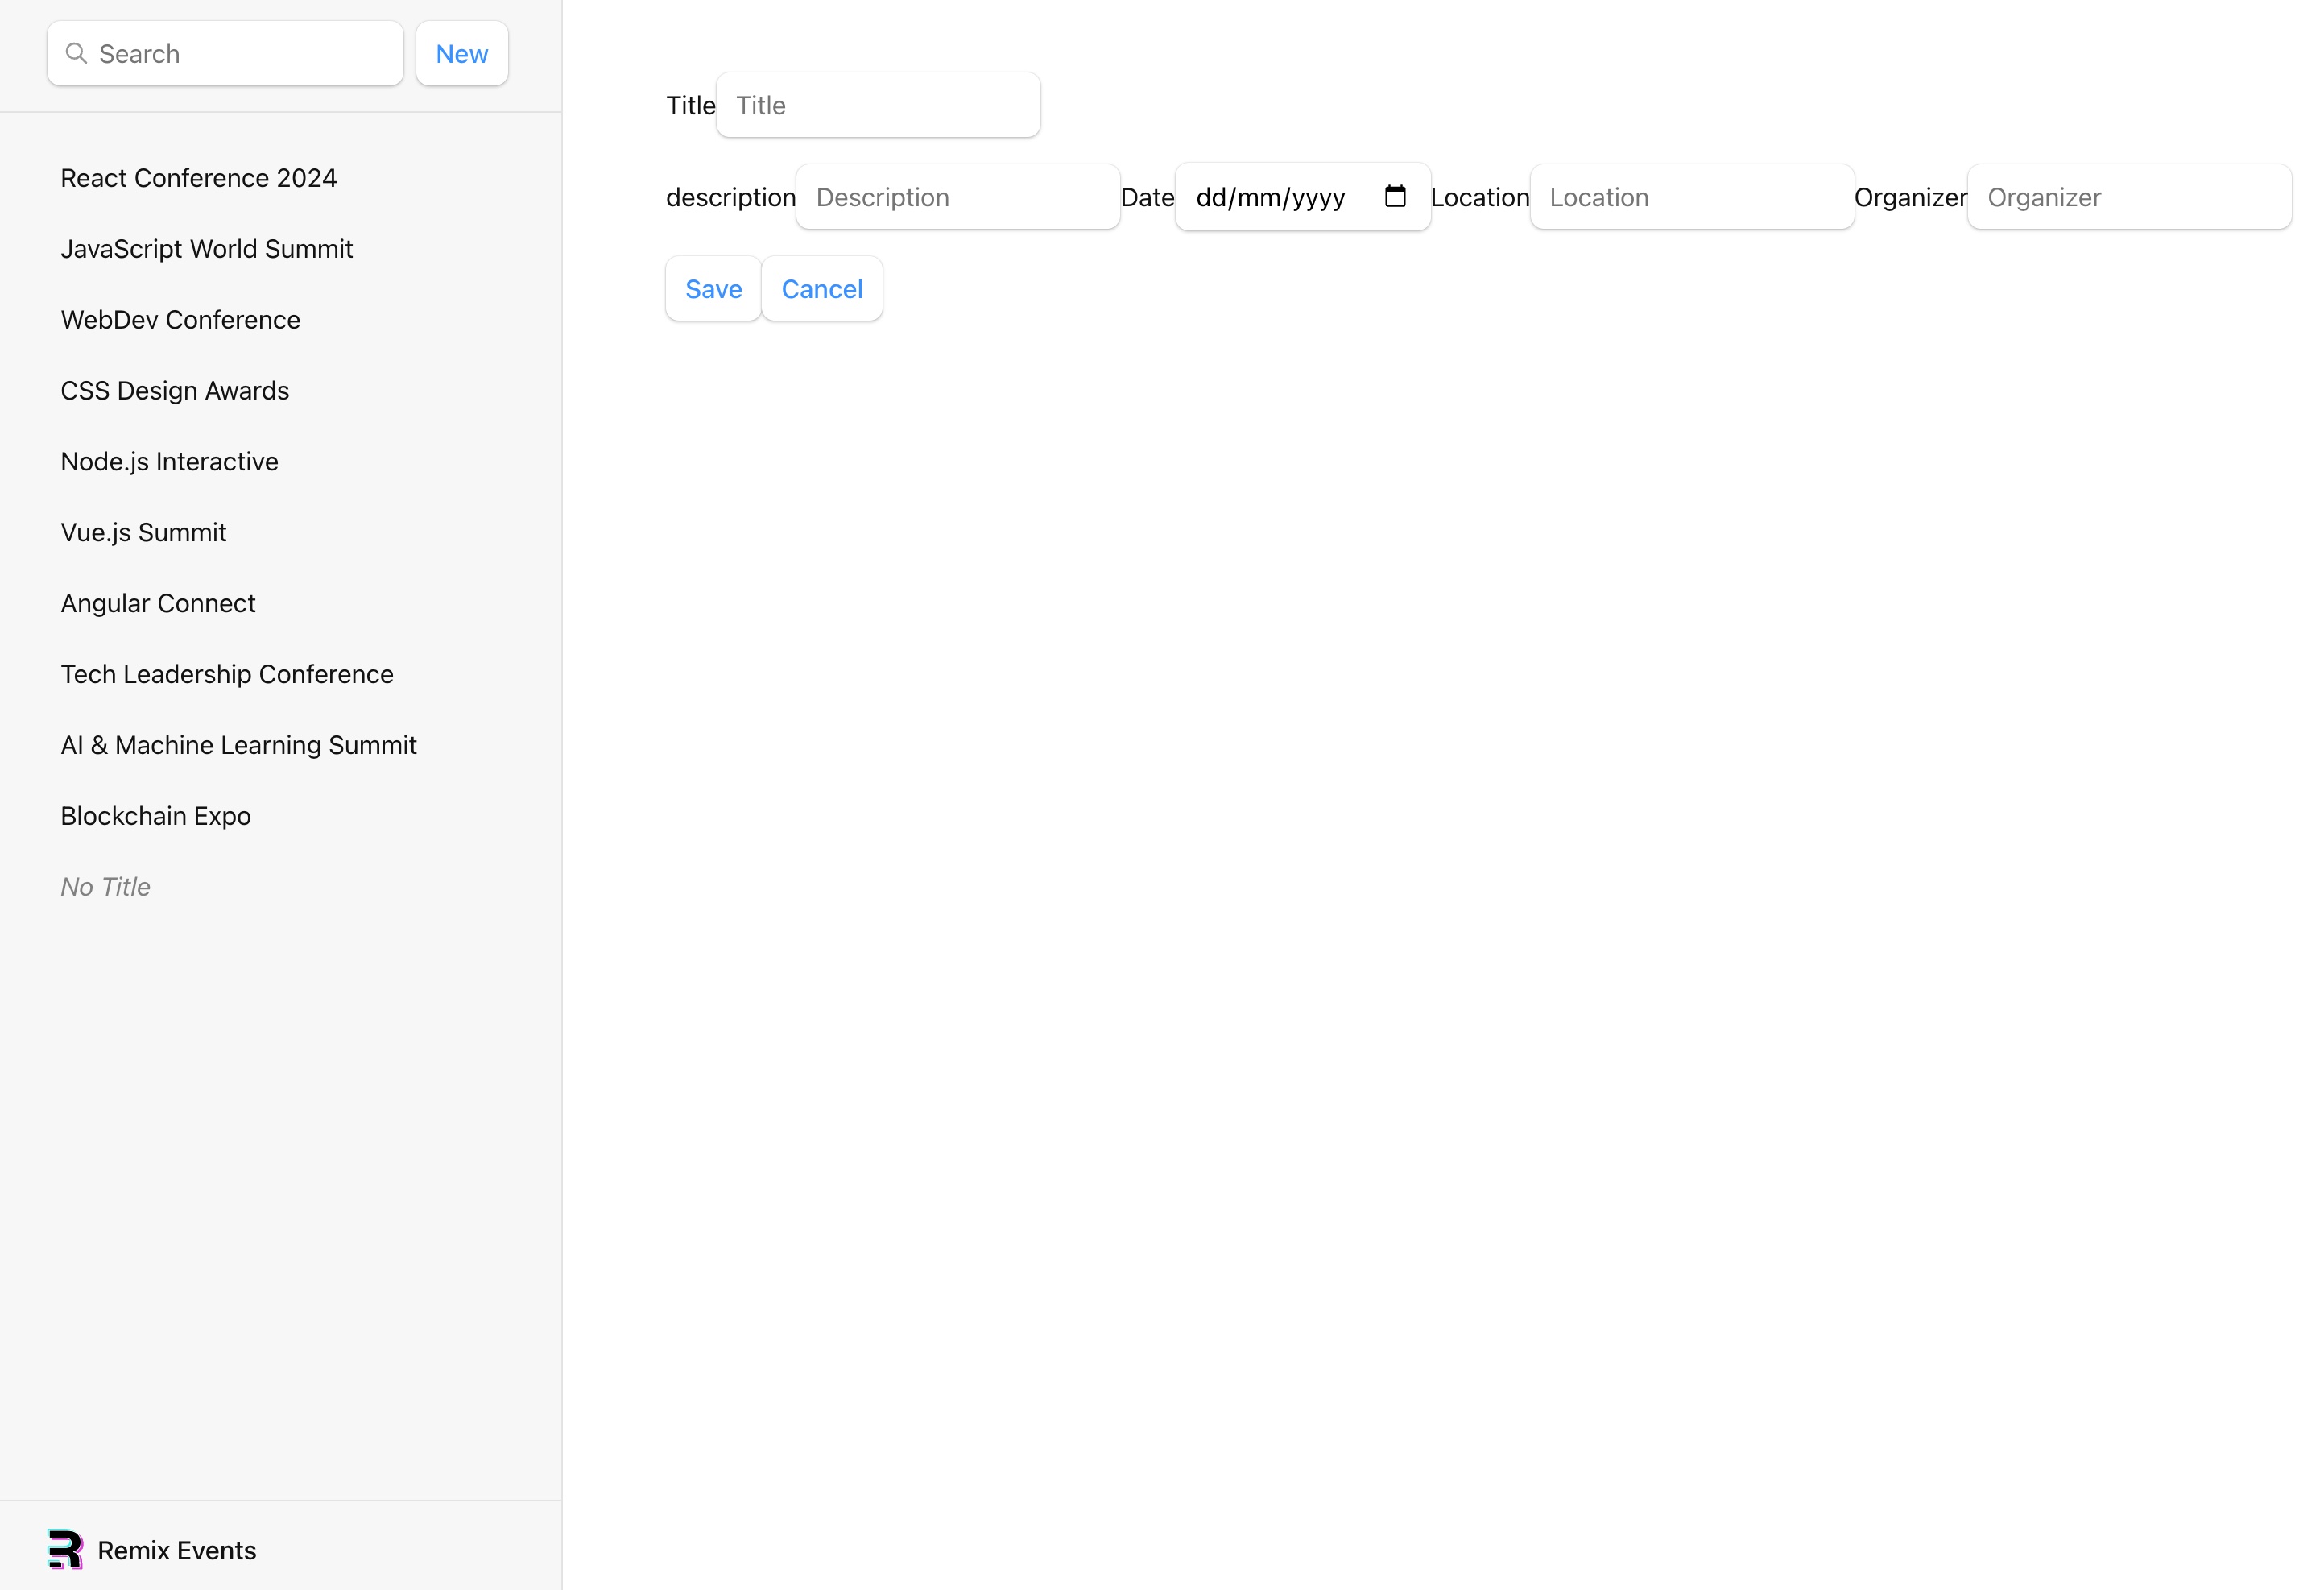
This will not work right now because we do not have an action to save the event. We will be adding this now.
// existing imports
import type { LoaderFunctionArgs, ActionFunctionArgs } from "@remix-run/node";
import { json, redirect } from "@remix-run/node";
import { getEvent, updateEvent } from "../data";

// existing exports
export const action = async ({ params, request }: ActionFunctionArgs) => {
  invariant(params.eventId, "Missing eventId param");
  const formData = await request.formData();
  const updates = Object.fromEntries(formData);
  await updateEvent(params.eventId, updates);
  return redirect(`/events/${params.eventId}`);
};Now you are able to update the event and save it. You will be redirected back to the event detail page.
Let's talk about how this works.
The input fields in the form have the name attribute. This is the key that will be used in the Object.fromEntries(formData) function. This function will return an object with the key value pairs of the form data.
If you wanted to access individual form fields you could do something like this:
export const action = async ({ params, request }: ActionFunctionArgs) => {
  invariant(params.eventId, "Missing eventId param");
  const formData = await request.formData();
  const title = formData.get("title");
  const description = formData.get("description");
  const date = formData.get("date");
  const location = formData.get("location");
  // ...
};but this is not recommended because it is not scalable. If you add more fields you will have to add more variables. So it is better to use the Object.fromEntries(formData) function.
You might also have noticed the redirect function. This function will redirect you to the specified url. In this case it will redirect you to the event detail page. This is possible because of the import from @remix-run/node. This is a Remix function that allows you to redirect the user to a different page.
Redirecting newly created events to the edit page
Now that we can edit an event and redirect the user, we will be redirecting the user to the edit page when a new event is created.
This will be done by adding a redirect function to the action function in the root.tsx file.
// existing imports
import { json, redirect } from "@remix-run/node";

export const action = async () => {
  const event = await createEmptyEvent();
  return redirect(`/events/${event.id}/edit`);
};Now when you click on the "new" button you will be redirected to the edit page like this: 
Deleting an event
In the events.$eventId.tsx file we can see that there is a delete form. But it does not do anything yet. We are now going to be adding functionality to the destroy action.
The action inside the form will be pointing towards a value that you give yourself. In this case it is pointing towards destroy. This means that we can add the destroy action inside another file.
Firstly we need to make a new route for the destroy action: events.$eventId.destroy.tsx. This time the file name does not have a _ in it. This means that this is not a nested route.
In this file we will add the following code:
import type { ActionFunctionArgs } from "@remix-run/node";
import { redirect } from "@remix-run/node";
import invariant from "tiny-invariant";

import { deleteEvent } from "../data";

export const action = async ({ params }: ActionFunctionArgs) => {
  invariant(params.eventId, "Missing eventId param");
  await deleteEvent(params.eventId);
  return redirect("/");
};Now when you click on the "Delete" button you will be redirected to the root page and the event will be deleted.
Favorite events
We will add a favorite button to the event detail page and a favorite icon to the sidebar.
We will need a couple more files for this. We will need a new route for the favorite action and a component for the favorite "form".
firstly we will create a new route for the favorite action: events.$eventId.action.favorite.tsx.
This time we have action inside the file name. This is just a naming convention and is not necessary. But it is a good practice to keep your files organized.
In this file we will add the following code:
import { ActionFunctionArgs } from "@remix-run/node";
import invariant from "tiny-invariant";
import { updateEvent } from "~/data";

export const action = async ({ params, request }: ActionFunctionArgs) => {
  invariant(params.eventId, "Missing eventId param");
  const formData = await request.formData();
  return updateEvent(String(params.eventId), {
    favorite: formData.get("favorite") === "true",
  });
};Now we will create a new component for the favorite form. This will be a simple form with a button to favorite the event.
The file will be created inside a components folder in the app folder. The file will be called Favorite.tsx.
In this file we will add the following code:
import { useFetcher } from "@remix-run/react";
import { FunctionComponent } from "react";
import { EventRecord } from "~/data";

export const Favorite: FunctionComponent<{
  event: Pick<EventRecord, "id" | "favorite">;
}> = ({ event }) => {
  const fetcher = useFetcher();
  const favorite = fetcher.formData
    ? fetcher.formData.get("favorite") === "true"
    : event.favorite;

  return (
    <fetcher.Form method="post" action={`/events/${event.id}/action/favorite`}>
      <button
        aria-label={favorite ? "Remove from favorites" : "Add to favorites"}
        name="favorite"
        value={favorite ? "false" : "true"}
      >
        {favorite ? "★" : "☆"}
      </button>
    </fetcher.Form>
  );
};As you can see in the action parameter of the form we navigate to the action we created earlier. If you named it without the action in the file name you will have to change this.
Because we do not want our url to change when we favorite an event we will be using the useFetcher hook from Remix. This hook will allow us to communicate with actions and loaders without changing the url.
Next we will need to change the events.$eventId.tsx file to include the favorite component.
// existing imports
import { Favorite } from "~/components/Favorite";

export default function Event() {
  const { event } = useLoaderData<typeof loader>();

  return (
    <div id="event">
      <div>
        <h1>
          {event.title ? <>{event.title}</> : <i>No Name</i>}{" "}
          <Favorite event={event} />
        </h1>
        /* existing code */
      </div>
    </div>
  );
}Next up we need to add the favorite icon to the sidebar when an event is favorited.
We will be adding the following code to the root.tsx file:
export default function App() {
  const { events } = useLoaderData<typeof loader>();
  return (
    <html lang="en">
      <head>
        <meta charSet="utf-8" />
        <meta name="viewport" content="width=device-width, initial-scale=1" />
        <Meta />
        <Links />
      </head>
      <body>
        <div id="sidebar">
          /* existing code */
          <nav>
            {events.length ? (
              <ul>
                {events.map((event) => (
                  <li key={event.id}>
                    <Link to={`events/${event.id}`}>
                      {event.title ? <>{event.title}</> : <i>No Title</i>}
                      {event.favorite ? <span>★</span> : null}
                    </Link>
                  </li>
                ))}
              </ul>
            ) : (
              <p>
                <i>No events</i>
              </p>
            )}
          </nav>
        </div>
        /* existing code */
      </body>
    </html>
  );
}Now when you click on the favorite button the event will be favorited and the sidebar will show a star next to the event. It will look like this: 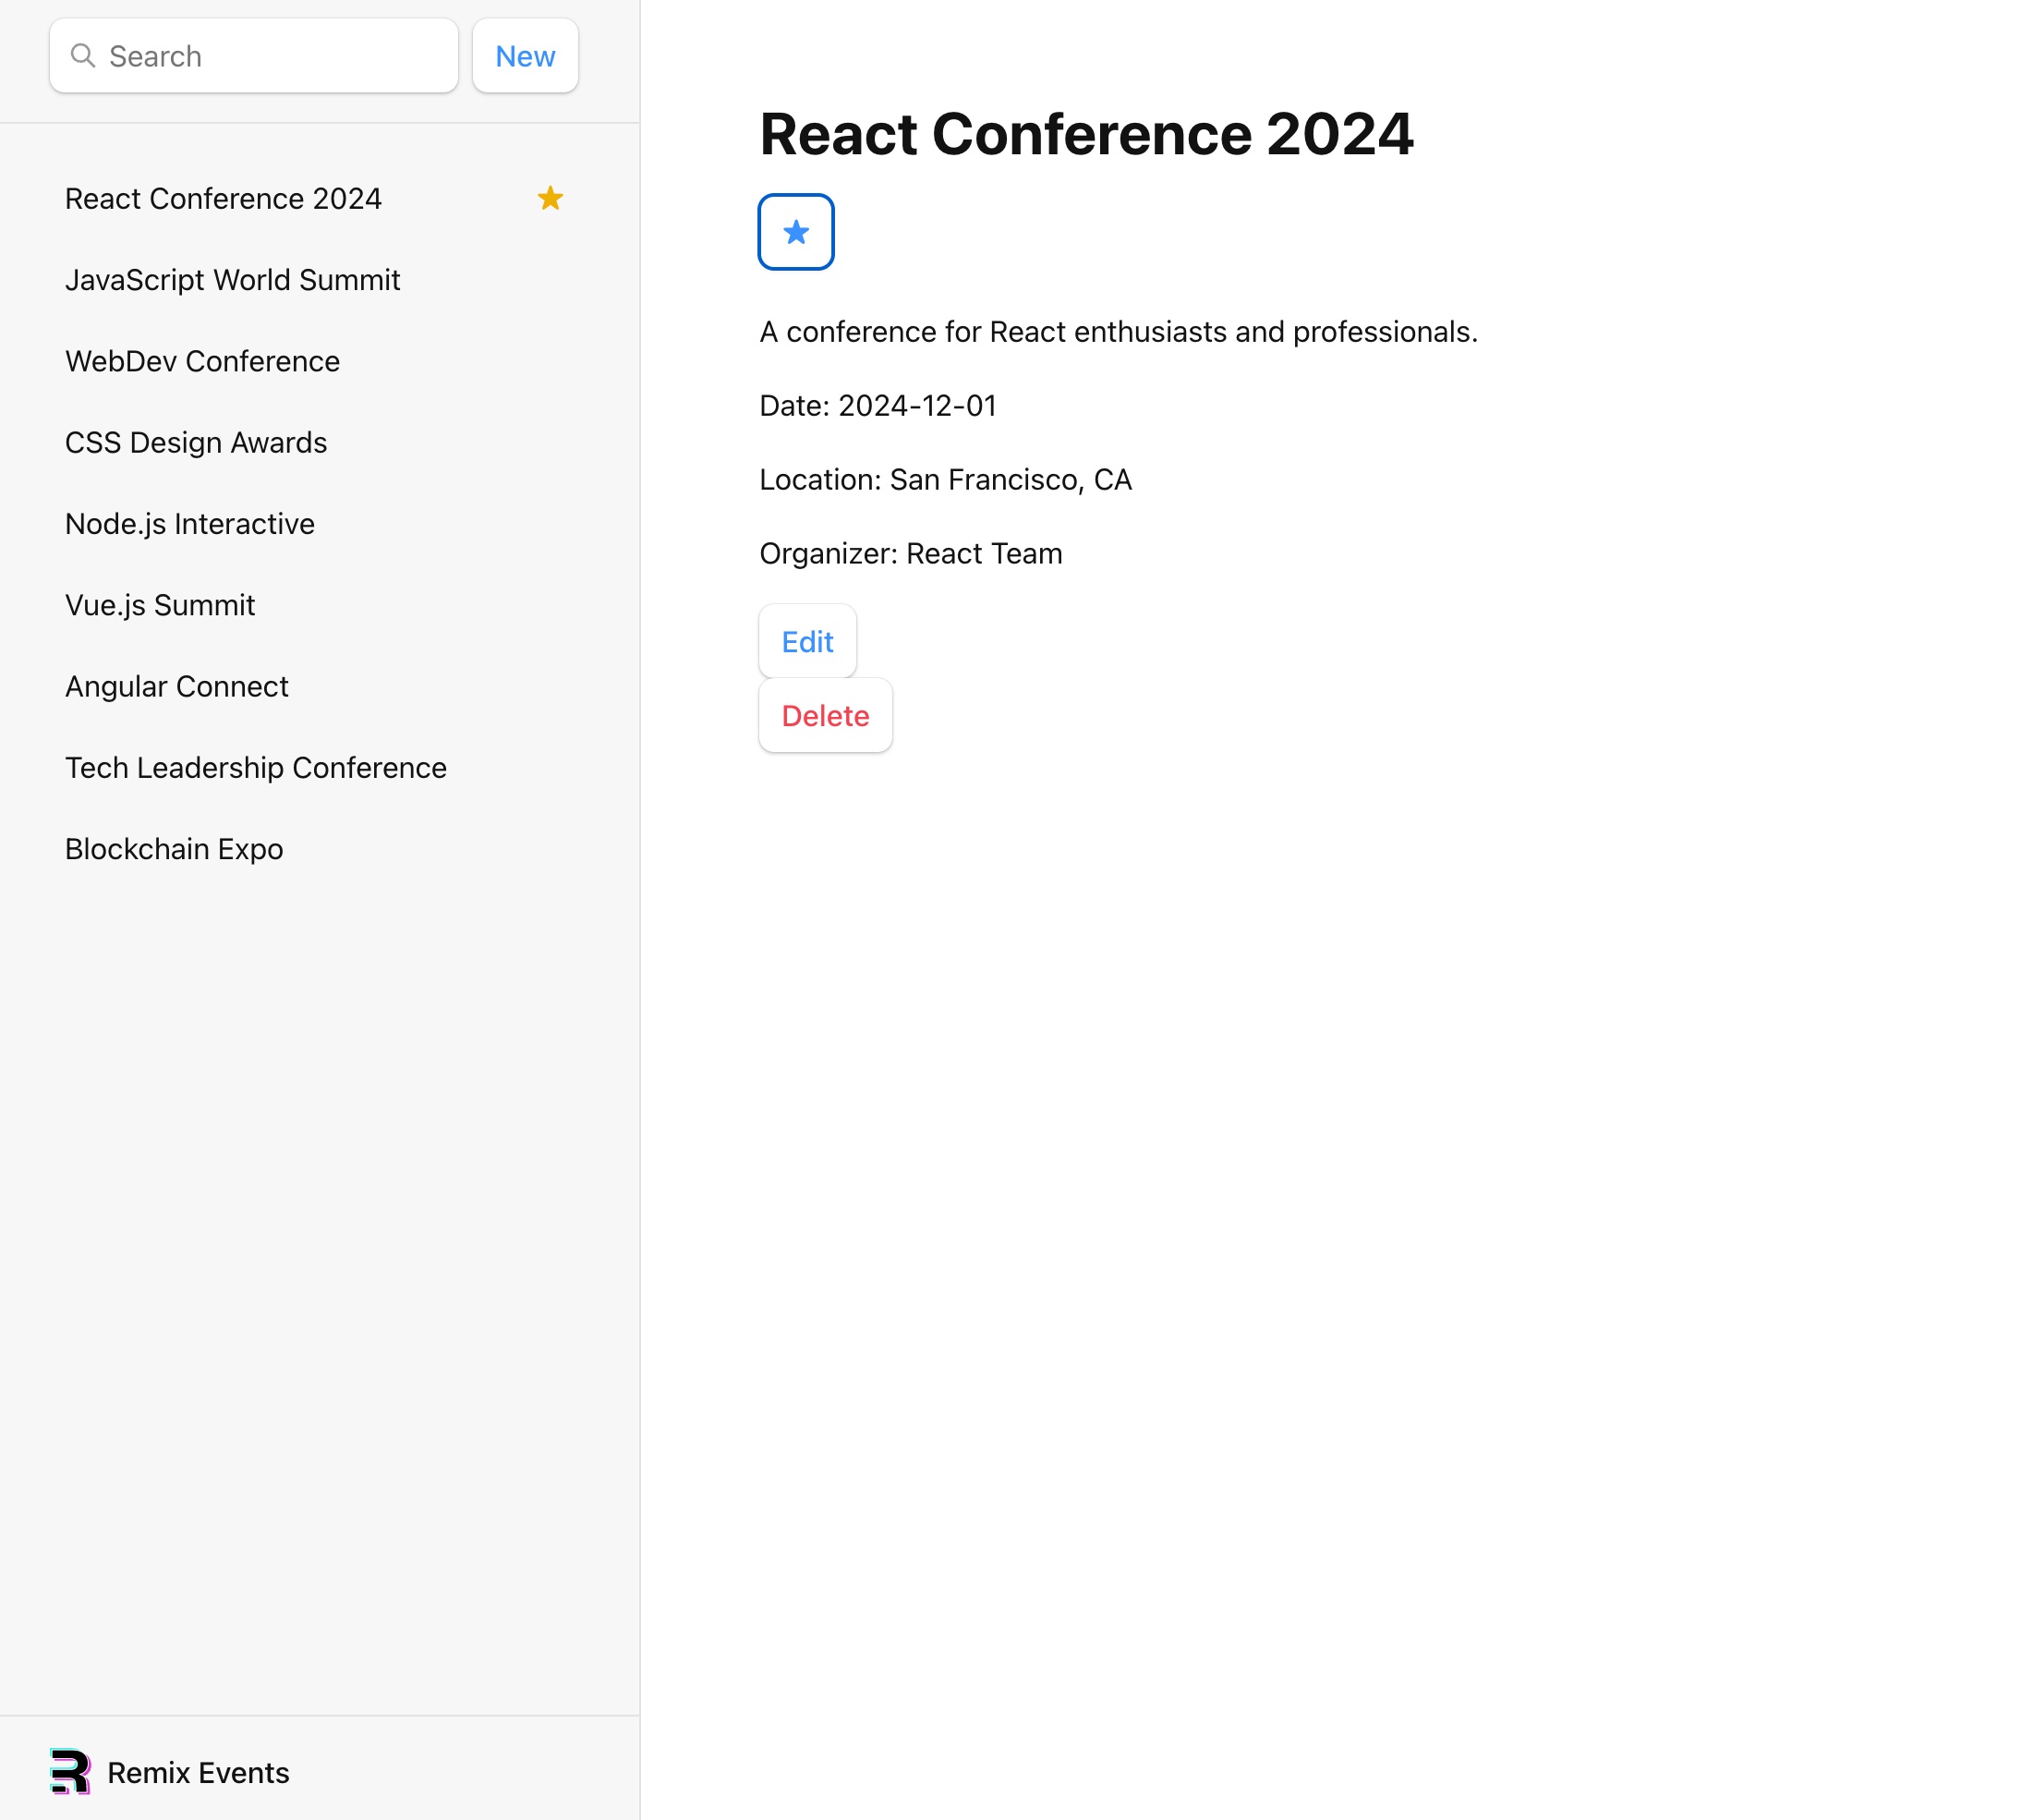
Extra styling
We will now add some extra styling to the application to see on which event you are currently on.
This is where we will change the Link to a NavLink from Remix.
In the root.tsx change these lines:
// existing imports
import {
  Form,
  Links,
  Meta,
  NavLink,
  Outlet,
  Scripts,
  ScrollRestoration,
  useLoaderData,
} from "@remix-run/react";

// existing imports and exports

export default function App() {
  const { events } = useLoaderData<typeof loader>();
  return (
    <html lang="en">
      /* existing elements */
      <body>
        <div id="sidebar">
          /* existing elements */
          <nav>
            {events.length ? (
              <ul>
                {events.map((event) => (
                  <li key={event.id}>
                    <NavLink
                      className={({ isActive, isPending }) =>
                        isActive ? "active" : isPending ? "pending" : ""
                      }
                      to={`events/${event.id}`}
                    >
                      {event.title ? <>{event.title}</> : <i>No Title</i>}
                      {event.favorite ? <span>★</span> : null}
                    </NavLink>
                  </li>
                ))}
              </ul>
            ) : (
              <p>
                <i>No events</i>
              </p>
            )}
          </nav>
        </div>
        /* existing elements */
      </body>
    </html>
  );
}As you can see in the className prop we are checking if the link is active or pending. If it is active we will add the class active to the link. If it is pending we will add the class pending to the link.
This makes it look like this: 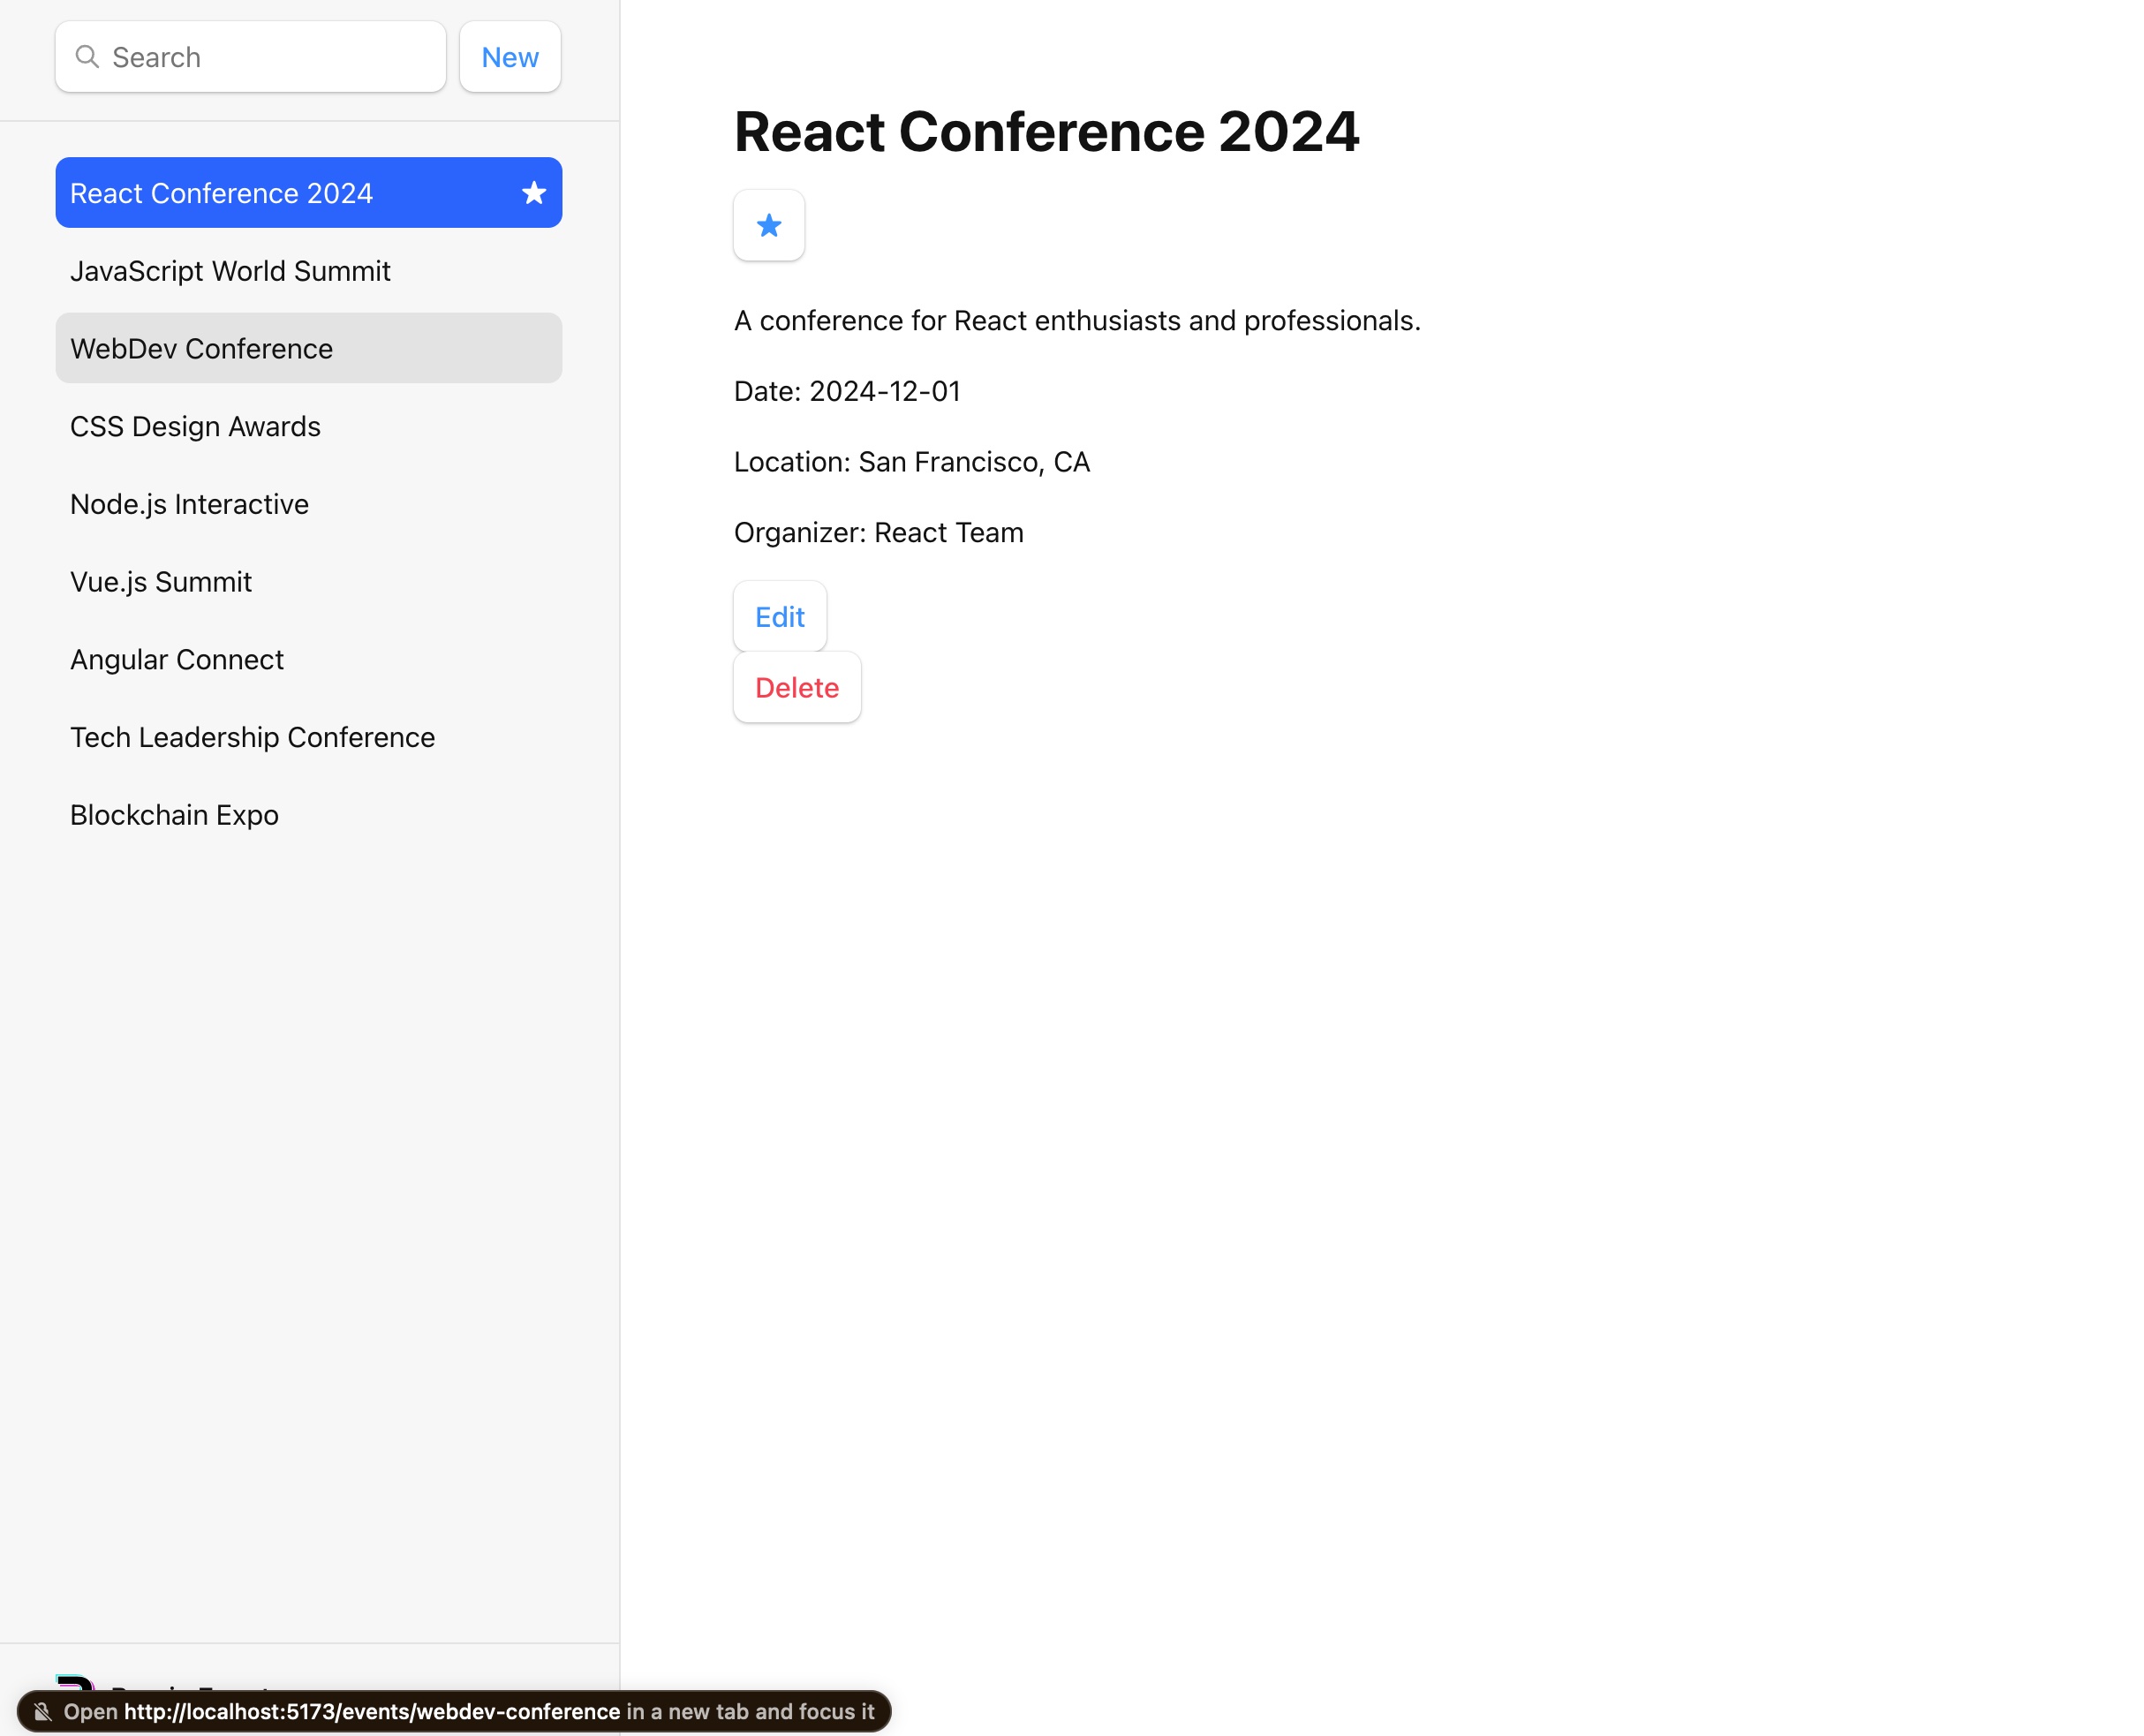
Next up we will add a loading state to the navigation so the user knows that the page is loading and the app feels more responisive.
This will be done by adding this code to the root.tsx file:
// existing imports
import {
  Form,
  Links,
  Meta,
  NavLink,
  Outlet,
  Scripts,
  ScrollRestoration,
  useLoaderData,
  useNavigation,
} from "@remix-run/react";

// existing imports & exports

export default function App() {
  const { events } = useLoaderData<typeof loader>();
  const navigation = useNavigation();

  return (
    <html lang="en">
      {/* existing elements */}
      <body>
        {/* existing elements */}
        <div
          className={navigation.state === "loading" ? "loading" : ""}
          id="detail"
        >
          <Outlet />
        </div>
        {/* existing elements */}
      </body>
    </html>
  );
}It should look like this while a new event loads: 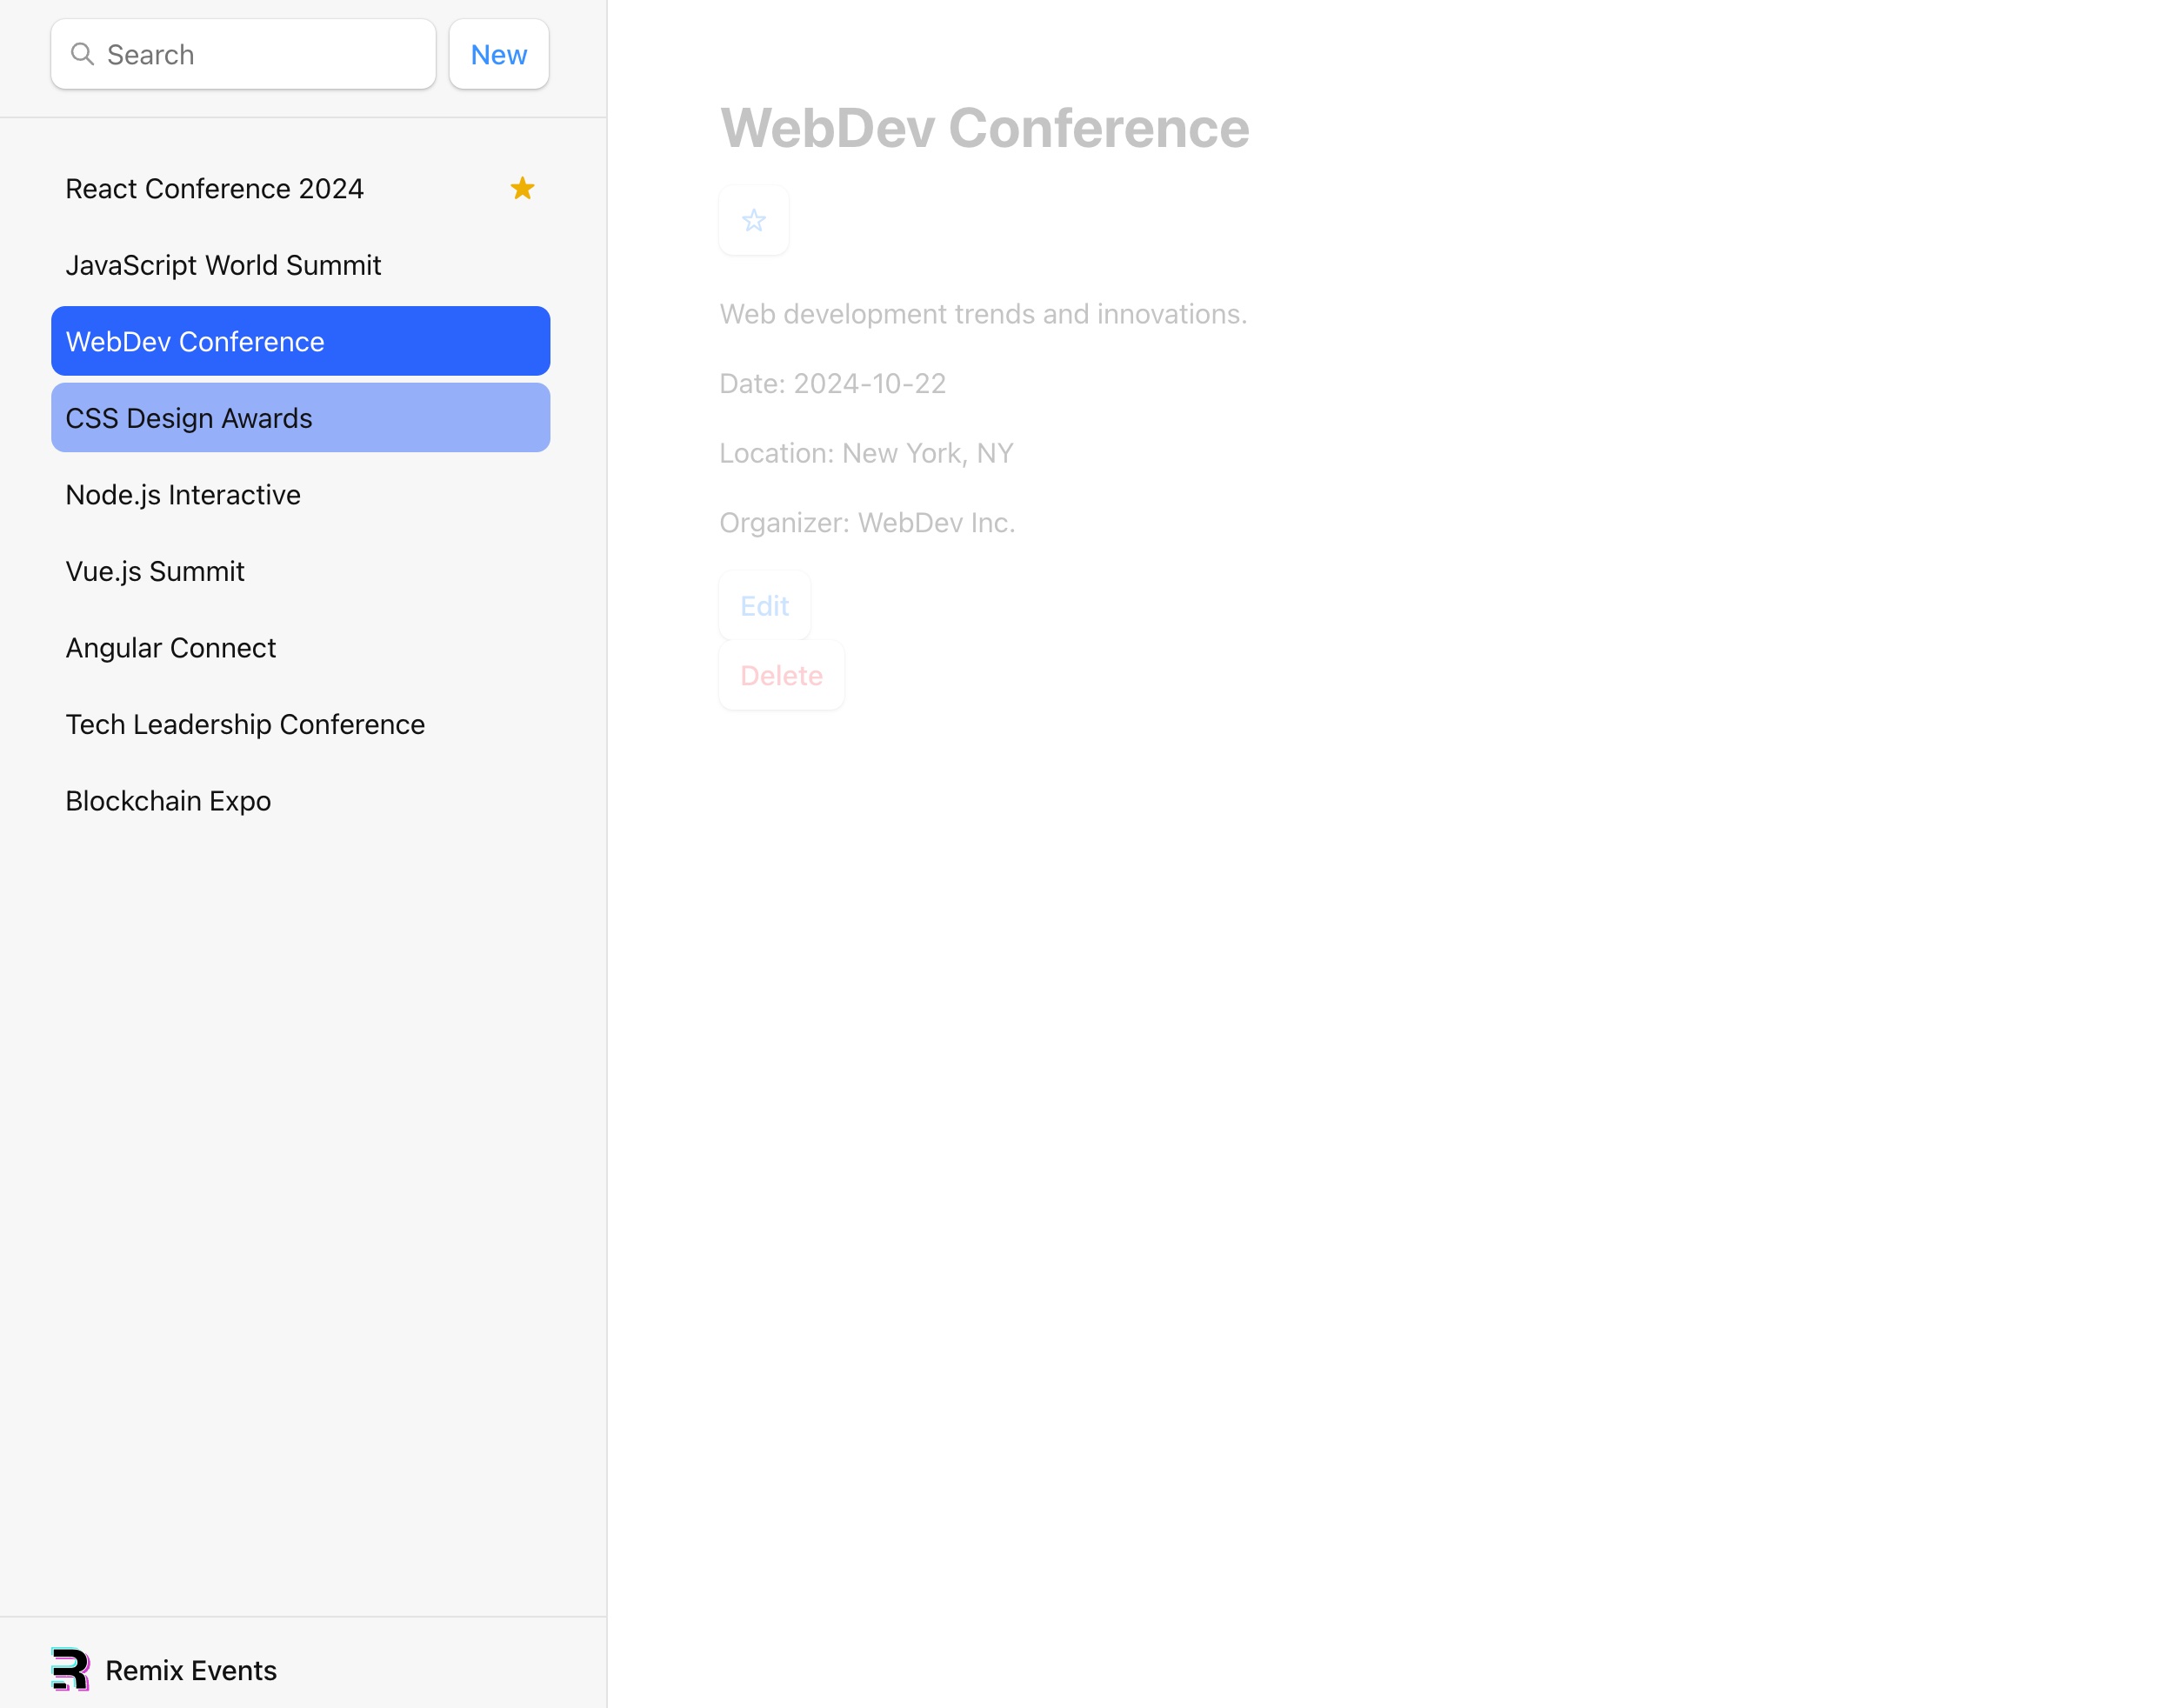
You may notice that it does not do that, but that may be because the event is loading too fast.
Index
When you first start the application you will see a blank page. This is because we do not have an index page. We will now be creating an index page.
The naming convention for the index page is _index.tsx. This is because the index page is a nested route of the root page.
You may create the index page in the routes folder.
In this file we will add the following code:
export default function Index() {
  return (
    <p id="index-page">
      Welcome to your new Remix app 🎉
      <br />
      Check out <a href="https://remix.run">the docs at remix.run</a>.
    </p>
  );
}Now when you go to the index url http://localhost:5173/ you will see the index page: 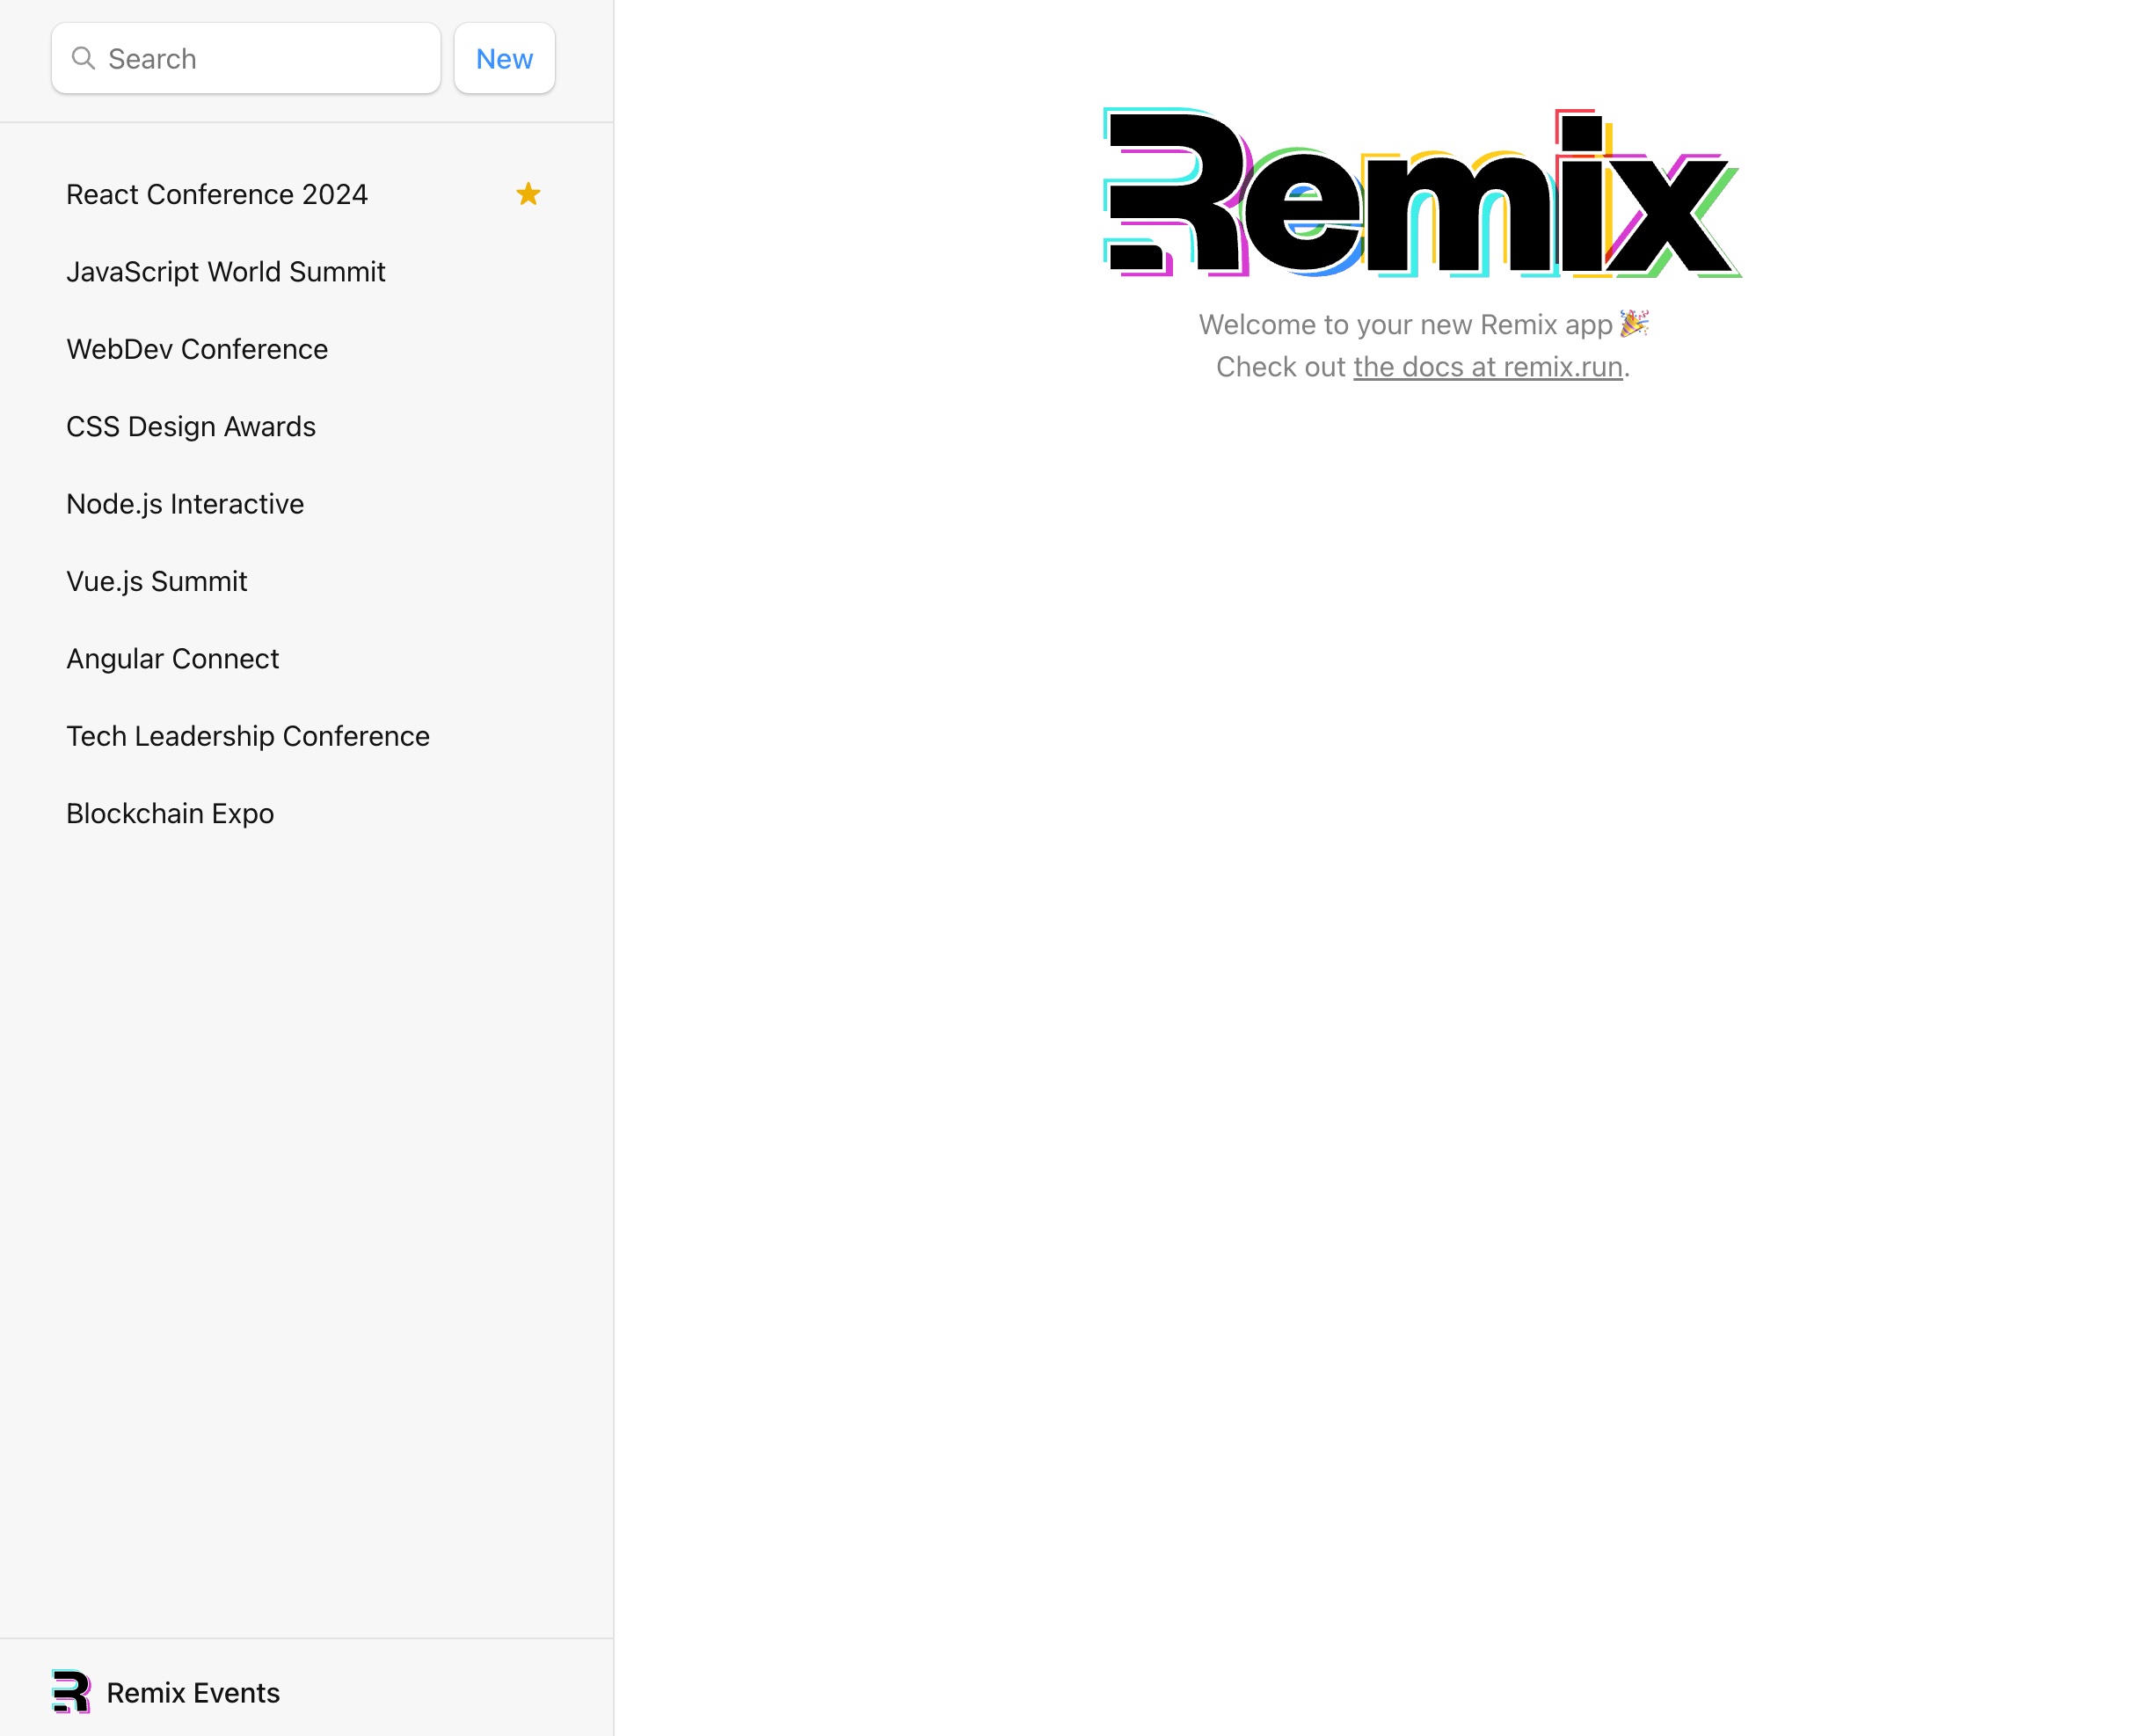
Cancel
You may notice that when you try editing there is a cancel button that does nothing yet and we still have not added functionality to the cancel button.
We will be doing this now with the useNavigate hook from Remix.
This will allow us to add simple code to go back to the previous page.
In the events.$eventId_.edit.tsx file we will add the following code:
// existing imports
import { Form, useLoaderData, useNavigate } from "@remix-run/react";
// existing imports & exports

export default function EditEvent() {
  const { event } = useLoaderData<typeof loader>();
  const navigate = useNavigate();

  return (
    <Form key={event.id} id="event-form" method="post">
      {/* existing elements */}
      <p>
        <button type="submit">Save</button>
        <button onClick={() => navigate(-1)} type="button">
          Cancel
        </button>
      </p>
    </Form>
  );
}Now when you click on the "Cancel" button you will be redirected back to the previous page.
Because we added type="button" to the button it will not submit the form. This means we do not have to add event.preventDefault() to the onClick function.
Search
We have a nice search form in the sidebar but it does nothing. We will fix that now.
Since we have no functionality for the search right now it will try to emulate finding an event.
If you go to this url:
http://localhost:5173/?q=javascriptYou will see that there is no event to be found. We want it to filter the sidebar events based on the search query.
To do this we will be adding this code to the root.tsx file:
import type { LinksFunction, LoaderFunctionArgs } from "@remix-run/node";

// existing imports & exports

export const loader = async ({ request }: LoaderFunctionArgs) => {
  const url = new URL(request.url);
  const q = url.searchParams.get("q");
  const contacts = await getContacts(q);
  return json({ contacts });
};

// existing codeIf you try looking for an event now with the search box you will see that it updates when hitting Enter.
Now there are some issues with this code.
- If you go back a page you will still see the search query in the search box.
- If you refresh the page the query will no longer be in the search box.
This is where we will try to sync the search query with the url.
first of all we will update the code like this:
// existing imports & exports

export const loader = async ({ request }: LoaderFunctionArgs) => {
  const url = new URL(request.url);
  const q = url.searchParams.get("q");
  const events = await getEvents(q);
  return json({ events, q });
};

export default function App() {
  const { events, q } = useLoaderData<typeof loader>();
  const navigation = useNavigation();

  return (
    <html lang="en">
      {/* existing elements */}
      <body>
        <div id="sidebar">
          {/* existing elements */}
          <div>
            <Form id="search-form" role="search">
              <input
                aria-label="Search events"
                defaultValue={q || ""}
                id="q"
                name="q"
                placeholder="Search"
                type="search"
              />
              {/* existing elements */}
            </Form>
            {/* existing elements */}
          </div>
          {/* existing elements */}
        </div>
        {/* existing elements */}
      </body>
    </html>
  );
}This fixes the problem of refreshing and the search box being epmty.
For the first problem we will need to use useEffect from React to sync the search query with the url.
This will be done by adding the following code to the root.tsx file:
// existing imports
import { useEffect } from "react";

// existing imports & exports

export default function App() {
  const { events, q } = useLoaderData<typeof loader>();
  const navigation = useNavigation();

  useEffect(() => {
    const searchField = document.getElementById("q");
    if (searchField instanceof HTMLInputElement) {
      searchField.value = q || "";
    }
  }, [q]);

  // existing code
}Now when you go back after you search you go back to the previous page. This means if you search for example for "javascript" and then for "react" you will go back to the "javascript" search.
You still need to press Enter to search for the event. We will now be adding an onChange to the search input and by using useSubmit from Remix.
This will be done by adding the following code to the root.tsx file:
// existing imports
import {
  Form,
  Links,
  Meta,
  NavLink,
  Outlet,
  Scripts,
  ScrollRestoration,
  useLoaderData,
  useNavigation,
  useSubmit,
} from "@remix-run/react";
// existing imports & exports

export default function App() {
  const { events, q } = useLoaderData<typeof loader>();
  const navigation = useNavigation();
  const submit = useSubmit();

  // existing code

  return (
    <html lang="en">
      {/* existing elements */}
      <body>
        <div id="sidebar">
          {/* existing elements */}
          <div>
            <Form
              id="search-form"
              onChange={(event) => submit(event.currentTarget)}
              role="search"
            >
              {/* existing elements */}
            </Form>
            {/* existing elements */}
          </div>
          {/* existing elements */}
        </div>
        {/* existing elements */}
      </body>
    </html>
  );
}When you start typing in the searchbox now it will automatically search for the event.
Managing the History Stack
You might have noticed when you hold click on the backbutton of the browser that you can see the history stack. This is not a good user experience and we will be fixing this now.
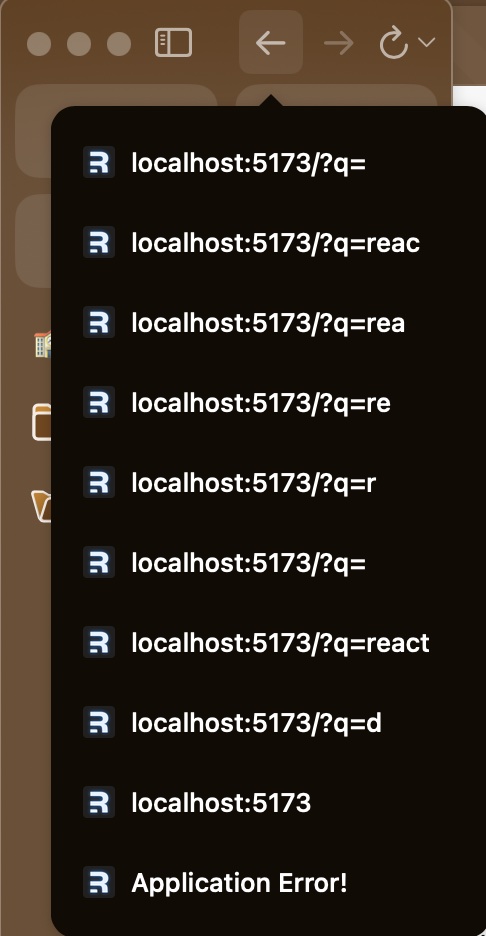
This can be fixed by adding replace to the submit function inside onChange.
The code will look like this:
<Form
  id="search-form"
  onChange={(event) => {
    const isFirstSearch = q === null;
    submit(event.currentTarget, {
      replace: !isFirstSearch,
    });
  }}
  role="search"
>
  {/* existing elements */}
</Form>Now when you search multiple times it should replace the history stack each time.
Extra styling for search
The search right now is not very responisve although it looks nice we will be adding some extra styling to make it look better.
To do so we will be adding the following code to the root.tsx file:
export default function App() {
  const { contacts, q } = useLoaderData<typeof loader>();
  const navigation = useNavigation();
  const submit = useSubmit();
  const searching =
    navigation.location &&
    new URLSearchParams(navigation.location.search).has("q");

  // existing code
}Navigation.location will be undefined when nothing is happening. If the users tries to search for something the location will be populated with data. Then we will check if they are searching with location.search.
Next we will be adding the following code to the root.tsx file:
// existing imports & exports

export default function App() {
  // existing code

  return (
    <html lang="en">
      {/* existing elements */}
      <body>
        <div id="sidebar">
          {/* existing elements */}
          <div>
            <Form
              id="search-form"
              onChange={(event) =>
                submit(event.currentTarget)
              }
              role="search"
            >
              <input
                aria-label="Search contacts"
                className={searching ? "loading" : ""}
                defaultValue={q || ""}
                id="q"
                name="q"
                placeholder="Search"
                type="search"
              />
              <div
                aria-hidden
                hidden={!searching}
                id="search-spinner"
              />
            </Form>
            {/* existing elements */}
          </div>
          <div
          className={
            navigation.state === "loading" && !searching
              ? "loading"
              : ""
          }
          id="detail"
        >
          <Outlet />
        </div>
        {/* existing elements */}
      </body>
    </html>
  );
}Now when you try searching for an event you will see a spinner in the search box. 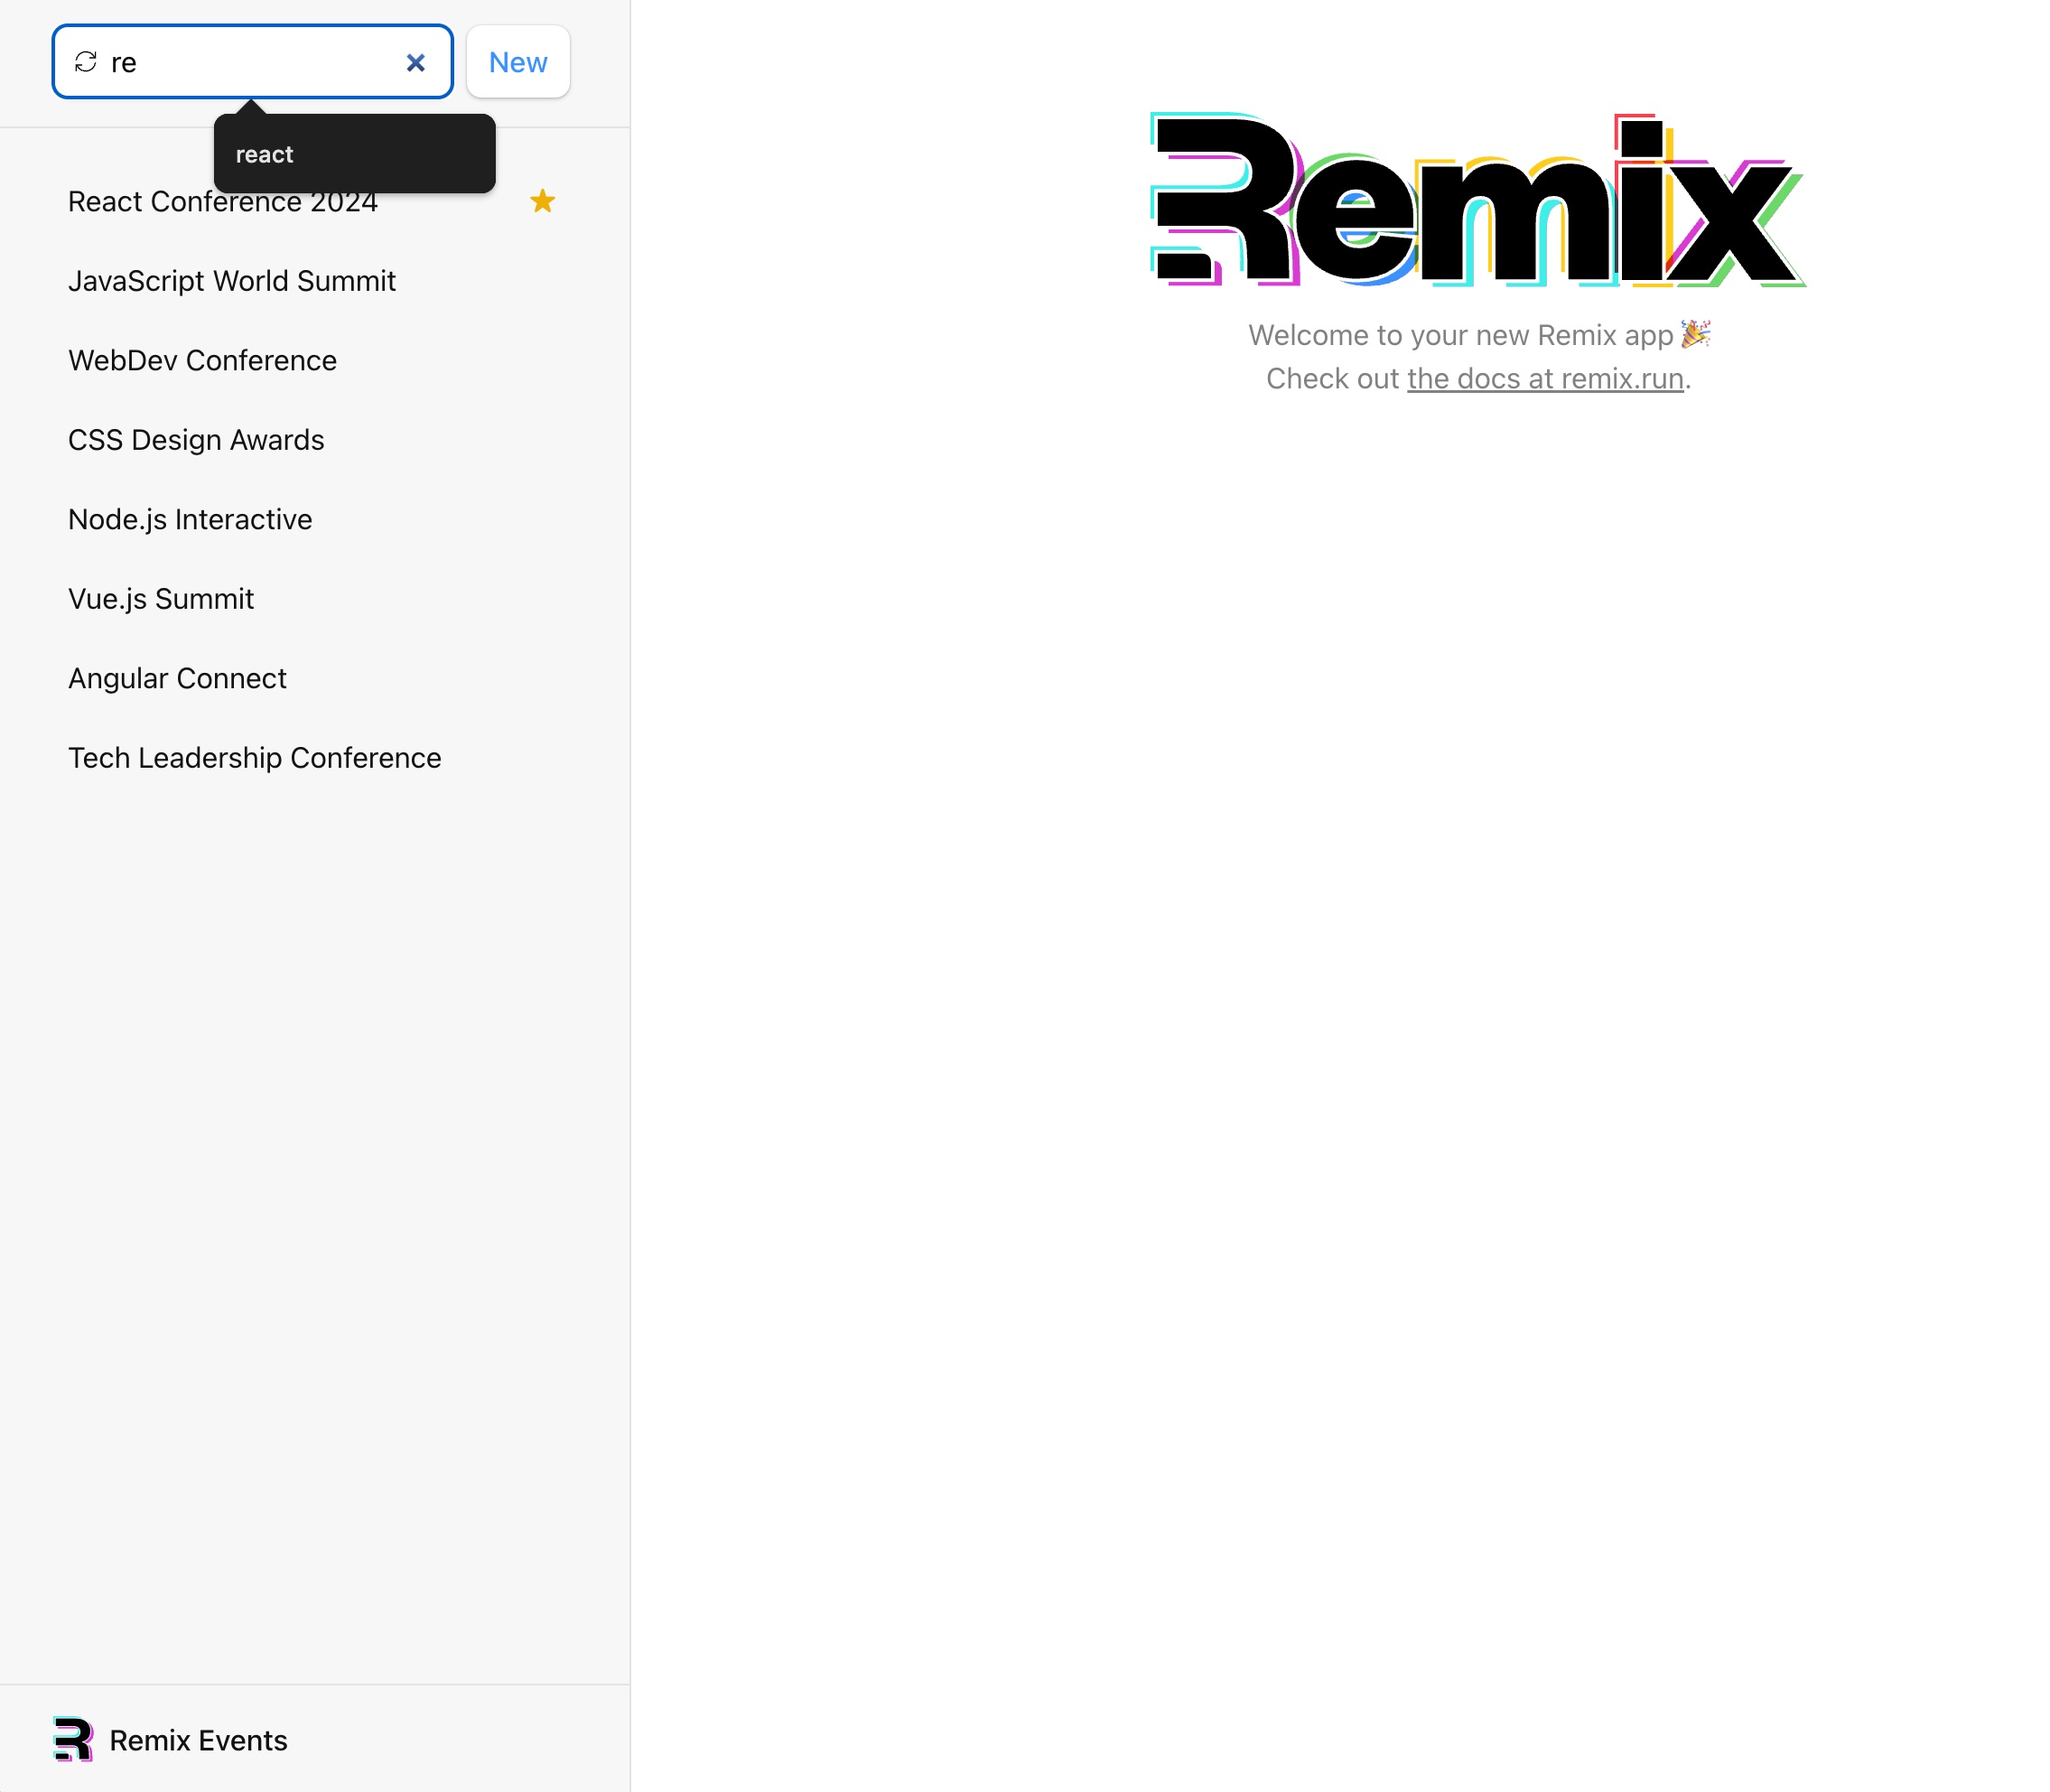
Authentication
Finally we have come to the authentication. In this part we will be going over the following topics:
- Adding new authentication packages
- Adding Login and Logout functionality
- Adding a login and logout button
- Using session data to get the username
- Protecting routes
Adding new authentication packages
We will be using the remix-auth, remix-auth-form and bcryptjs packages for this part.
To add these packages you can run the following command:
npm install remix-auth remix-auth-form bcryptjsBecause we will definetly be getting an error using bcryptjs we will need to also run this command:
npm i --save-dev @types/bcryptjsTo style this i chose to use some tailwind to make it easier to style the login form. To install tailwind you will need to run the following command:
npm install tailwindcssThen we need to add the tailwind.config.ts file to the root of the project with the following content:
import type { Config } from "tailwindcss";

export default {
  content: ["./app/**/{**,.client,.server}/**/*.{js,jsx,ts,tsx}"],
  theme: {
    extend: {
      fontFamily: {
        sans: [
          '"Inter"',
          "ui-sans-serif",
          "system-ui",
          "sans-serif",
          '"Apple Color Emoji"',
          '"Segoe UI Emoji"',
          '"Segoe UI Symbol"',
          '"Noto Color Emoji"',
        ],
      },
    },
  },
  plugins: [],
} satisfies Config;Adding authentication
First and foremost we need to create the user type and data. For the typing we will create a new file in the app folder called users.ts.
This is how that file will look like:
export type User = {
  id: number;
  name: string | null;
  email: string;
  password: string;
};Next we need user data. We will be creating a new file in the data folder called users.json.
This is how that file will look like:
[
  {
    "id": 1,
    "name": "user",
    "email": "user@mail.com",
    "password": "$2a$10$5S2Ksc9zLvupYDWp8zhy5ueYMr9AfCaRaRrBvfkpO1GmWwdOgk3gq"
  }
]The password is hashed using bcrypt. This is done for security reasons. But it is a simple password: test. We will need it to login of course.
Step 1: Setting Up Authentication
The auth.server.ts file is created to handle authentication logic in the application. This file will use the remix-auth library to set up and manage user authentication.
Step 2: Importing Required Libraries and Files
import { Authenticator } from "remix-auth";
import { FormStrategy } from "remix-auth-form";
import bcrypt from "bcryptjs";
import { User } from "~/users";
import users from "~/data/users.json";Step 3: Creating an Authenticator
const authenticator = new Authenticator<User>();Step 4: Adding the Form Strategy
The FormStrategy is added to the authenticator to handle form-based authentication:
authenticator.use(
  new FormStrategy(async ({ form }) => {
    const email = form.get("email") as string;
    const password = form.get("password") as string;
    return await login(email, password);
  }),
  "user-pass"
);Email and Password Extraction: The form object extracts the email and password fields submitted via the login form.
Calling the Login Function: The extracted email and password are passed to the login function, which performs the actual authentication.
Naming the Strategy: The strategy is identified with a name "user-pass", which can be referenced later.
Step 5: Implementing the Login Function
The login function checks whether the provided credentials match any user in the users.json file:
const login = async (email: string, password: string) => {
  const user = users.find((user) => user.email === email);

  if (!user) {
    throw new Error("User not found");
  }

  const passwordMatch = await bcrypt.compare(password, user.password);

  if (!passwordMatch) {
    throw new Error("Password doesn't match");
  }

  return user;
};Finding the User: Searches for a user whose email matches the provided email.
Validating the Password: Compares the provided password with the hashed password in the database using bcrypt.compare.
Returning the User: If both email and password match, the user object is returned.
Throwing Errors: Errors are thrown if:
• No user is found with the given email.

• The password does not match.
Step 6: Exporting the Authenticator
Finally, the authenticator is exported for use in other parts of the application:
export { authenticator };This allows us to use the authenticator in other parts of the application.
Session
To store the user data we will be using the session. This is a secure way to store user data.
To achieve this we need to create a new file in the services folder called session.server.ts.
This is how that file will look like:
import { createCookieSessionStorage } from "@remix-run/node";

if (!process.env.SESSION_SECRET) {
  throw new Error("SESSION_SECRET is required");
}

const sessionStorage = createCookieSessionStorage({
  cookie: {
    name: "__session",
    secrets: [process.env.SESSION_SECRET],
    sameSite: "lax",
    path: "/",
    httpOnly: true,
    secure: process.env.NODE_ENV === "production",
  },
});

export { sessionStorage };This file will create a session storage using the createCookieSessionStorage function from Remix.
The createCookieSessionStorage function creates a session storage mechanism that:
Uses Cookies: Data is stored in a signed and optionally encrypted cookie sent with every request and response.
Secures Data:
• The cookie is protected from client-side access (httpOnly).
• It ensures data integrity using a secret key to sign the cookie.
• Data transmission security is enforced (secure) in production.
Manages the Session Lifecycle:
• You can create, read, update, and destroy sessions.
• The session is linked to requests and responses for stateful operations.
Note: The SESSION_SECRET environment variable is required to create the session storage. This secret key is used to sign the session cookie and should be kept secure.
We will add a .env file to the root of the project with the following content:
SESSION_SECRET=your-secret-keyThe secret key can be any random string.
Adding login/logout button
To add the button we will be using the session data to check if the user is logged in. If the user is logged in we will show the logout button. If the user is not logged in we will show the login button.
We will be adding the following code to the root.tsx file:
// existing imports
import {
  Form,
  Links,
  Meta,
  Scripts,
  ScrollRestoration,
  Outlet,
  NavLink,
  useLoaderData,
  redirect,
  useNavigation,
  useSubmit,
  useNavigate,
} from "@remix-run/react";
import { sessionStorage } from "~/services/session.server";

export const loader = async ({ request }: LoaderFunctionArgs) => {
  const session = await sessionStorage.getSession(
    request.headers.get("cookie")
  );
  const user = session.get("user");

  const url = new URL(request.url);
  const q = url.searchParams.get("q");
  const events = await getEvents(q);
  return json({ events, q, user });
};

export default function App() {
  const { events, q, user } = useLoaderData<typeof loader>();
    const navigate = useNavigate();
  // existing code

  return (
    <html lang="en">
        {/* existing elements */}
      <body>
        <div id="sidebar">
          {/* existing elements */}
          <nav>
            {/*
              existing code
            */}
          </nav>
          {user ? (
            <button onClick={() => navigate("/logout")}>Logout</button>
          ) : (
            <button onClick={() => navigate("/login")}>Login</button>
          )}
        </div>
        {/* existing code */}
    </html>
  );
}Because we are not yet logged in it will look something like this: 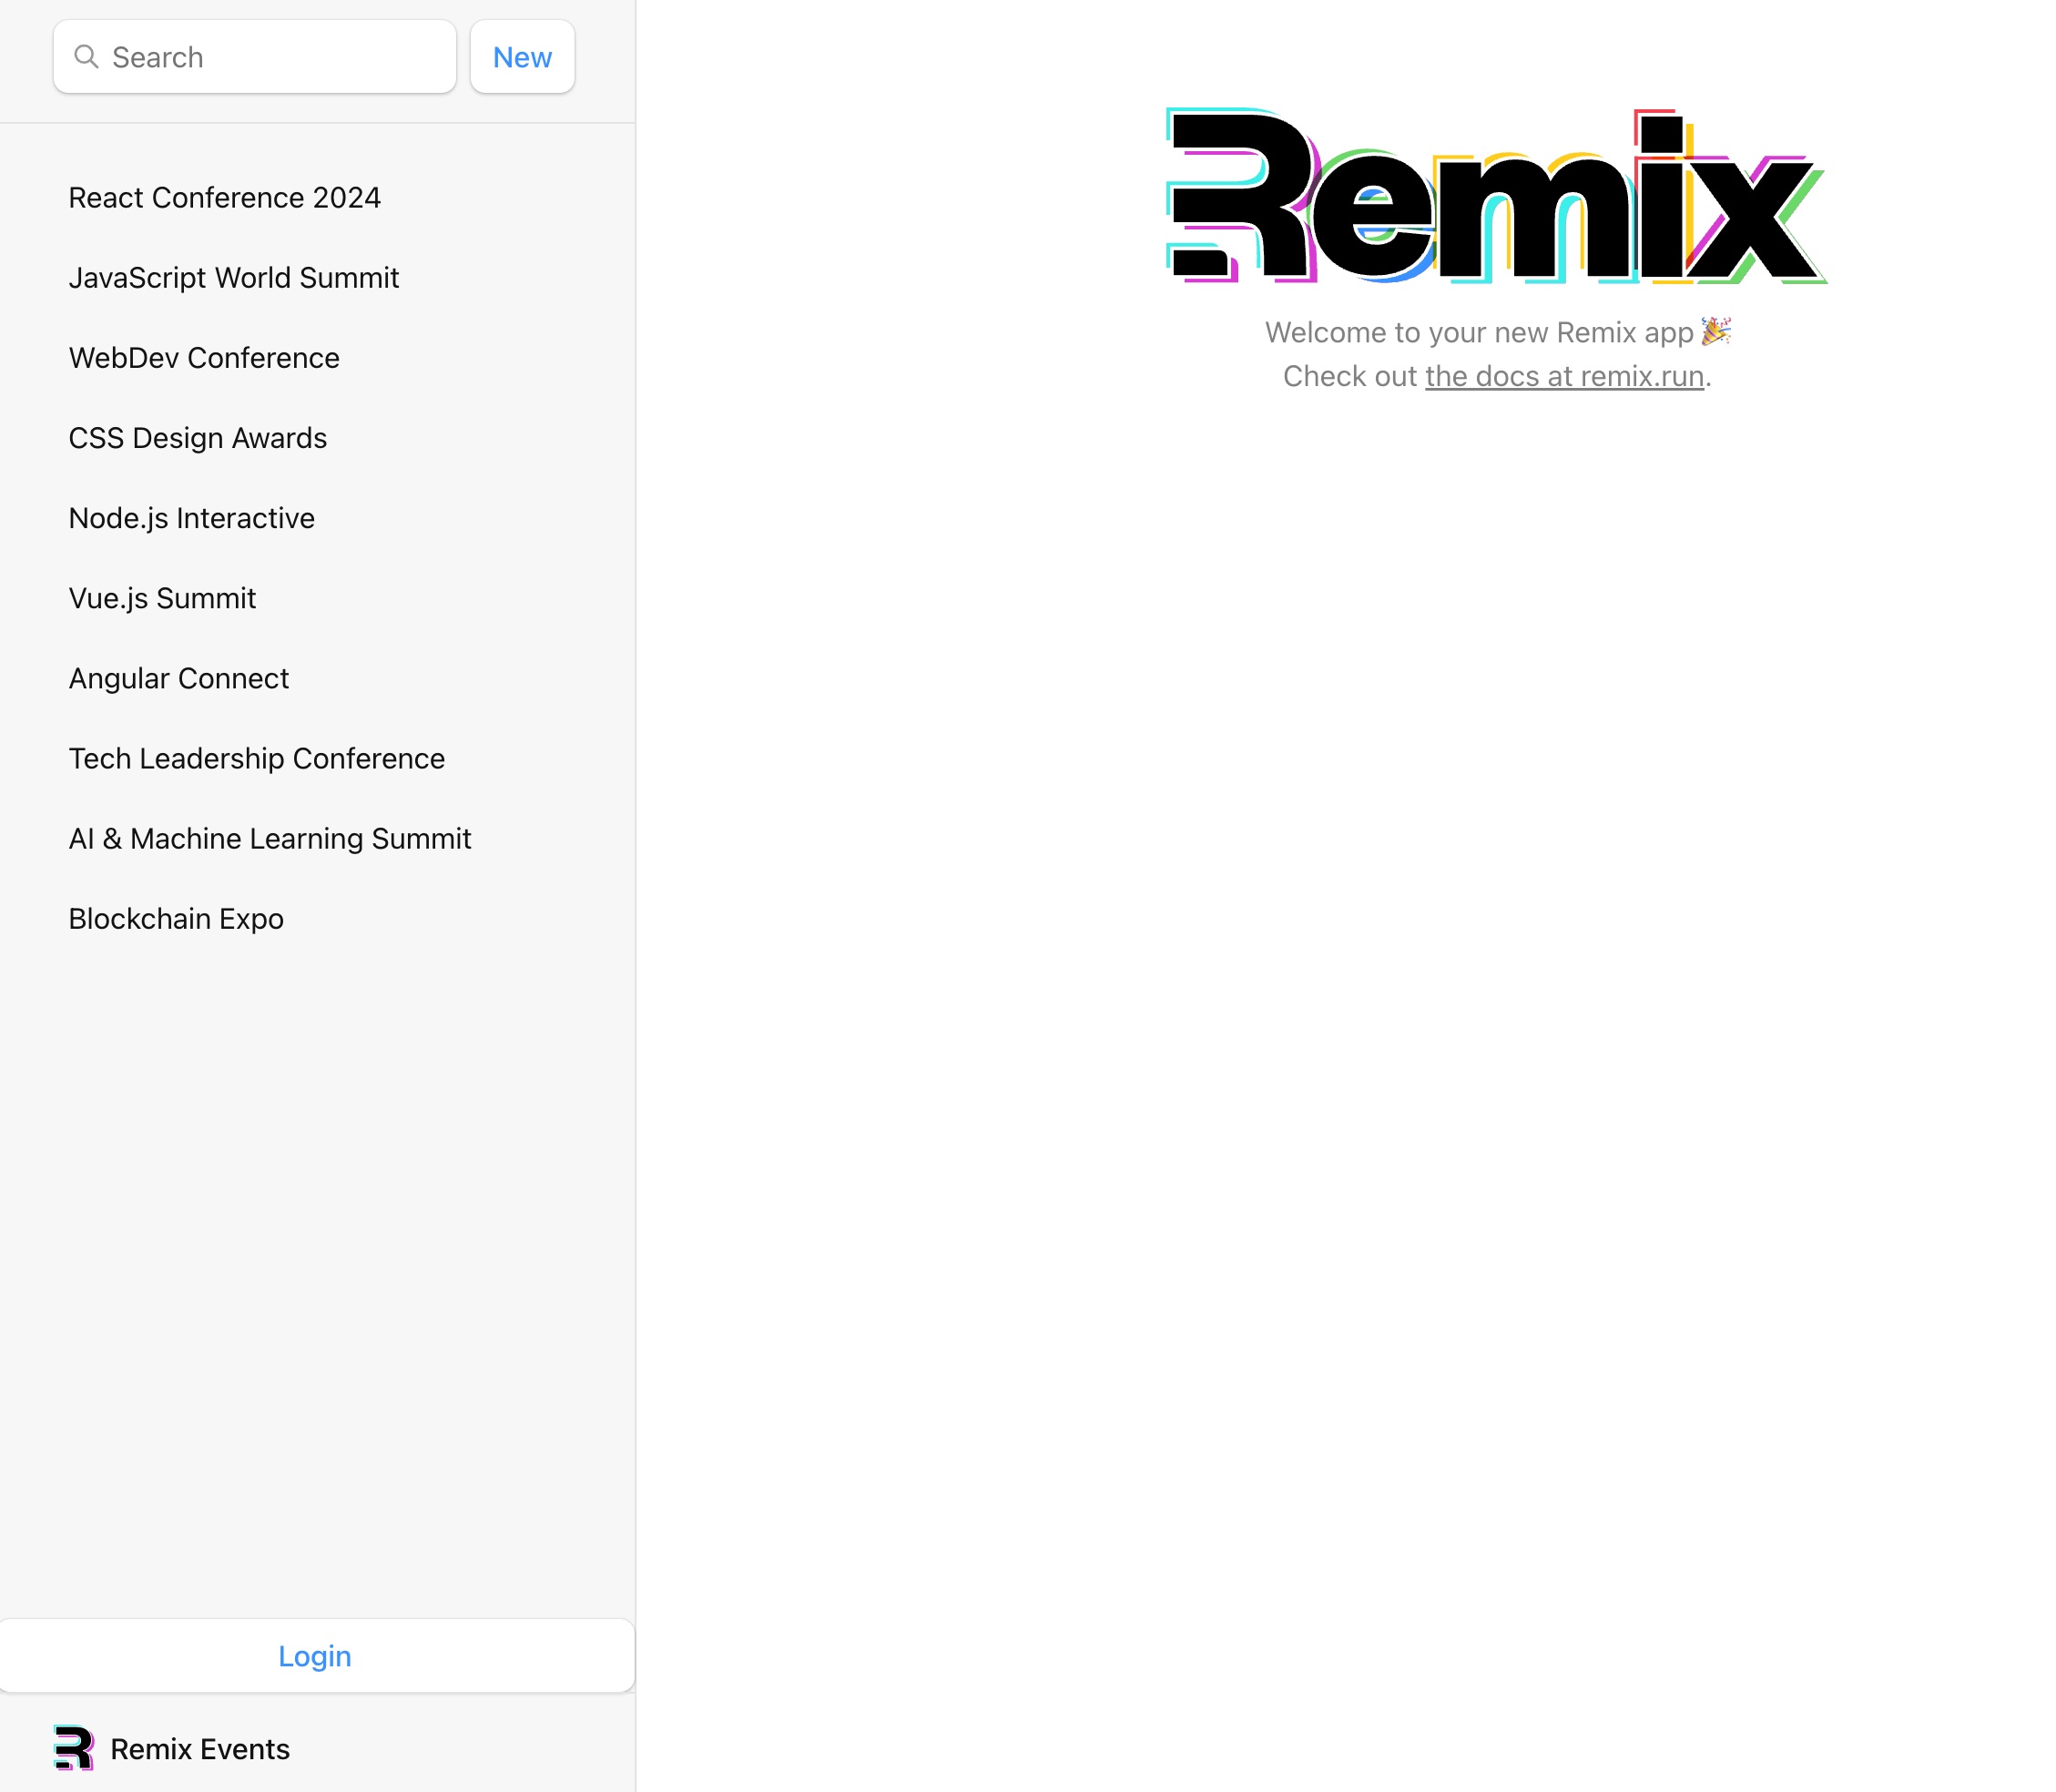
Login
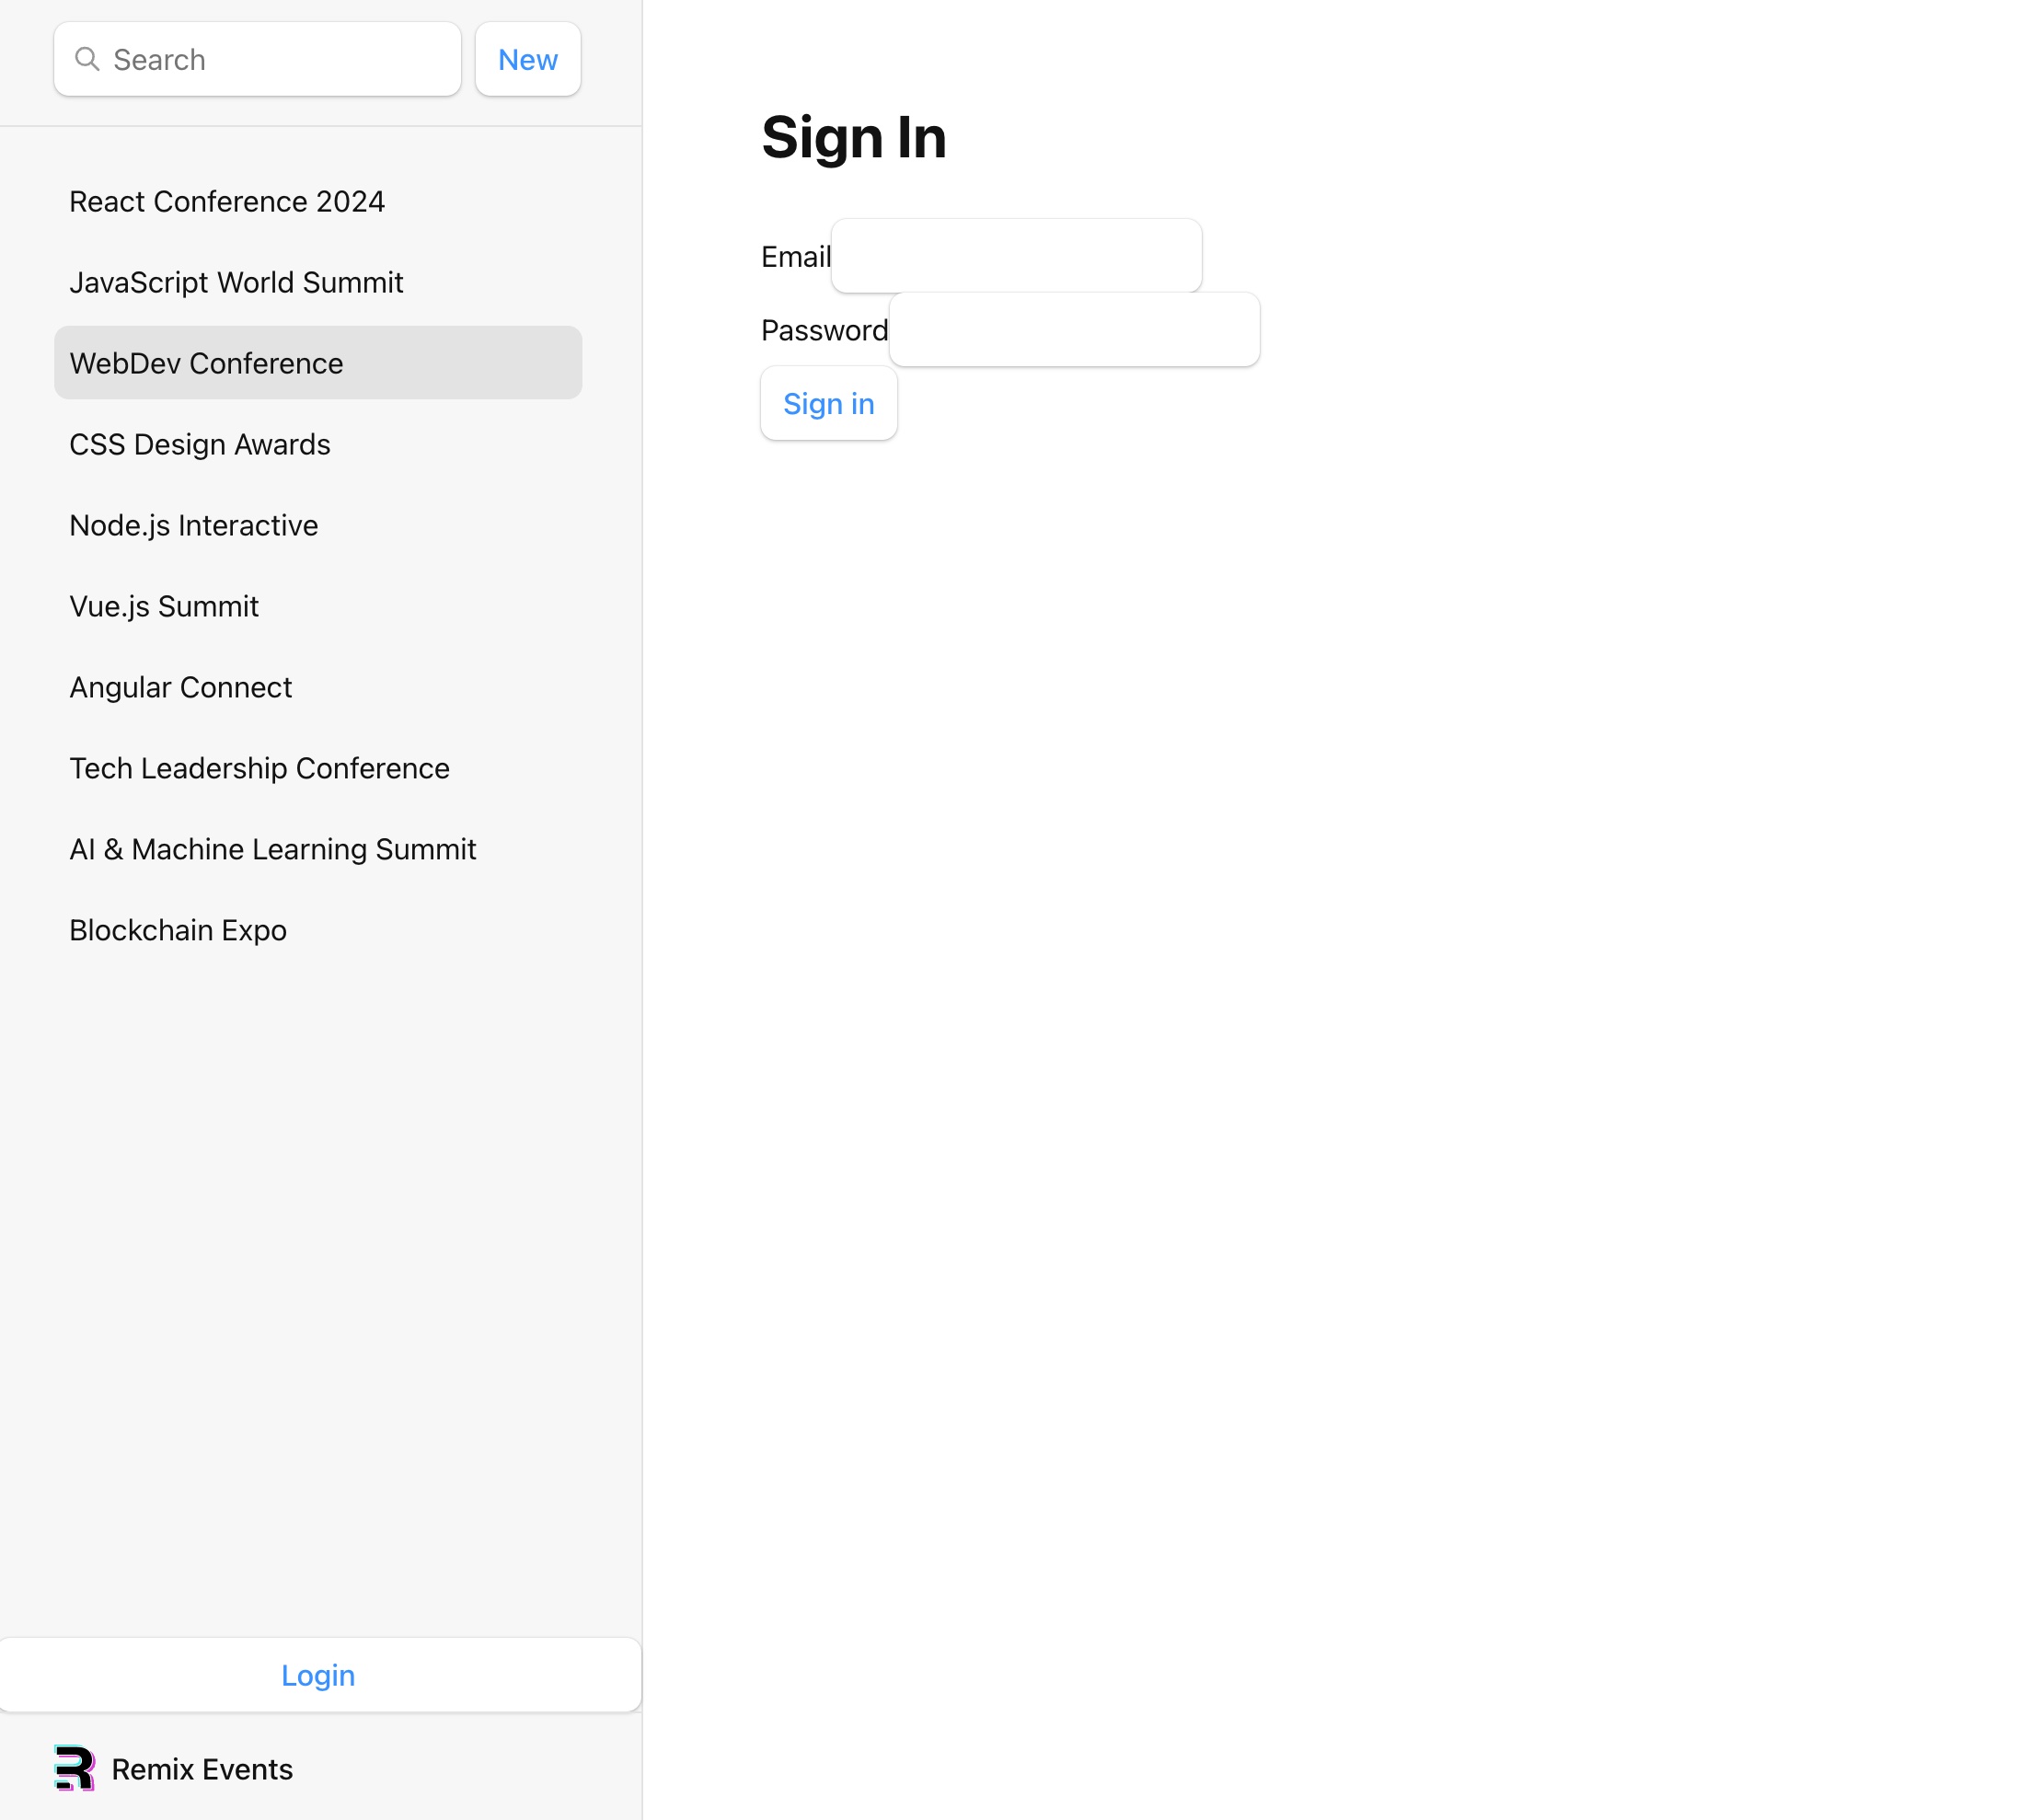
When you click on the login button it will try to go to the login page but we have not yet created this page.
To create the login page we will be creating a new file in the routes folder called login.tsx.
This is how that file will look like:
import { authenticator } from "~/services/auth.server";
import type { ActionFunctionArgs, LoaderFunctionArgs } from "@remix-run/node";
import { sessionStorage } from "~/services/session.server";
import { Form, redirect } from "@remix-run/react";

export default function Login() {
  return (
    <div className="min-h-screen bg-gray-100">
      <h1 className="text-4xl font-bold mb-8">Sign In</h1>
      <Form
        method="post"
        className="flex flex-col items-center justify-center gap-4 bg-white p-8 roundedshadow-md w-full max-w-md"
      >
        <div className="mb-4">
          <label className="block text-gray-700 text-sm font-bold mb-2">
            Email
            <input
              type="email"
              name="email"
              required
              className="mt-1 p-2 border rounded w-full"
            />
          </label>
        </div>
        <div className="mb-6">
          <label className="block text-gray-700 text-sm font-bold mb-2">
            Password
            <input
              type="password"
              name="password"
              required
              autoComplete="current-password"
              className="mt-1 p-2 border rounded w-full"
            />
          </label>
        </div>
        <button
          type="submit"
          className="bg-blue-500 hover:bg-blue-700 text-white font-bold py-2 px-4 rounded w-full"
        >
          Sign in
        </button>
      </Form>
    </div>
  );
}We will need to add an action to the login page to handle the login logic.
export async function action({ request }: ActionFunctionArgs) {
  const user = await authenticator.authenticate("user-pass", request);
  const session = await sessionStorage.getSession(
    request.headers.get("cookie")
  );
  session.set("user", user);

  throw redirect("/", {
    headers: { "Set-Cookie": await sessionStorage.commitSession(session) },
  });
}What this action does is it uses the authenticator.authenticate function with the user-pass strategy to authenticate the user. If the user is authenticated it will set the user in the session and redirect the user to the root page.
We will need a loader aswell to check if the user is already logged in. If the user is already logged in we will redirect the user to the root page.
export async function loader({ request }: LoaderFunctionArgs) {
  const session = await sessionStorage.getSession(
    request.headers.get("cookie")
  );
  const user = session.get("user");
  if (user) throw redirect("/");
  return null;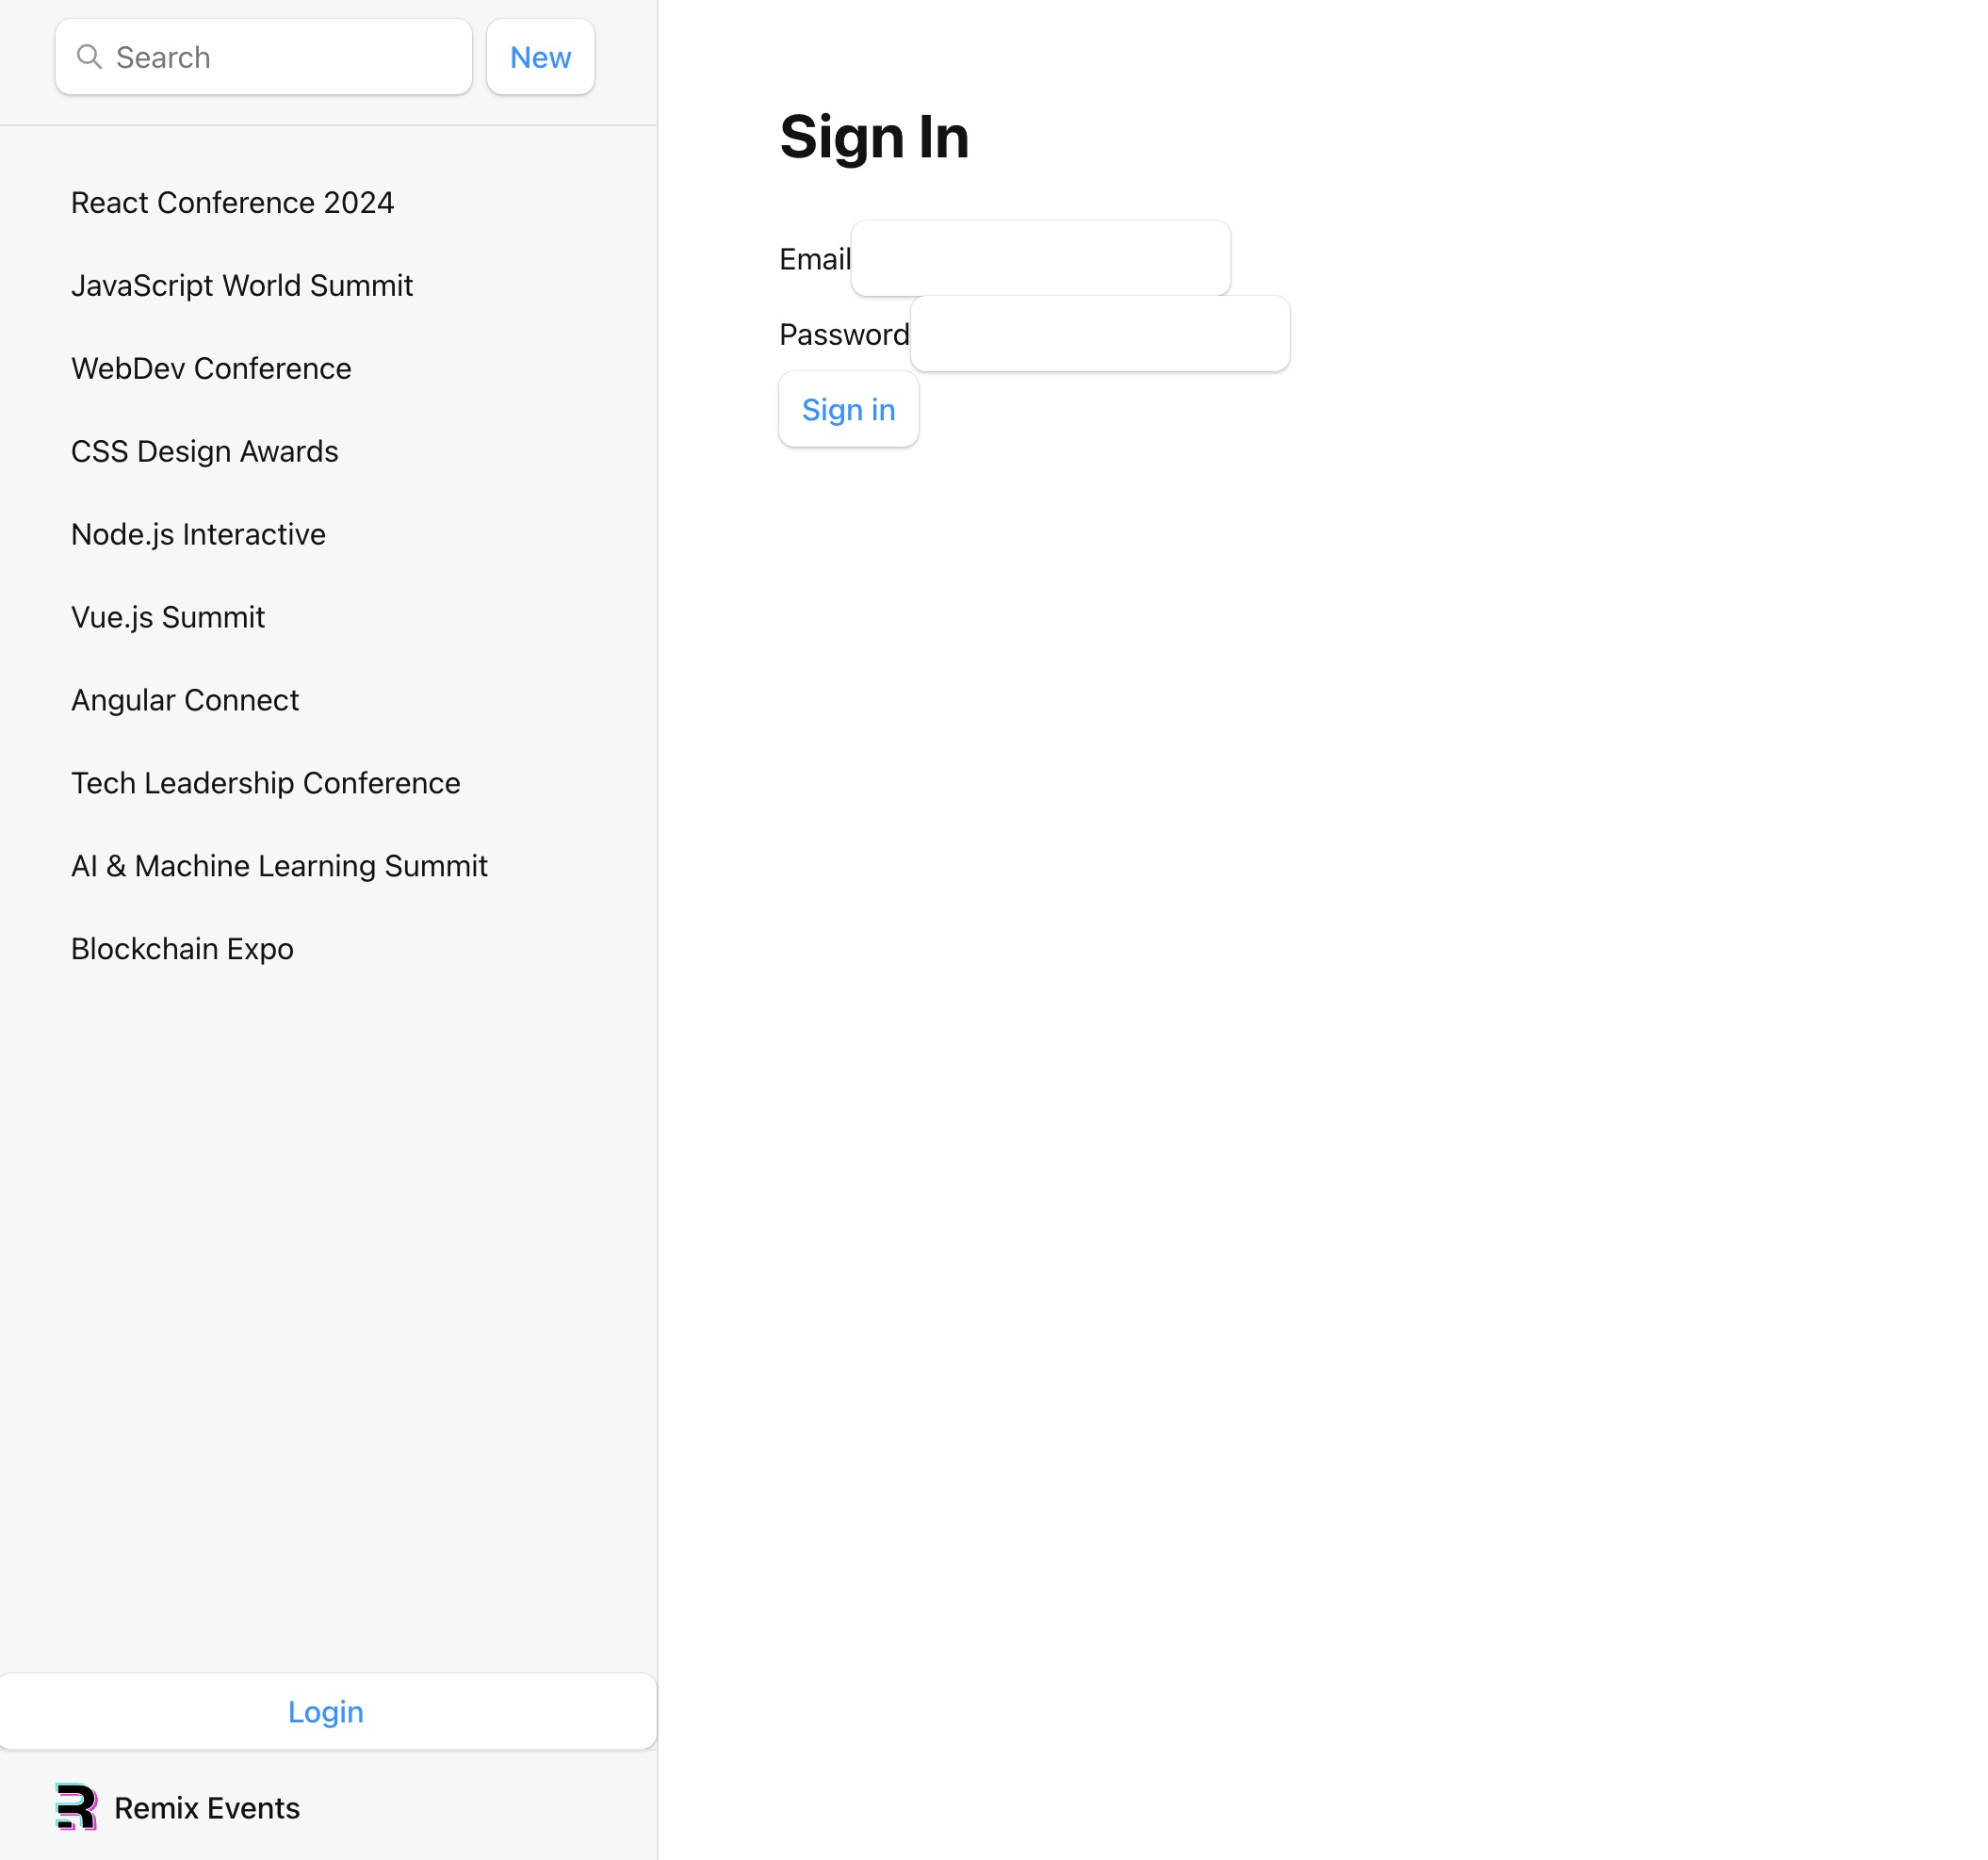
}Now when you click on the login button you will be redirected to the login page. You can login with the user in the users.json file. Credentials:
- Email: user@mail.com
- Password: test
Logout
You ofcourse want to logout aswell. We will be creating the logout page now.
To create the logout page we will be creating a new file in the routes folder called logout.tsx.
This is how that file will look like:
import { ActionFunctionArgs, redirect } from "@remix-run/node";
import { useNavigate } from "@remix-run/react";
import { sessionStorage } from "~/services/session.server";

export default function Logout() {
  const navigate = useNavigate();
  return (
    <div>
      <h1>Are you sure you want to log out?</h1>
      <form method="post" className="flex justify-center align-center">
        <button type="submit">Yes</button>
        <button type="button" onClick={() => navigate(-1)}>
          No
        </button>
      </form>
    </div>
  );
}
export async function action({ request }: ActionFunctionArgs) {
  const session = await sessionStorage.getSession(
    request.headers.get("cookie")
  );
  return redirect("/login", {
    headers: { "Set-Cookie": await sessionStorage.destroySession(session) },
  });
}The action in this file will destroy the session and redirect the user to the login page.
When you are logged in and you click on the logout button you will see this page: 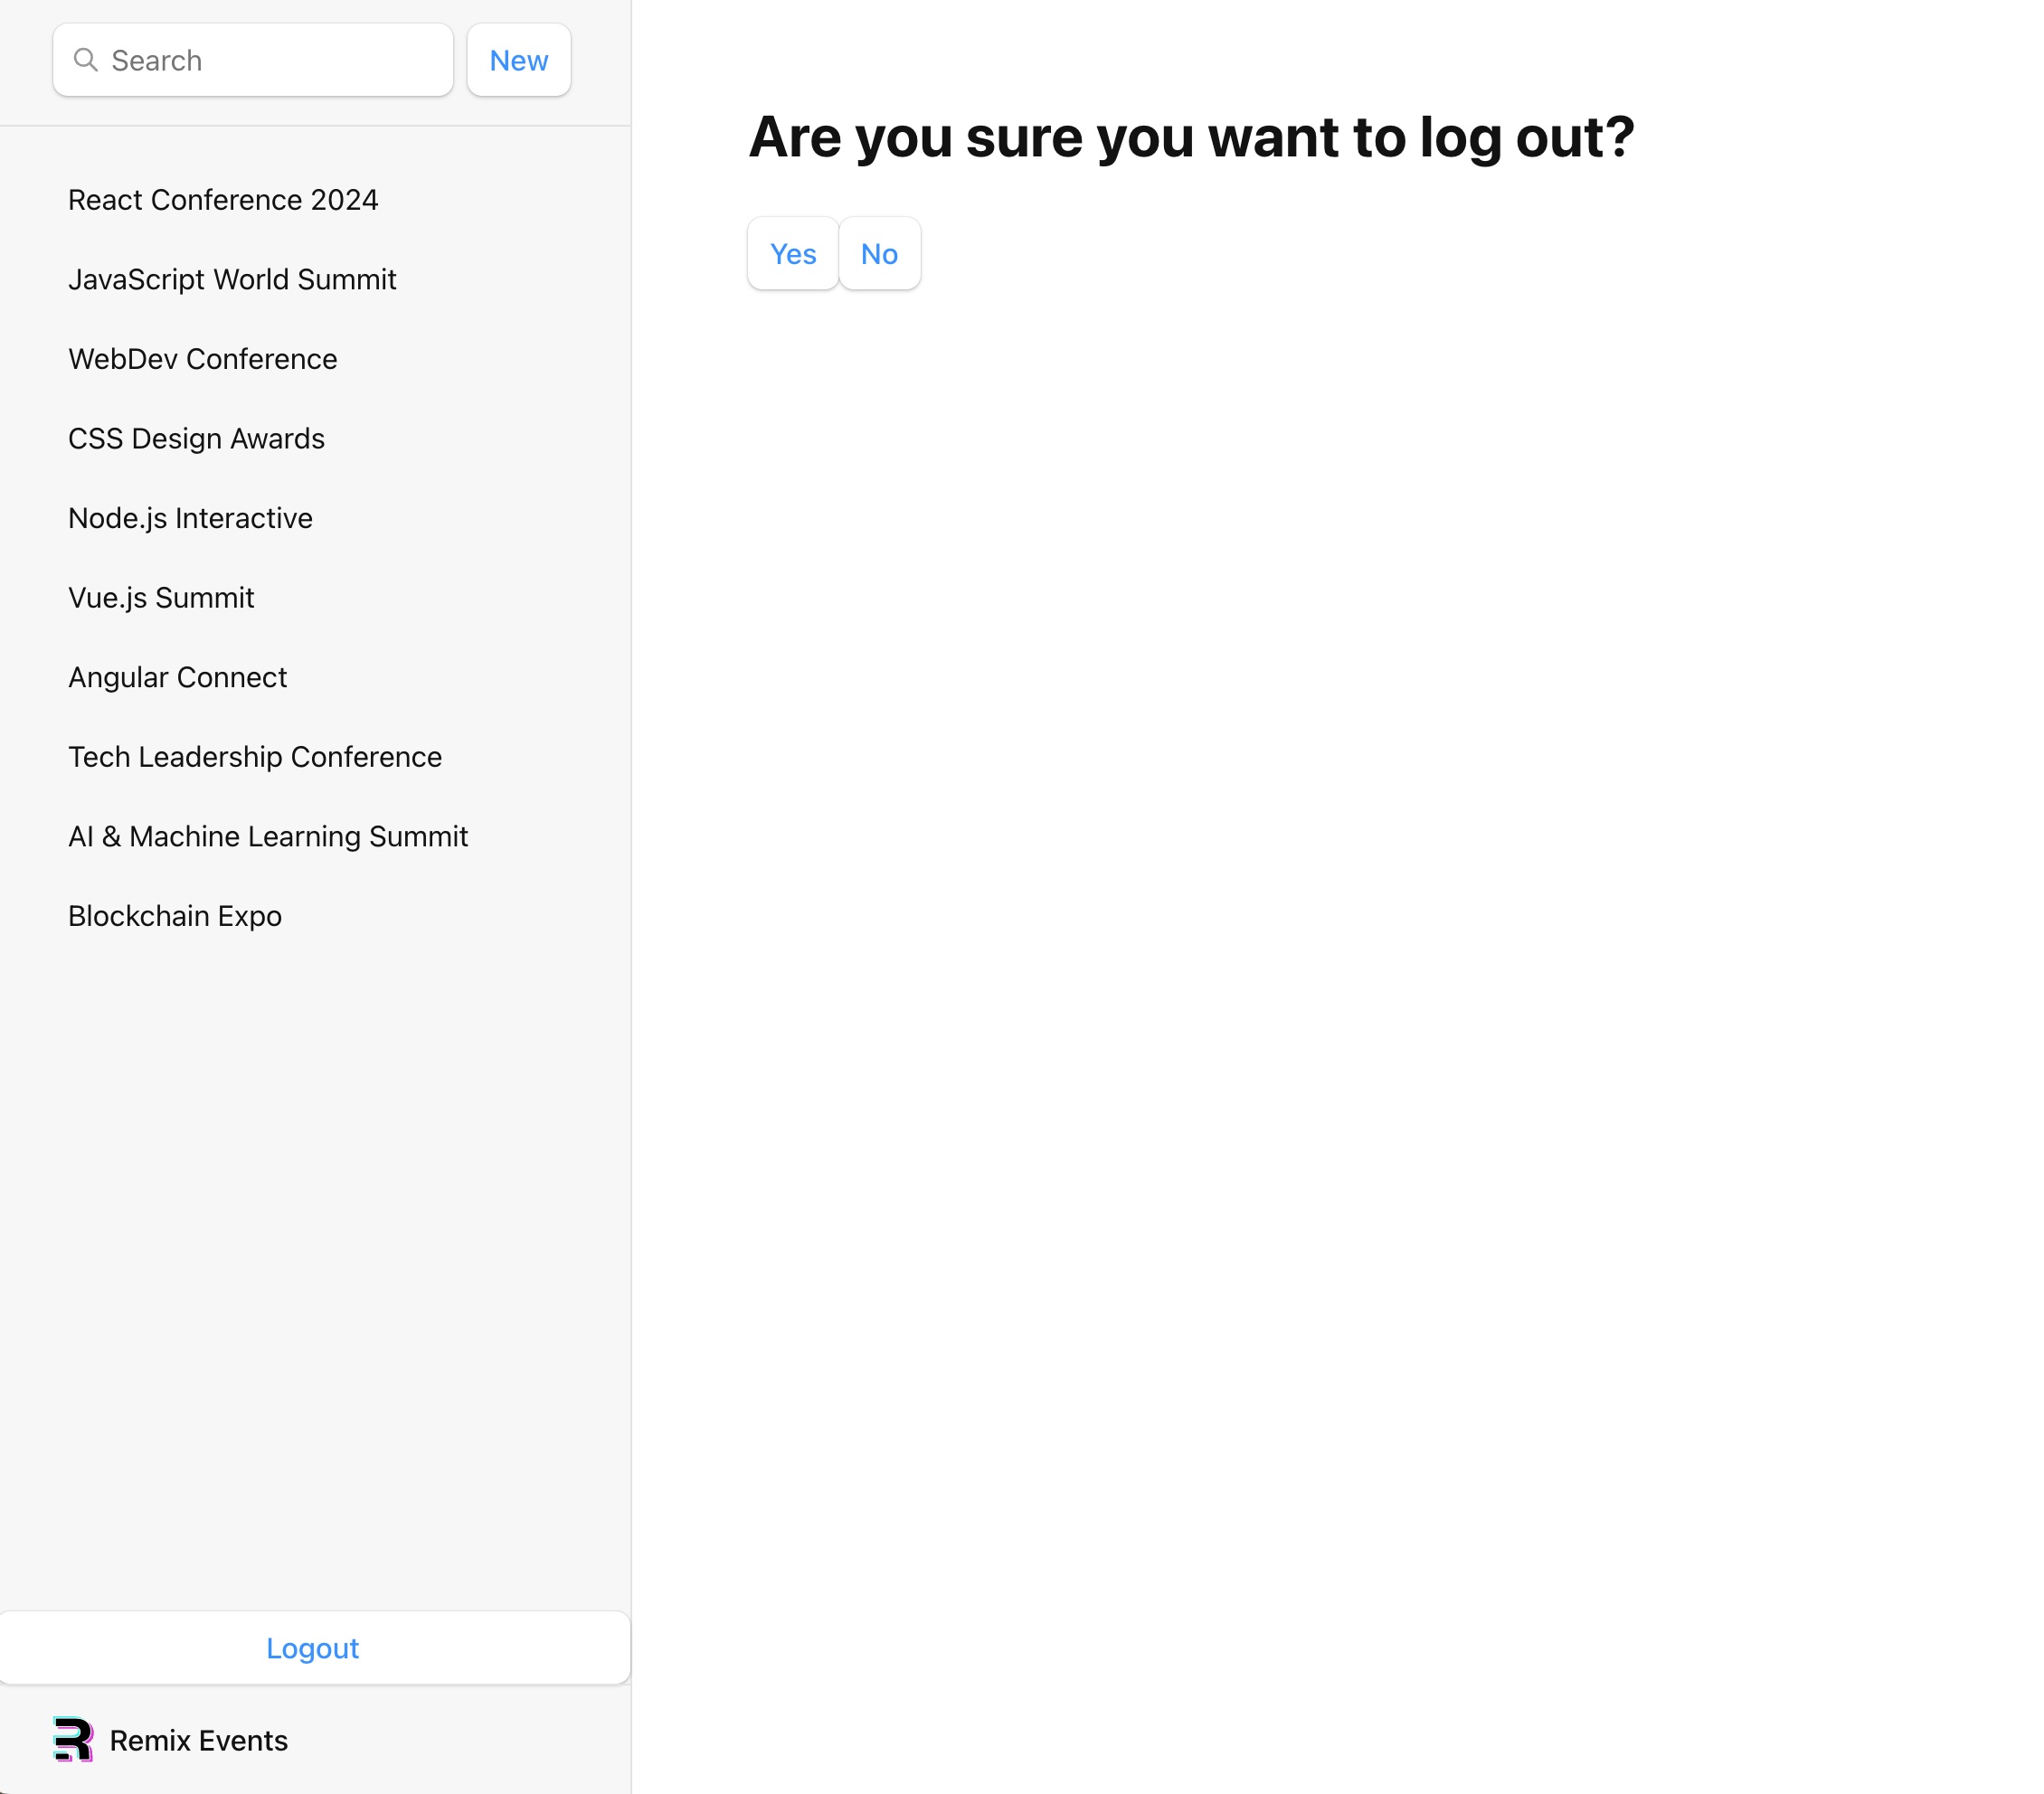
When you click on the "Yes" button you will be redirected to the login page and you will be logged out.
Using session data to get the username
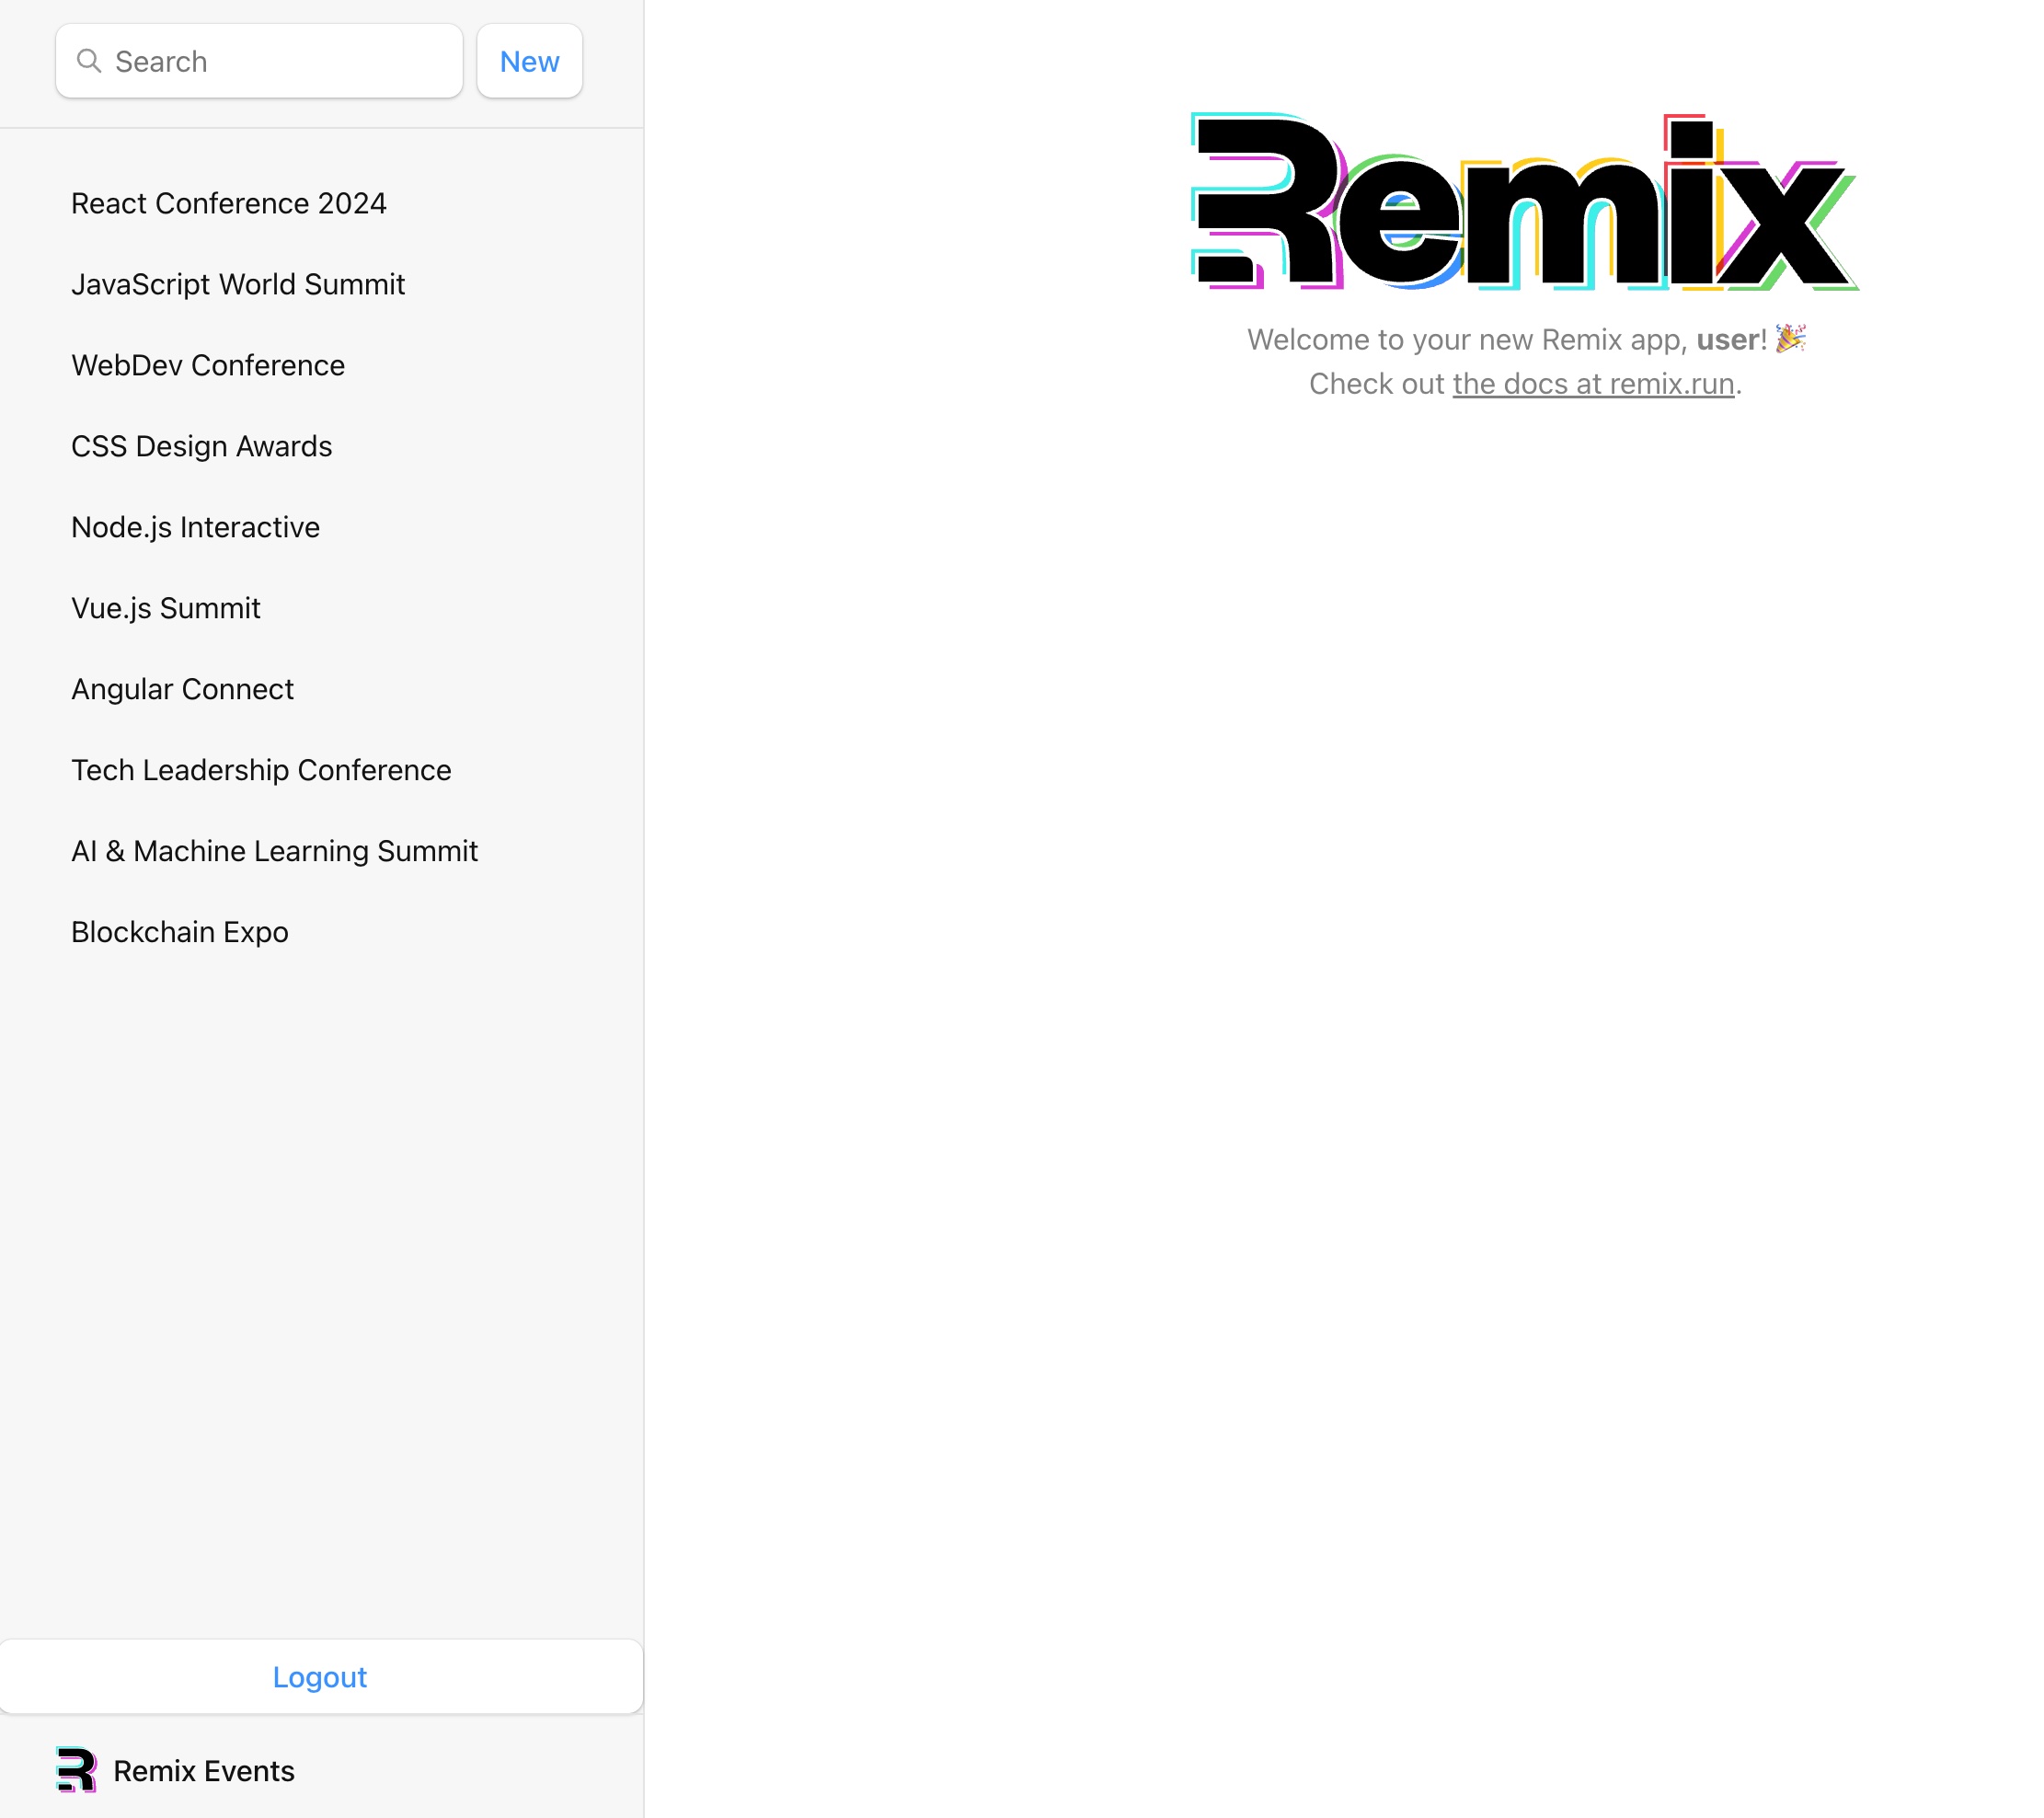
When we login we get the index page we created earlier. What we will add to it now is just some user experience.
We will be adding the username to the index page that we get from the session.
To start we need to navigate to the _index.tsx file in the routes folder.
Here we will edit the code to look like this:
import { LoaderFunctionArgs, json } from "@remix-run/node";
import { useLoaderData } from "@remix-run/react";
import { sessionStorage } from "~/services/session.server";

export async function loader({ request }: LoaderFunctionArgs) {
  const session = await sessionStorage.getSession(
    request.headers.get("cookie")
  );
  const user = session.get("user") || null; // Retrieve the user from the session
  return json({ user });
}

export default function Index() {
  const { user } = useLoaderData<typeof loader>();

  return (
    <p id="index-page">
      Welcome to your new Remix app,{" "}
      <strong>{user ? user.name : "Guest"}</strong>! 🎉
      {/* existing code */}
    </p>
  );
}We firstly need to import the sessionStorage from the session.server.ts file. We will use this to get the session data.
The rest is pretty self explanatory. We get the user from the session and we show the name of the user. If the user is not logged in we will show "Guest".
Protecting routes
What we will do now is protect the routes. This means that if you are not logged in you will not be able to access the detail pages of the events.
In itself this is pretty simple. We will be adding more functionality to the loader in the events.$eventId.tsx file.
// existing imports
import { json, redirect } from "@remix-run/node";
import { sessionStorage } from "~/services/session.server";

export const loader = async ({ params, request }: LoaderFunctionArgs) => {
  // check if user is logged in
  const session = await sessionStorage.getSession(
    request.headers.get("cookie")
  );
  const user = session.get("user");
  if (!user) throw redirect("/login");

  invariant(params.eventId, "Missing eventId param");
  const event = await getEvent(params.eventId);
  if (!event) {
    throw new Response("Not Found", { status: 404 });
  }
  return json({ event });
};When you are logged in you will now be able to access the detail pages of the events like before. But when you log out and try to access the detail pages you will be redirected to the login page.
Conclusion
In this tutorial we have gone over a lot of things. We have gone over the basics of Remix and how to create a simple application with it. We have gone over how to create a new event, edit an event, delete an event, favorite an event, search for an event, add authentication and protect routes.
What we can take away from this is that Remix has a superior way of handling data changes. The way Remix handles data changes is by using loaders and actions. This makes it very easy to handle data changes and to show the user the correct data.
Remix routing is very good in my opinion but it can become very cluttered and hard to read. This is because you have to create a new file for every route. I much prefer the way Next.js handles routing. But this is just a personal preference.
Hopefully this tutorial has helped you understand Remix a bit better and how to create a simple application with it.