
Building a site with VitePress
In this tutorial you will learn how to build a site with VitePress.
What is VitePress?
VitePress is a modern static site generator built on Vite and Vue. It is made specifically for building content-oriented websites quickly and easily, such as documentation sites and blogs, but you can also use it for portfolios or marketing websites.
Prerequisites
To follow along with this tutorial, you will need:
- Node.js version 18 or later installed.
- A basic understanding of the terminal (command line basics).
- A text editor of your choice with Markdown support (Ill be using Visual Studio Code).
Additionally, having a genuine interest in learning about web development will make this tutorial more enjoyable!
Create a new Project
To create a new VitePress project, you first need to create a new folder. If you already have a folder set up, open it with your preferred text editor. If you don’t have one, you can create a new folder using the following command in your terminal:
mkdir my-vitepress-siteThen, navigate to the newly created folder:
cd my-vitepress-siteAnd open it with your text editor (with Visual Studio Code, you can use the following command):
code .Next, you need to initialize the project. I recommend using npm for this. Run the following command in your terminal:
npm init -yThis will create a package.json file in your project folder.

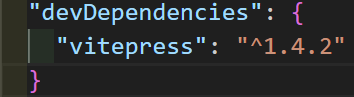
Now, let’s install VitePress as a dev dependency. A dev dependency is a package that’s only needed during development. To install VitePress, run:
npm add -D vitepressThis will install VitePress and adds it to the devDependencies in your package.json file.
You will also see that a node_modules folder and a package-lock.json file have been created in your project folder. Dont give these files much thought, they are just files necessary for VitePress to run.

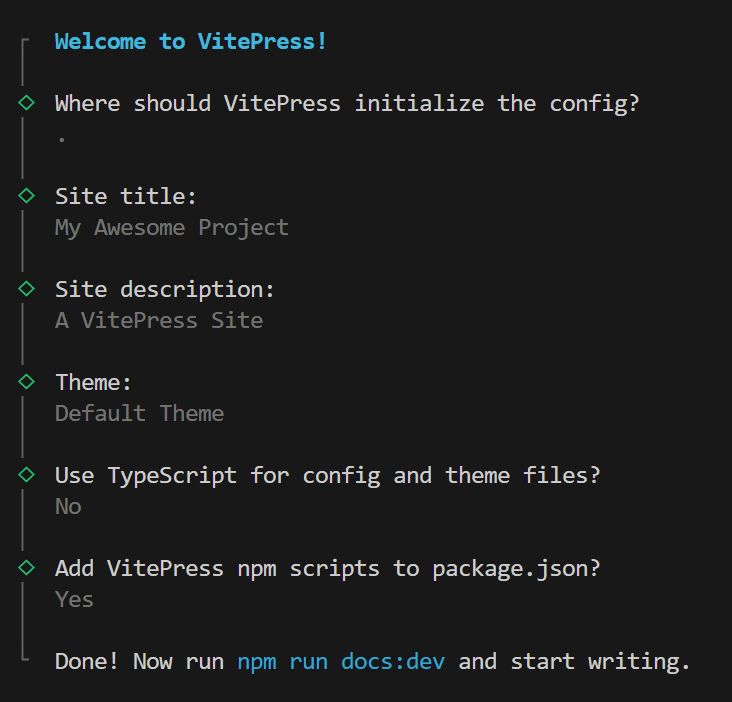
Next we will use the VitePress wizard to create a new project. Run the following command in your terminal:
npx vitepress initYou will be asked a few questions, such as the name of your project and the directory where you want to save it. You can use the default values by just pressing Enter.
Once the wizard has finished you can start your VitePress project by running the following command in your terminal:
npm run docs:devThis will start a local development server you can view your site by opening your browser and navigating to http://localhost:5173/.
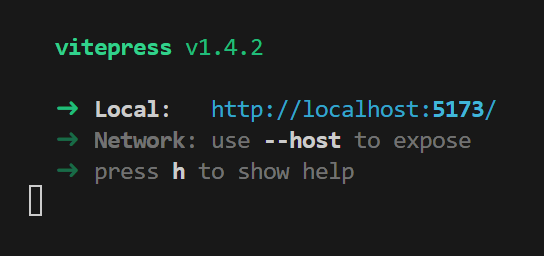
You should now see your VitePress site up and running!
Note: If at any point your site is not working as expected, you can stop the development server by pressing
Ctrl + Cin your terminal and then restart it by runningnpm run docs:devagain.
Features Included by Default
VitePress sites comes with a few features included by default:
- Navigation bar
- Light and dark mode
- Basic layout
Now let's dive deeper and see how we can customize our site!
Customizing the Homepage
You can customize the homepage by editing the index.md file. This file is written in Markdown (learn more about Markdown here).

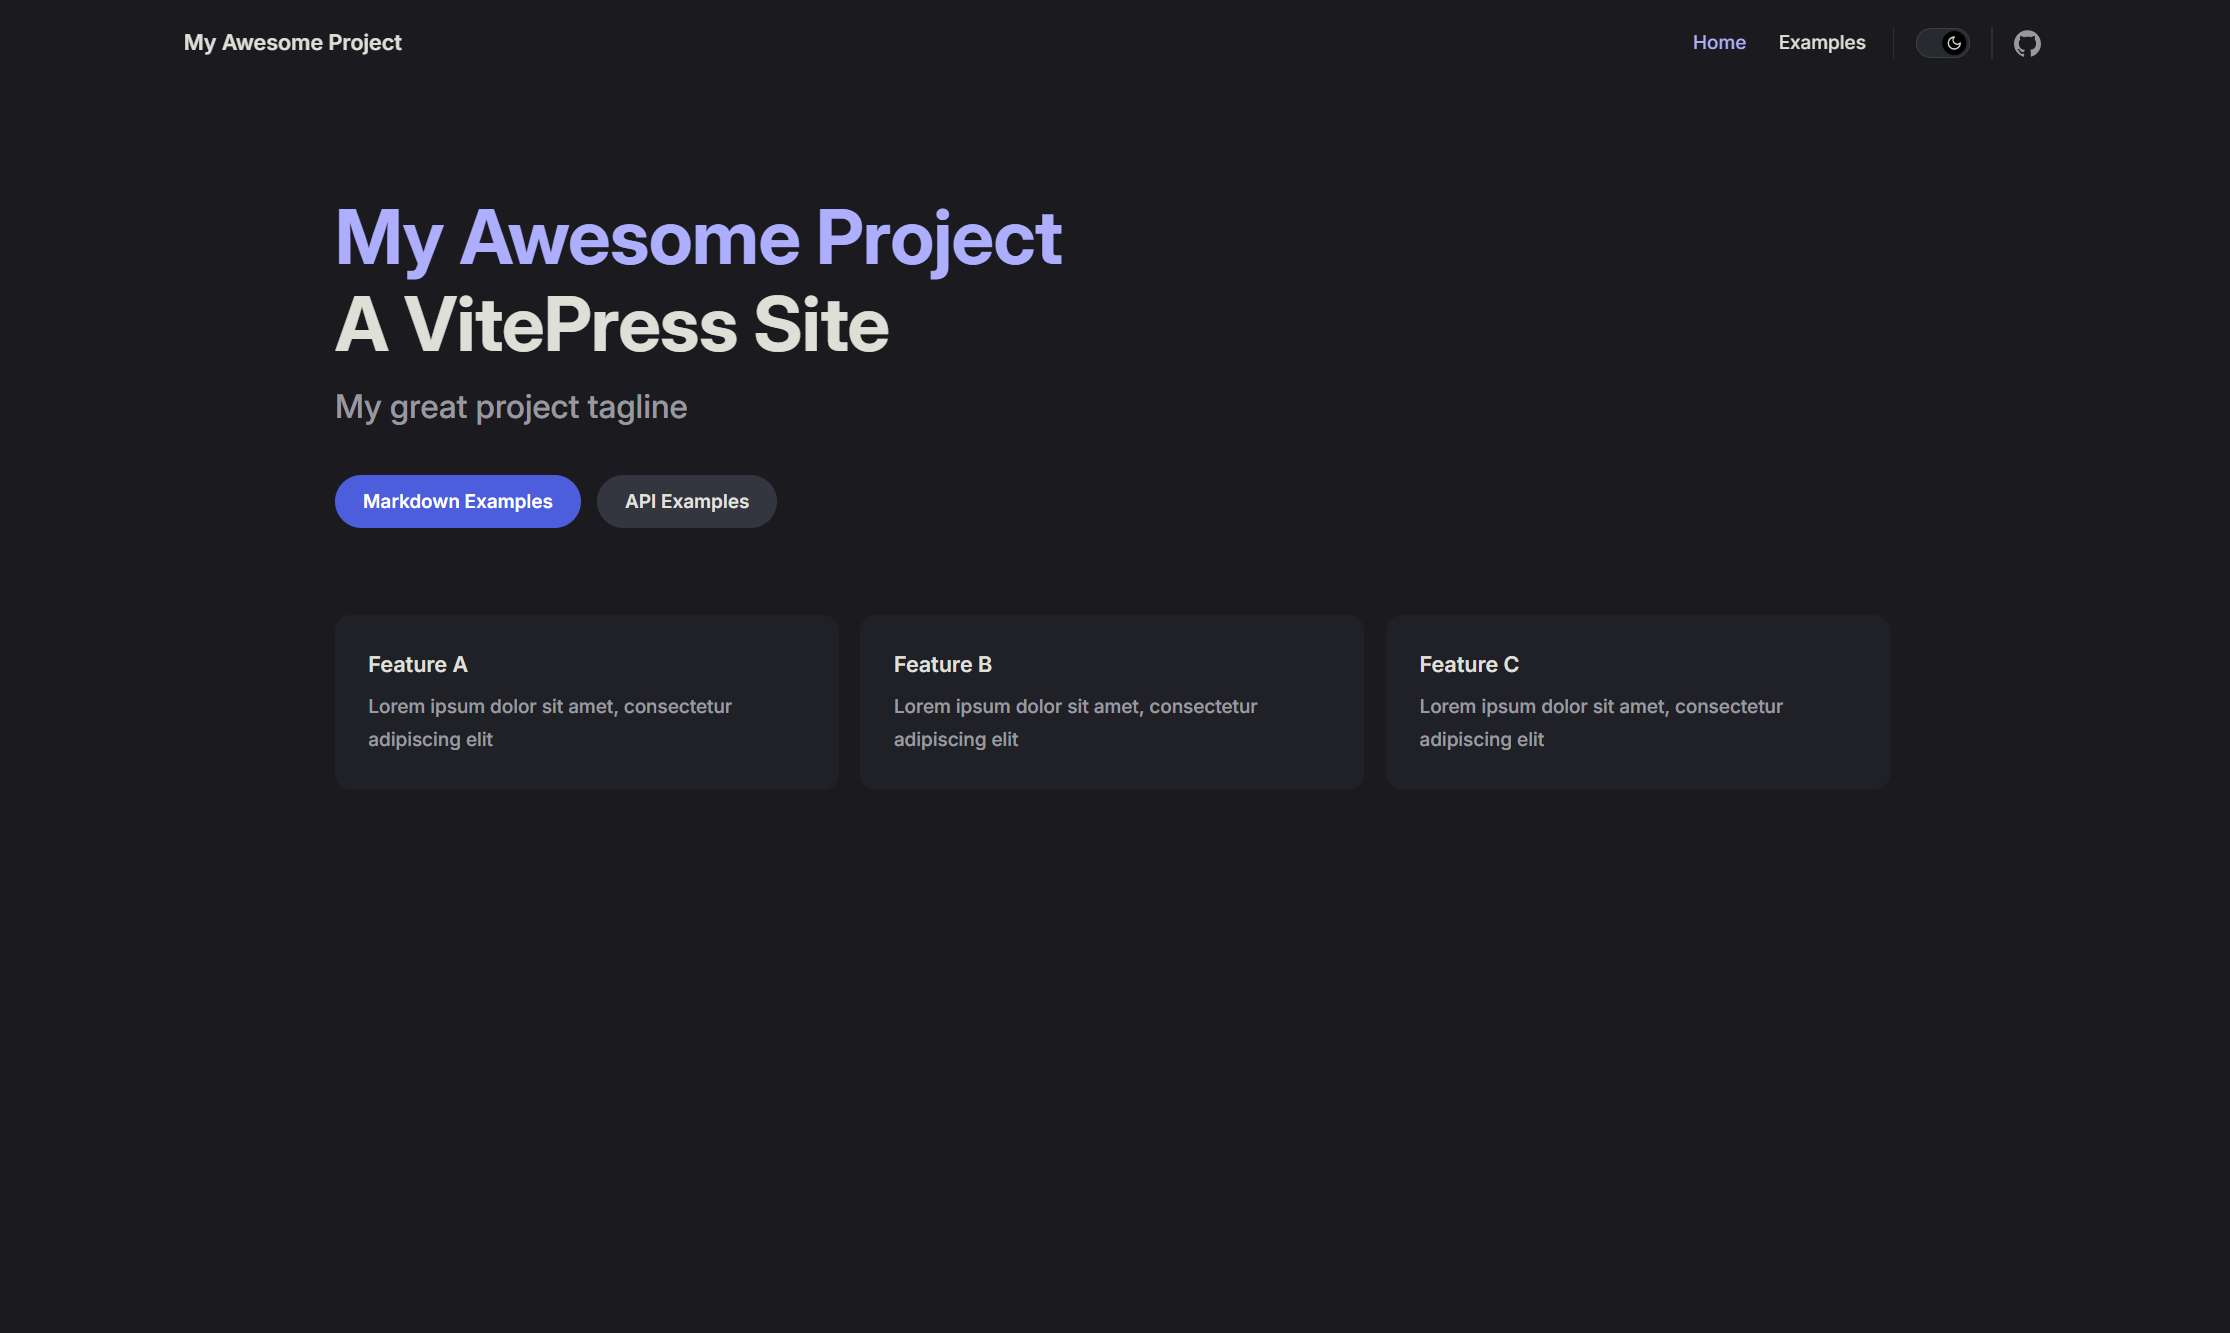
In the index.md file you should see the following content:
---
https://vitepress.dev/reference/default-theme-home-page
layout: home

hero:
  name: "My Awesome Project"
  text: "A VitePress Site"
  tagline: My great project tagline
  actions:
    - theme: brand
      text: Markdown Examples
      link: /markdown-examples
    - theme: alt
      text: API Examples
      link: /api-examples

features:
  - title: Feature A
    details: Lorem ipsum dolor sit amet, consectetur adipiscing elit
  - title: Feature B
    details: Lorem ipsum dolor sit amet, consectetur adipiscing elit
  - title: Feature C
    details: Lorem ipsum dolor sit amet, consectetur adipiscing elit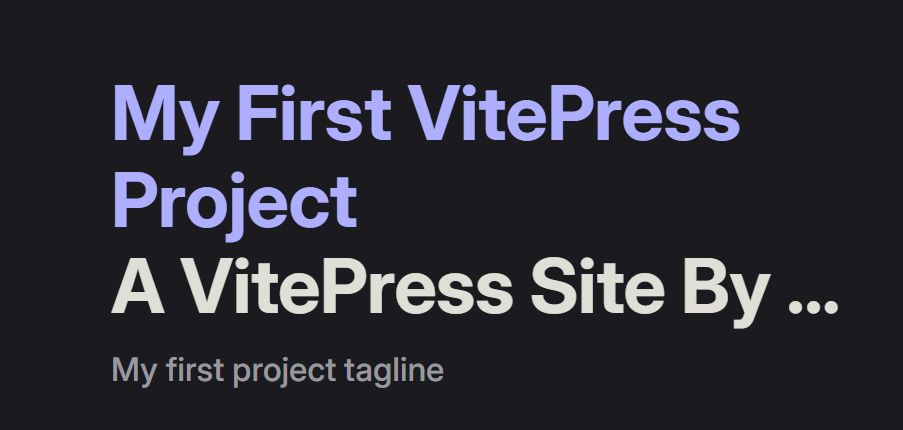
---Lets first try and change the name, text and tagline of the hero section. You can do this by changing the values of the name, text and tagline keys in the hero section. For example:
hero:
  name: "My First VitePress Project"
  text: "A VitePress Site By ..."
tagline: "My first project tagline"After you have made the changes, save the file (you can do this by pressing Ctrl + S on your keyboard) and refresh your browser. You should see the changes on your site!
You can also add an image to the hero section. To do this, you need to add an image key to the hero section. The image key should have a src key with the path to the image and an alt key with the alt text for the image. For example:
hero:
  name: "My First VitePress Project"
  text: "A VitePress Site By ..."
  tagline: "My first project tagline"
  image:
    src: /images/logo.jpg
alt: LogoMake sure you have the correct path to the image and the correct file format (in this case .jpg) but you can also use .png or .svg files.
After you have made the changes, save the file and refresh your browser. You should see the image on your site!
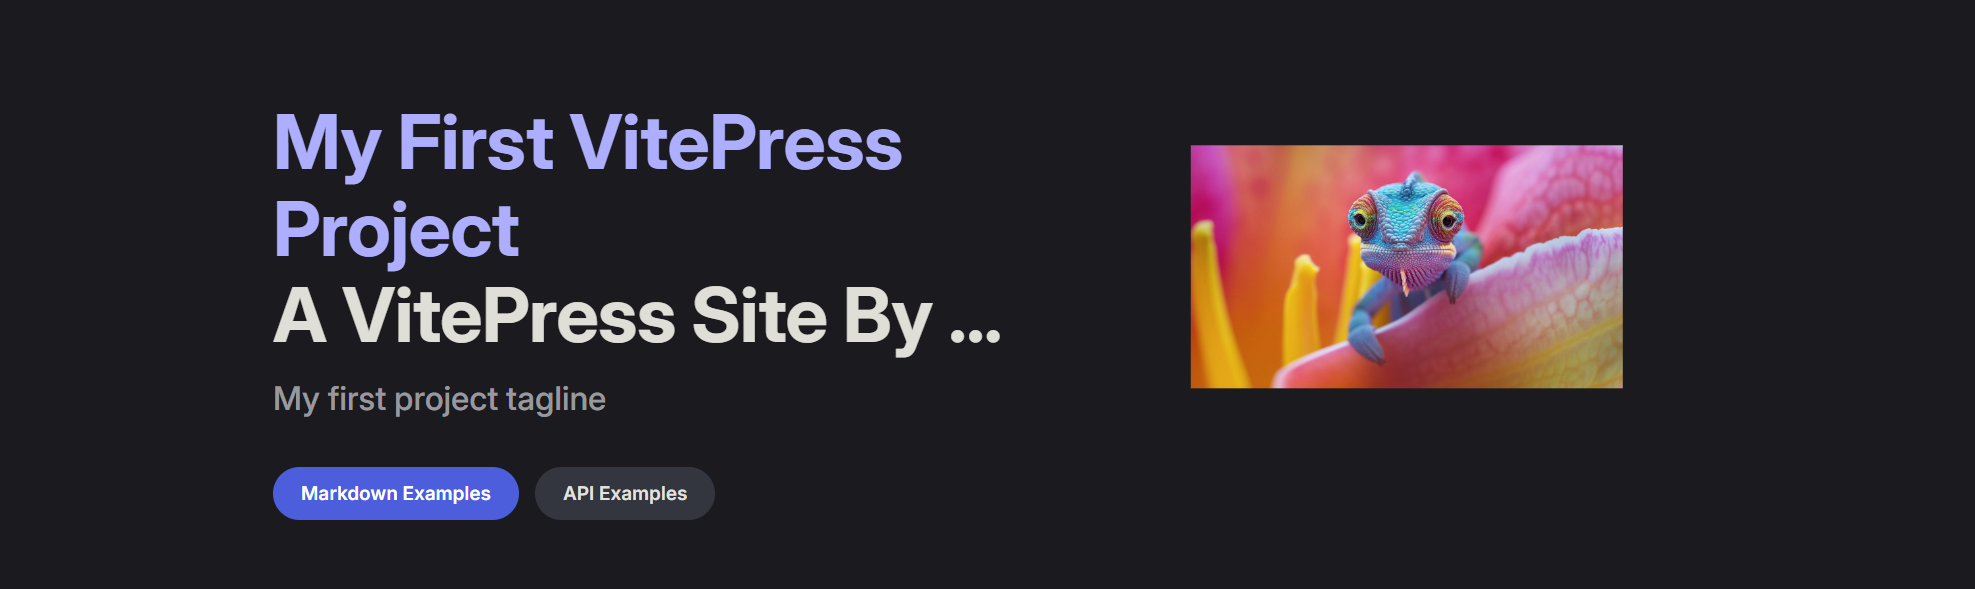
As shown in the image above there are also actions in the hero section. These are buttons that can be used to navigate to different parts of your site. These require a bit more advanced setup so we will cover them in the next section.
First lets try and change the features section. You can do this by changing the values of the title and details keys in the features section. By default it should look like this:
features:
  - title: Feature A
    details: Lorem ipsum dolor sit amet, consectetur adipiscing elit
  - title: Feature B
    details: Lorem ipsum dolor sit amet, consectetur adipiscing elit
  - title: Feature C
details: Lorem ipsum dolor sit amet, consectetur adipiscing elitbut you can customize the features to your liking. For example you can chnage it to what your site is about:
features:
  - title: Fast
    details: VitePress is fast and efficient
  - title: Easy to use
    details: VitePress is easy to use and understand
  - title: Customizable
details: VitePress is highly customizableAfter you have made the changes, save the file and refresh your browser. You should see the changes on your site!
Now lets try and change the actions in the hero section. You can do this by changing the values of the text and link keys in the actions section. By default it should look like this:
actions:
  - theme: brand
    text: Markdown Examples
    link: /markdown-examples
  - theme: alt
    text: API Examples
link: /api-examplestheme: This defines the styling of the action button. You can choose between different themes, such as brand for primary actions and alt for secondary actions.
text: This is the display text for the action button. It should clearly say what the action does to encourage users to click it.
link: This is the URL path that the action button will navigate to when clicked.
You can customize the actions to your liking. For example:
actions:
  - theme: brand
    text: Get Started
    link: /getting-started
  - theme: alt
    text: Learn More
link: /learn-moreAfter you have made the changes, save the file. Next we will create the pages for the actions. You can do this by creating a new .md file in your project folder. For example, to create a new page for the Get Started action, create a new file called getting-started.md. You should always make sure that the file name is the same as the link value in the index.md file.
In the getting-started.md file you can add content that will be displayed on the page. For example:
# Getting Started
Welcome to the getting started page!You should be able to see the new page by clicking the Get Started button on your site!
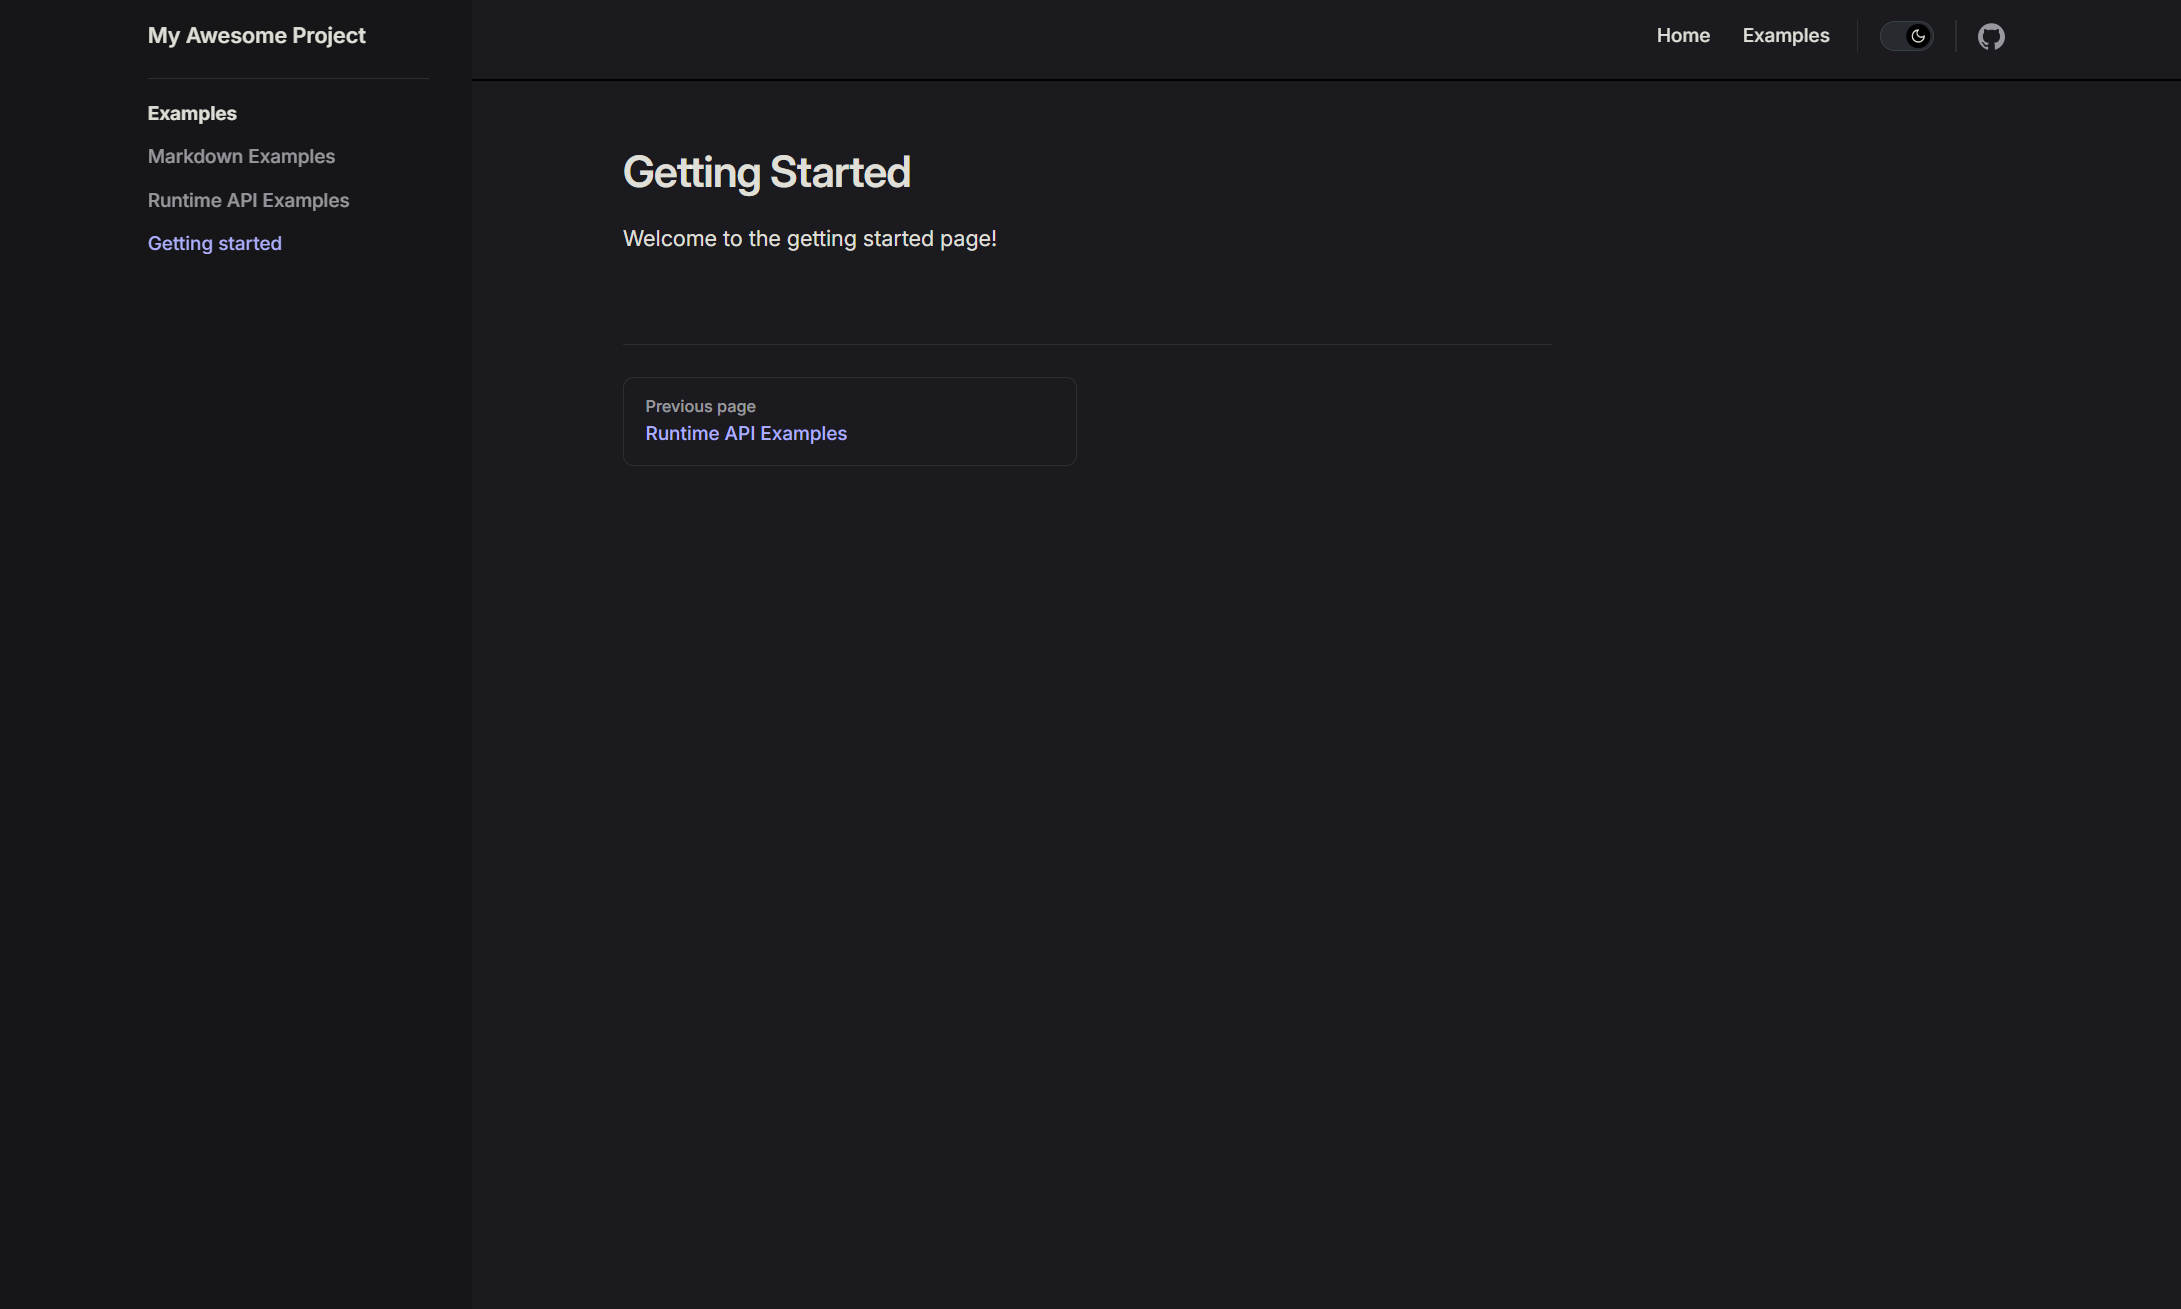
As you can see in the image above, there are links on the left side of the site, this is the navigation bar for our pages.
Note that the Getting Started link is not included by default.
To customize the navigation bar, we will need to edit the config.mjs file located in the .vitepress folder. Here’s how:
First open the .vitepress folder you should see this:
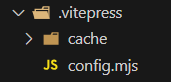
Next open the config.mjs file.
Note: When making changes in the
config.mjsfile, make sure to restart the development server by pressingCtrl + Cin your terminal and then runningnpm run docs:devagain.
import { defineConfig } from 'vitepress'

// https://vitepress.dev/reference/site-config
export default defineConfig({
  title: "My Awesome Project",
  description: "A VitePress Site",
  themeConfig: {
    // https://vitepress.dev/reference/default-theme-config
    nav: [
      { text: 'Home', link: '/' },
      { text: 'Examples', link: '/markdown-examples' }
    ],

    sidebar: [
      {
        text: 'Examples',
        items: [
          { text: 'Markdown Examples', link: '/markdown-examples' },
          { text: 'Runtime API Examples', link: '/api-examples' }
        ]
      }
    ],

    socialLinks: [
      { icon: 'github', link: 'https://github.com/vuejs/vitepress' }
    ]
  }
})Go to the sidebar section and add a new item for the Getting Started page. You can do this by adding a new object to the items array. For example:
{ text: 'Getting started', link: '/getting-started' }Note: Every time you add a new item you should place a comma at the end of the previous item.
The final result should look like this:
sidebar: [
  {
    text: 'Examples',
    items: [
      { text: 'Markdown Examples', link: '/markdown-examples' },
      { text: 'Runtime API Examples', link: '/api-examples' },
      { text: 'Getting started', link: '/getting-started' }
    ]
  }
],Make sure you have the correct text and link values. After you have made the changes, save the file and refresh your browser. You should see the new link in the navigation bar!
Our site also has a header with a title and a navigation bar.

You can customize the title by changing the value on line 5 in the config.mjs file. For example:
title: "My First VitePress Project"You can also customize the description by changing the value on line 6 in the config.mjs file. For example:
description: "A VitePress Site By ..."Now that you have added a title and description that fits your site ill show you how to customize the navigation bar. You can do this by adding new objects to the nav section in the config.mjs file. For example:
nav: [
  { text: 'Home', link: '/' },
  { text: 'Examples', link: '/markdown-examples' },
  { text: 'Getting Started', link: '/getting-started' }
],Remember to make sure you have the correct text and link values and added a comma at the end of the previous item. After you have made the changes, save the file restart your server by pressing Ctrl + C in your terminal and then running npm run docs:dev. Now navigate to your site and you should see the new title and link in the navigation bar!

Conclusion
Now that you have seen how to customize the homepage, the navigation bar and how to add pages. You should be able to create a site with VitePress that fully fits your needs.
Making a portfolio with VitePress
Lets first delete the api-examples.md file and the markdown-examples.md file as we wont be needing them. You can do this by deleting the files in your project folder.
You can optionally also delete the getting-started.md file as we wont really be needing it either, but make sure to keep the index.md file.
Note: Dont delete the
index.mdfile as it is the homepage of your site.
Next well go to the config.mjs file and delete the links that where made for the api-examples, getting-started.md and markdown-examples pages. When you open the config.mjs file you should see this:
import { defineConfig } from 'vitepress'

export default defineConfig({
  title: "My First VitePress Project",
  description: "A VitePress Site By ...",
  themeConfig: {
    nav: [
      { text: 'Home', link: '/' },
      { text: 'Examples', link: '/markdown-examples' },
      { text: 'Getting Started', link: '/getting-started' }
    ],

    sidebar: [
      {
        text: 'Examples',
        items: [
          { text: 'Markdown Examples', link: '/markdown-examples' },
          { text: 'Runtime API Examples', link: '/api-examples' },
          { text: 'Getting started', link: '/getting-started' }
        ]
      }
    ],

    socialLinks: [
      { icon: 'github', link: 'https://github.com/vuejs/vitepress' }
    ]
  }
})After deleting the links the file should look like this:
import { defineConfig } from 'vitepress'

export default defineConfig({
  title: "My First VitePress Project",
  description: "A VitePress Site By ...",
  themeConfig: {
    nav: [
      { text: 'Home', link: '/' },
    ],

    sidebar: [
      {
        text: 'Examples',
        items: [
        ]
      }
    ],

    socialLinks: [
      { icon: 'github', link: 'https://github.com/vuejs/vitepress' }
    ]
  }
})We can also change the title and description of the site to fit our portfolio. You can do this by changing the values of title and description in the config.mjs file. For example:
  title: "Portofolio By (Your Name)",
description: "Welcome to my portfolio site!",Remember that after making changes in the config.mjs file you should restart the server by pressing Ctrl + C in your terminal and then running npm run docs:dev again.
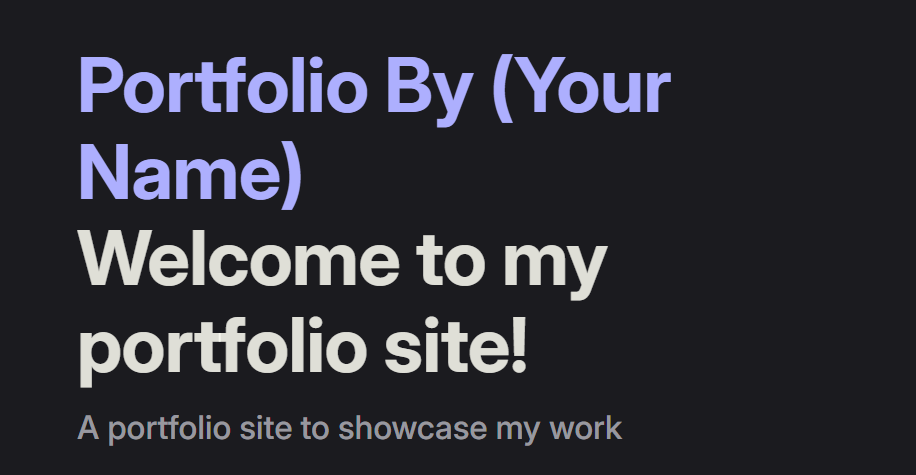
Now that we have cleaned up the site and changed the title and description lets add some content to the homepage. You can do this by editing the index.md file. We will start with changing the hero section. You can do this by changing the values of the name, text and tagline keys in the hero section. For example:
hero:
  name: "Portfolio By (Your Name)"
  text: "Welcome to my portfolio site!"
tagline: "A portfolio site to showcase my work"After you have made the changes, save the file and refresh your browser. You should see the changes on your site!
Remember when we added an image to the hero section? You can now add an image of yourself or your logo to the hero section.
image:
    src: /images/logo.jpg
alt: LogoWe will also make some changes to the actions in the hero section. You can do this by changing the values of the text and link keys in the actions section. For example:
actions:
  - theme: brand
    text: My Work
link: /my-workAfter you have made the changes, save the file and refresh your browser.
For every action you add you should create a new .md file in your project folder. For example, to create a new page for the My Work action, create a new file called my-work.md. You should always make sure that the file name is the same as the link value in the index.md file.
In the my-work.md file you can add content that will be displayed on the page. For example:
# My Work
Welcome to my work page!

This is where I showcase my projects and work experience.

## Projects

### Project A
This is a description of Project A.

### Project B
This is a description of Project B.It is also possible to add a navigation item to the site. You can do this by adding new objects to the nav section in the config.mjs file. For example:
nav: [
  { text: 'Home', link: '/' },
  { text: 'My Work', link: '/my-work' }
],Next we will add some features to the homepage. You can do this by changing the values of the title and details keys in the features section. Here you can describe your skills or what you are passionate about. For example:
features:
  - title: Feature A
    details: I am passionate about web development
  - title: Feature B
    details: I am skilled in HTML, CSS and JavaScript
  - title: Feature C
details: I am a fast learner and eager to learn new thingsOr just add some features that you think are important for your portfolio.
Last but not least you can add social links to your site. You can do this by adding new objects to the socialLinks section in the config.mjs file. For example:
socialLinks: [
      { icon: 'github', link: 'https://github.com/vuejs/vitepress' },
      { icon: 'linkedin', link: 'https://www.linkedin.com/' },
      { icon: 'twitter', link: 'https://twitter.com/' }
]Note: Make sure to change the
linkvalues to your own social media profiles.
Final Conclusion
In this tutorial, you've learned how to build and customize a VitePress site from scratch. You now know how to set up a project, install dependencies, and run a local development server. Here's a recap of the key concepts you've learned:
1. Creating and Structuring Pages
- Creating Pages: You can create new pages for your site by adding new
.mdfiles. These files contain the content for each page in Markdown format, which makes them easy to write and edit.
2. Customizing the Navigation Bar
- Customizing Navigation: You can update the
navsection in theconfig.mjsfile to control the links shown in the navigation bar. - Example: You added links such as "Home" and "My Work" to the navigation bar, allowing users to easily access the pages on your site.
3. Hero Section Customization
- Hero Section: This is the main area at the top of the homepage. You learned how to update the
name,text, andtaglinein theindex.mdfile to better represent your project or portfolio. - Adding Images: You can also add an image to the hero section by specifying the image path in the
imagekey within theherosection. This can be a personal logo, a project image, or anything that helps represent your site.
4. Adding Action Buttons
- Creating Actions: In the hero section, you learned how to create action buttons with custom
textandlinkproperties. These buttons can guide users to other important pages on your site, like "My Work" or "Contact". - Linking Action Buttons to Pages: After setting up action buttons, you created new
.mdfiles corresponding to each button's link. For example, clicking "My Work" would lead to the/my-workpage.
5. Modifying Features Section
- Customizing Features: The
featuressection allows you to showcase important aspects of your site or portfolio. You can modify thetitleanddetailsproperties to describe your skills, projects, or other key attributes.
6. Updating the Configuration
- Configuring
config.mjs: This file holds the configuration settings for your site, including the title, description, and navigation. By editing this file, you can adjust the site's structure, navigation, and appearance. - Navigation: You learned how to configure the navigation for a better user experience by adding links to new pages, like "My Work".
7. Adding Social Links
- Social Links: You can include links to your social media profiles by adding new objects to the
socialLinkssection in theconfig.mjsfile. This allows visitors to connect with you on various platforms.
Final Thoughts
By understanding how to add pages, modify navigation, customize the homepage, and configure site settings in config.mjs, you now have the skills to create a fully customized static website with VitePress. Whether you're building a personal portfolio, a documentation site, or any other content-focused website, VitePress offers an efficient approach to web development.
With this knowledge, you can easily expand your site by adding more pages, modifying the layout, and customizing the content. Happy building!